15 Quiet Crafts for Kids to Enjoy During Indoor Playtime
Rainy days and quiet afternoons call for simple, engaging activities that keep little hands busy and minds calm. These crafts are gentle on noise levels but rich in creativity, using everyday supplies you might already have at home.
Each one is designed to be easy for young children to manage with minimal help, while still offering room for personal expression. You’ll find a mix of textures, techniques, and results that go beyond coloring sheets and glue messes.
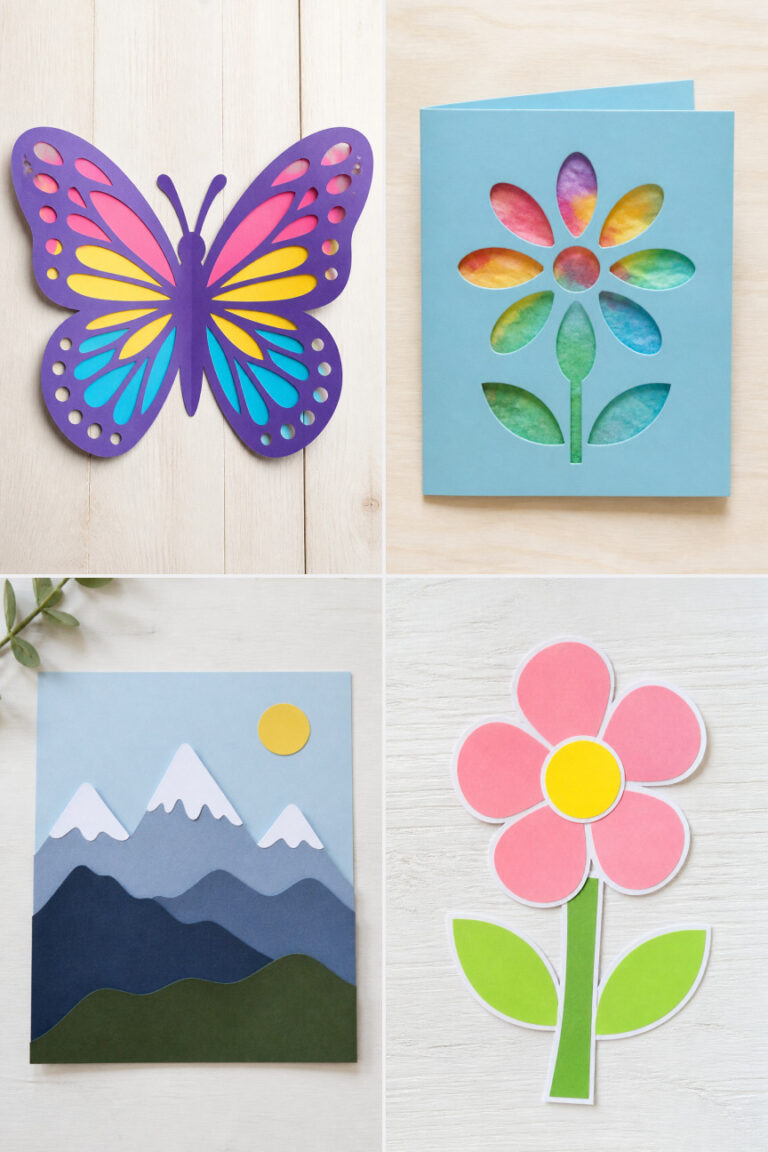
1. Tissue Paper Stained Glass
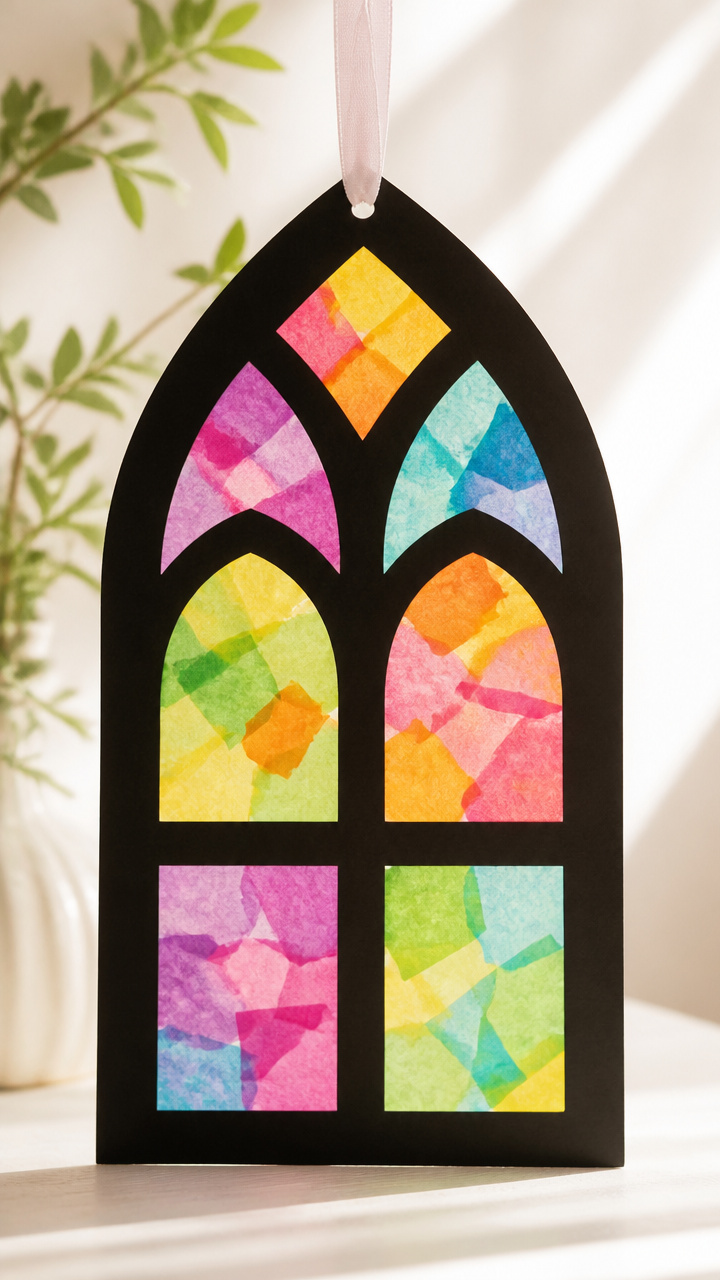
Bright color layers shine through when light hits this delicate window decoration. It’s a safe way for kids to explore transparency and pattern without glass.
Materials Needed
- A4 clear contact paper, 1 sheet
- Colorful tissue paper, 10 sheets
- Scissors, 1 pair
- Rolling pin, 1
- Black construction paper, 1 sheet
How to Make It
- Cut the contact paper into a 6×6 inch square and peel off the backing.
- Let your child tear tissue paper into small pieces and layer them onto the sticky side of the contact paper.
- Cover the top with the black construction paper to create a border, then roll over it gently with the rolling pin to seal.
- Trim any excess and hang near a sunny window to see the colors glow.
2. Pom-Pom Animal Puppets
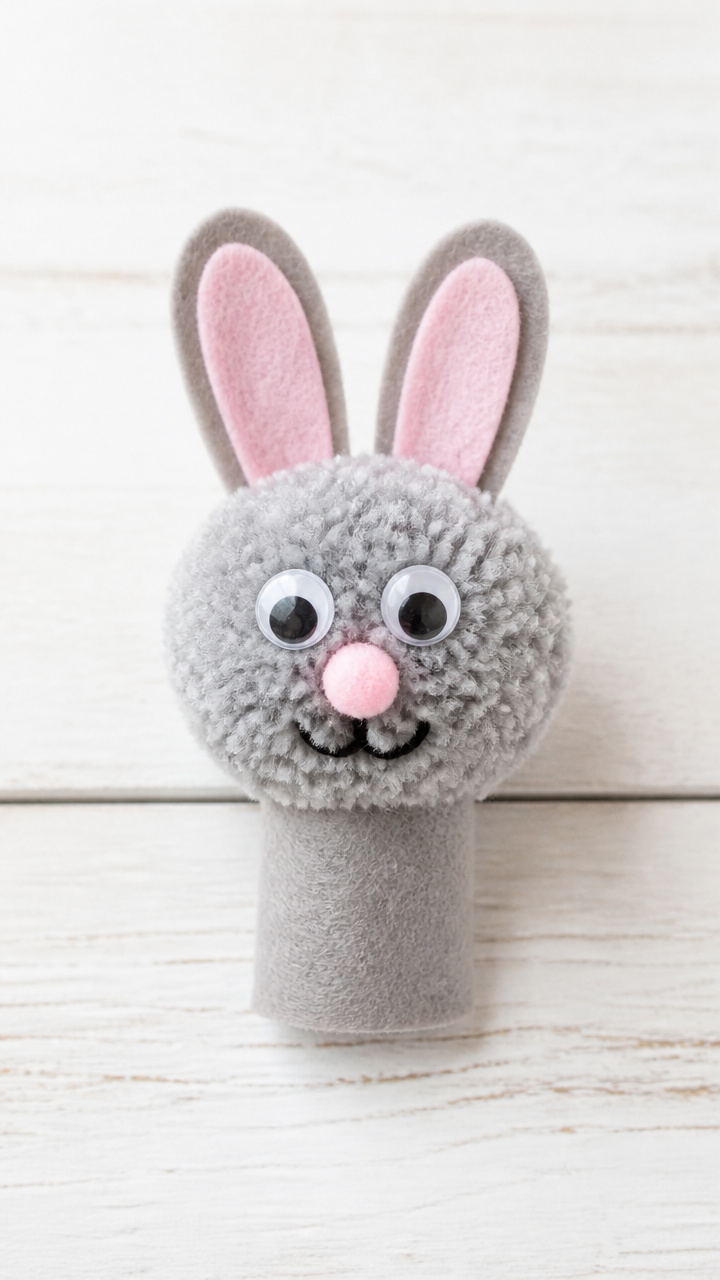
Fuzzy pom-poms become woodland creatures with tiny added details. These soft puppets are perfect for storytelling without loud voices or big movements.
Materials Needed
- Large white pom-pom, 1
- Small brown pom-pom, 1
- Googly eyes, 2 (8mm)
- Orange felt, 1 small piece
- Craft glue, 1 bottle
- Popsicle stick, 1
- Black embroidery floss, 6 inches
How to Make It
- Glue the large pom-pom to the top of the popsicle stick and let it dry for 10 minutes.
- Attach the googly eyes just below the top of the pom-pom.
- Cut two small triangle ears from the orange felt and glue them to the back of the head.
- Twist the floss into a short tail and glue it to the back, then add the small brown pom-pom as a nose.
3. Crayon Resist Leaf Art
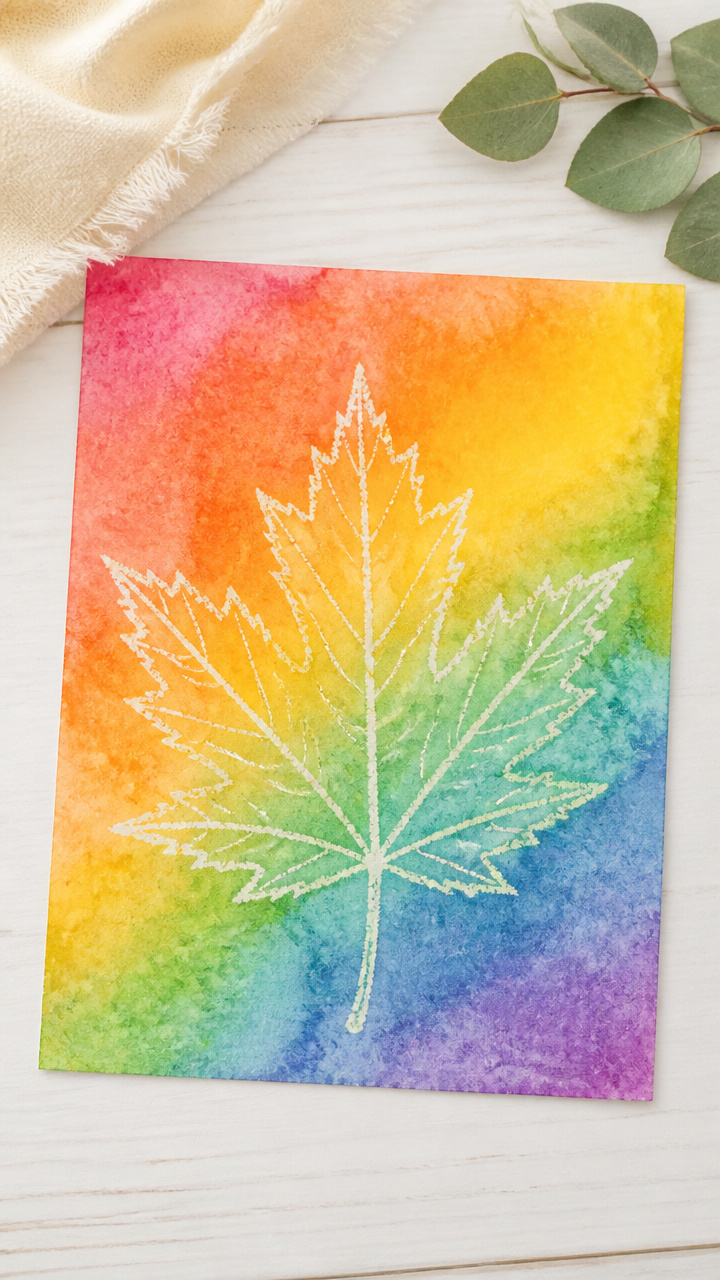
Waxy lines hide beneath bold watercolor washes, revealing leaf shapes in surprise. This craft teaches texture contrast and patience during drying time.
Materials Needed
- White drawing paper, 9×12 inch
- Green crayon, 1
- Watercolor set, 12-color
- Paintbrush, size 4 round
- Spray bottle with water, 1
- Paper towel, 1 sheet
How to Make It
- Have your child draw large leaf outlines on the paper using only the green crayon, pressing firmly.
- Wet the paintbrush and apply blue watercolor lightly over the entire page.
- Spritz the surface lightly with water to create a mottled effect, then blot with a paper towel.
- Let the artwork dry flat for 20 minutes to see the crayon edges resist the paint.
4. Pipe Cleaner Bracelets
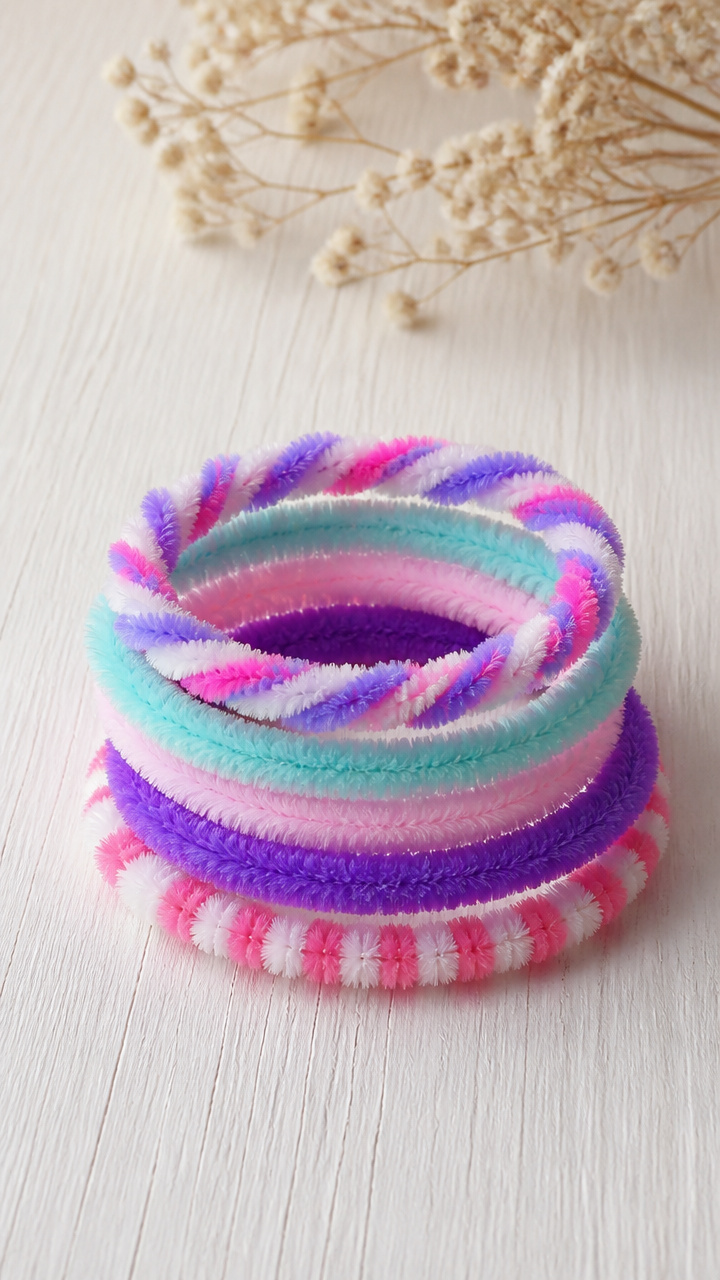
Twisted wire forms colorful wearable art that fits on small wrists. The bending and looping builds fine motor control quietly and steadily.
Materials Needed
- Chenille stems (pipe cleaners), 3 assorted colors
- Child-safe scissors, 1 pair
- Ruler, 1
How to Make It
- Cut each pipe cleaner into three equal 4-inch pieces using the ruler and scissors.
- Take one piece and loop the end into a small circle to anchor the bracelet.
- Slide on two more pieces and twist them together at the ends to form a chain.
- Finish by twisting the last end into a secure hook that fits into the first loop.
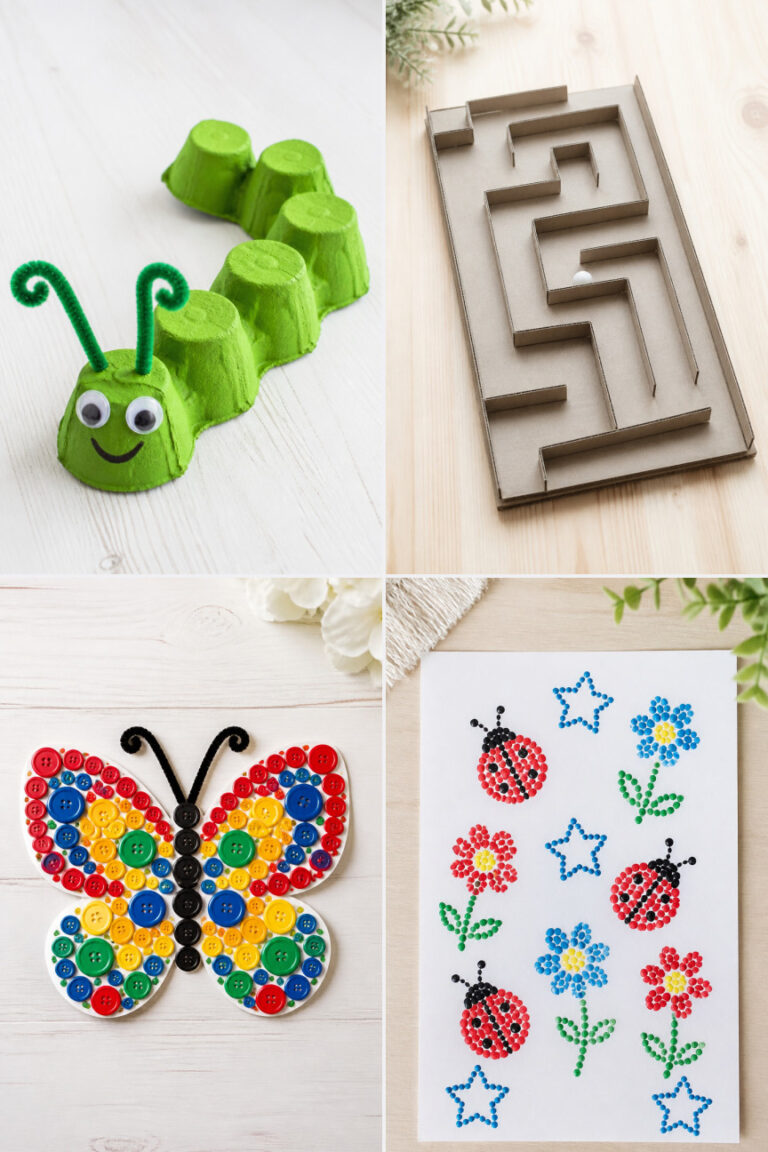
5. Button Mosaic Picture
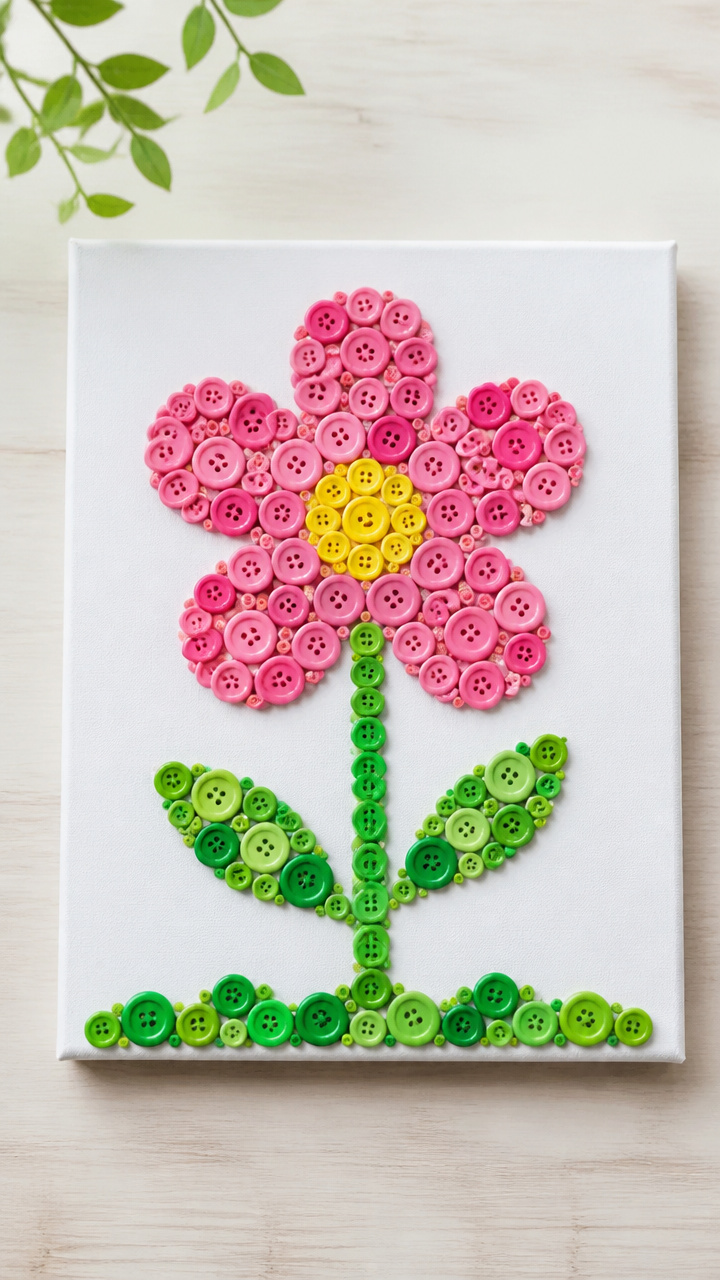
Found buttons fill a drawn shape with texture and color variation. This slow, thoughtful craft encourages sorting and precision.
Materials Needed
- Cardboard rectangle, 5×7 inches
- Pencil, 1
- Assorted buttons, 30 pieces
- White glue, 1 bottle
- Paintbrush, size 2
- Clear acrylic sealer spray, 1 can
How to Make It
- Draw a simple shape like a heart or tree on the cardboard with the pencil.
- Use the paintbrush to spread a thin layer of glue inside the outline.
- Press buttons into the glue, fitting them close together without overlapping.
- Let dry for 1 hour, then spray lightly with sealer to protect the surface.
6. Salt Dough Ornament
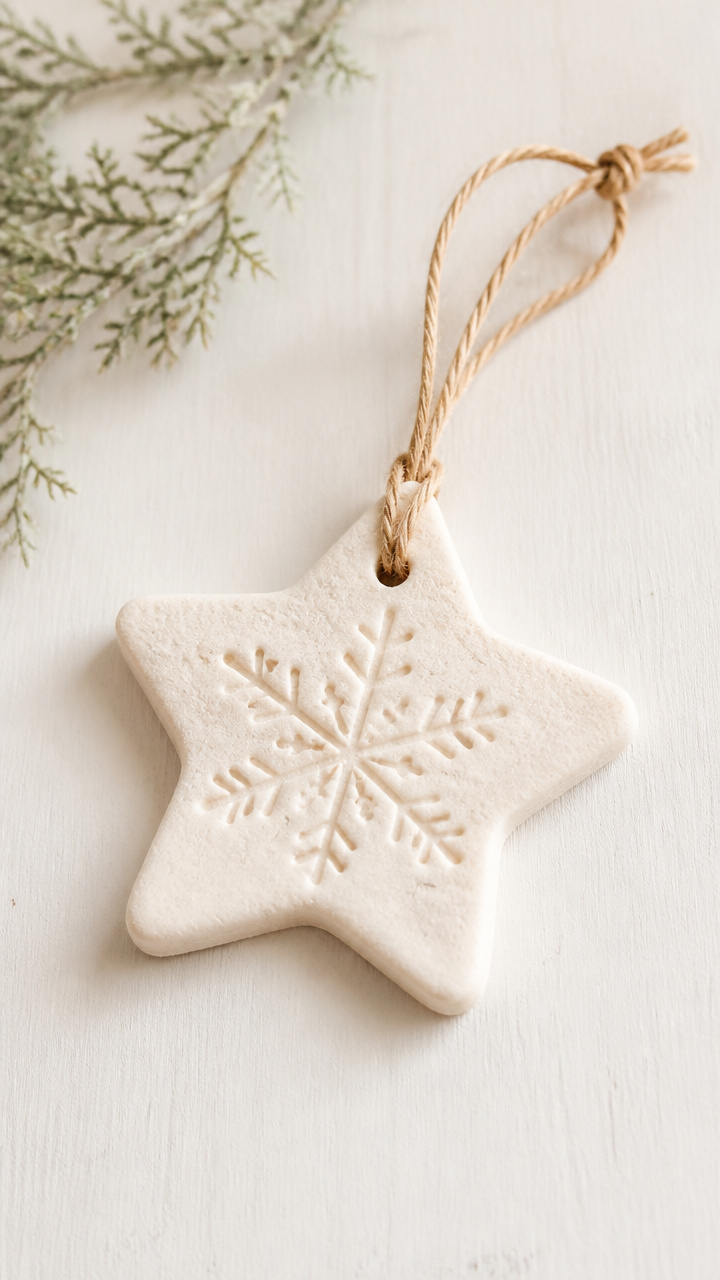
Soft dough molds into keepsake shapes that harden into lasting decorations. The scent and texture make this a sensory favorite.
Materials Needed
- Flour, 1 cup
- Table salt, 1/2 cup
- Water, 1/2 cup
- Mixing bowl, 1
- Spoon, 1
- Cookie cutter (star shape), 1
- Straw, 1
- Baking sheet, 1
- Oven, preheated to 200°F
How to Make It
- Mix flour, salt, and water in the bowl until a smooth dough forms, adding a teaspoon of water if too dry.
- Roll the dough to 1/4 inch thick and press the cookie cutter into it to make a star.
- Push the straw through the top edge to make a hanging hole.
- Place on the baking sheet and bake for 3 hours, then let cool completely before decorating.
7. Yarn Wrap Cardboard Shapes
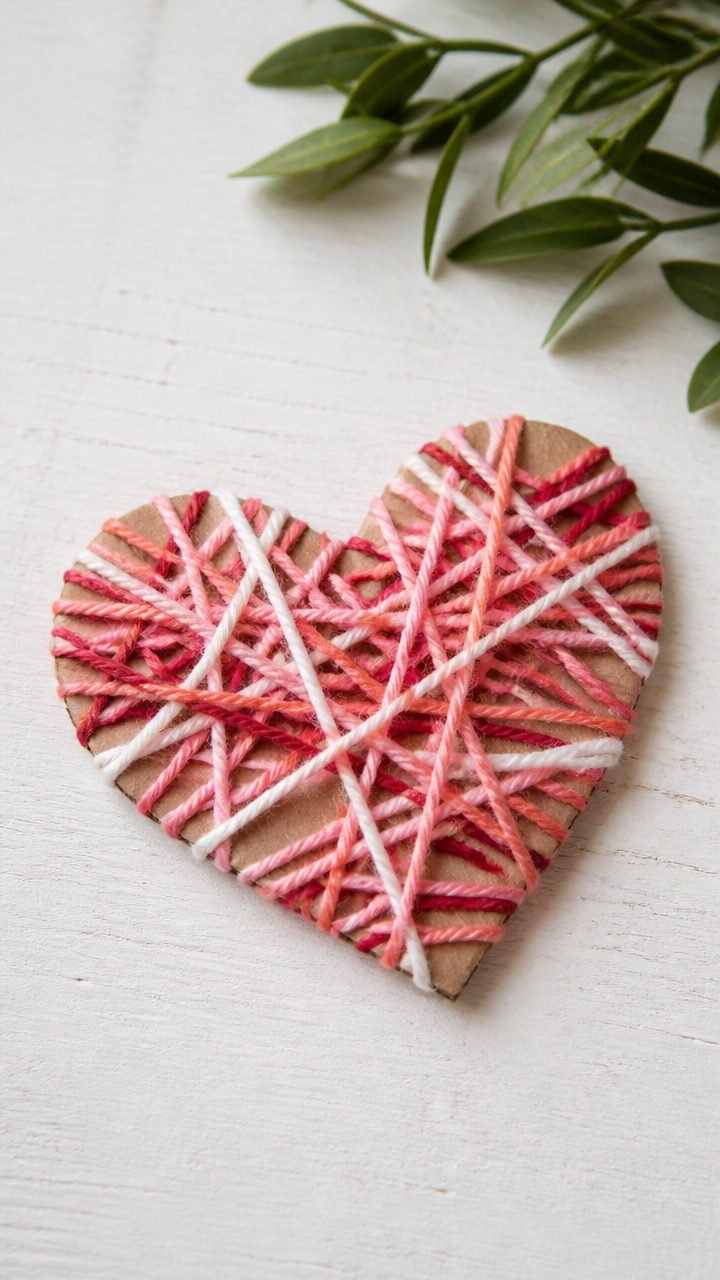
Thin yarn wraps tightly around stiff outlines to create bold, textured designs. The repetitive motion soothes and focuses restless energy.
Materials Needed
- Cardboard, 1 cereal box size
- Scissors, 1 pair
- Pencil, 1
- Yellow yarn, 3 yards
- Tape, small piece
How to Make It
- Draw a simple spiral shape on the cardboard and cut it out with scissors.
- Tape the end of the yarn to the back of the spiral.
- Wrap the yarn tightly around the edge, moving inward toward the center.
- Secure the end with tape on the back once the shape is fully wrapped.
8. Sticker Scene Collage
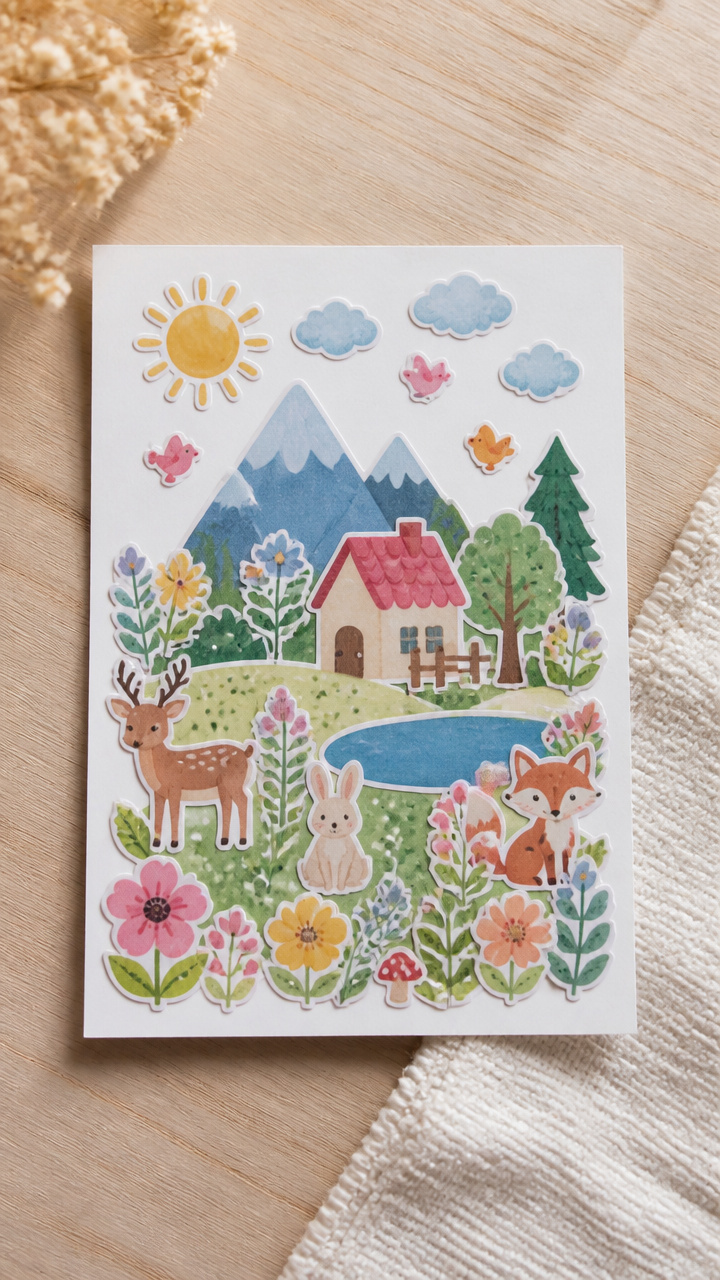
Pre-cut stickers build imaginative landscapes without spills or fussy tools. Great for quick creative bursts with zero cleanup.
Materials Needed
- White drawing paper, 8.5×11 inch
- Animal stickers, 1 sheet
- Tree and cloud stickers, 1 sheet
- Grass green crayon, 1
- Blue marker, 1
How to Make It
- Draw a wavy green line across the bottom third of the paper using the crayon.
- Color the top two-thirds with the blue marker to make a sky.
- Peel and place animal stickers on the grass area.
- Add tree and cloud stickers where they fit naturally in the scene.
9. Feather and Bead Wind Chime
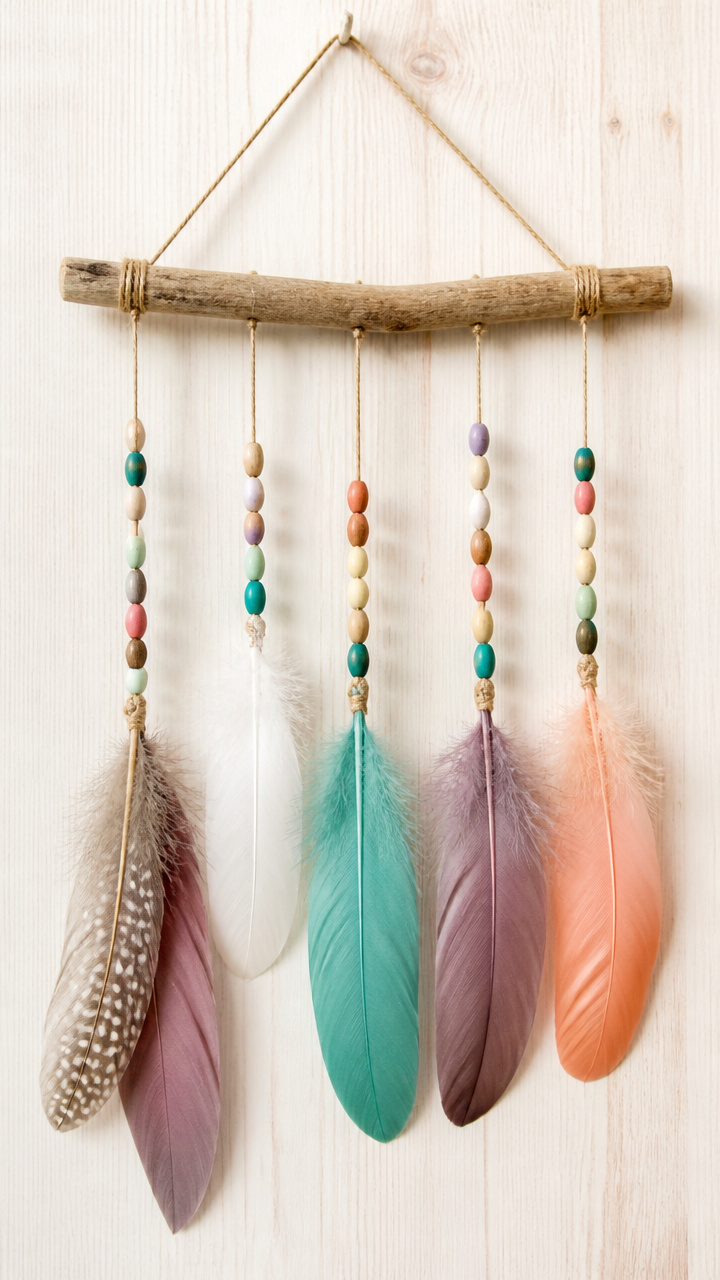
Light feathers sway with tiny beads on a bent wire ring. It moves silently indoors and catches attention with soft texture.
Materials Needed
- Metal embroidery hoop, 6 inch
- Craft glue, 1 bottle
- Goose feathers, 3
- Wooden beads, 6 (6mm)
- Jute string, 12 inches
- Hole punch, 1
How to Make It
- Separate the inner and outer hoop and use only the inner wire ring.
- Glue one feather to the bottom of the ring, spacing them evenly around the circle.
- Thread two beads onto a 6-inch piece of jute and tie a knot at the end.
- Punch a hole in the top of the ring and tie the remaining jute through it for hanging.
10. Clay Coil Snail
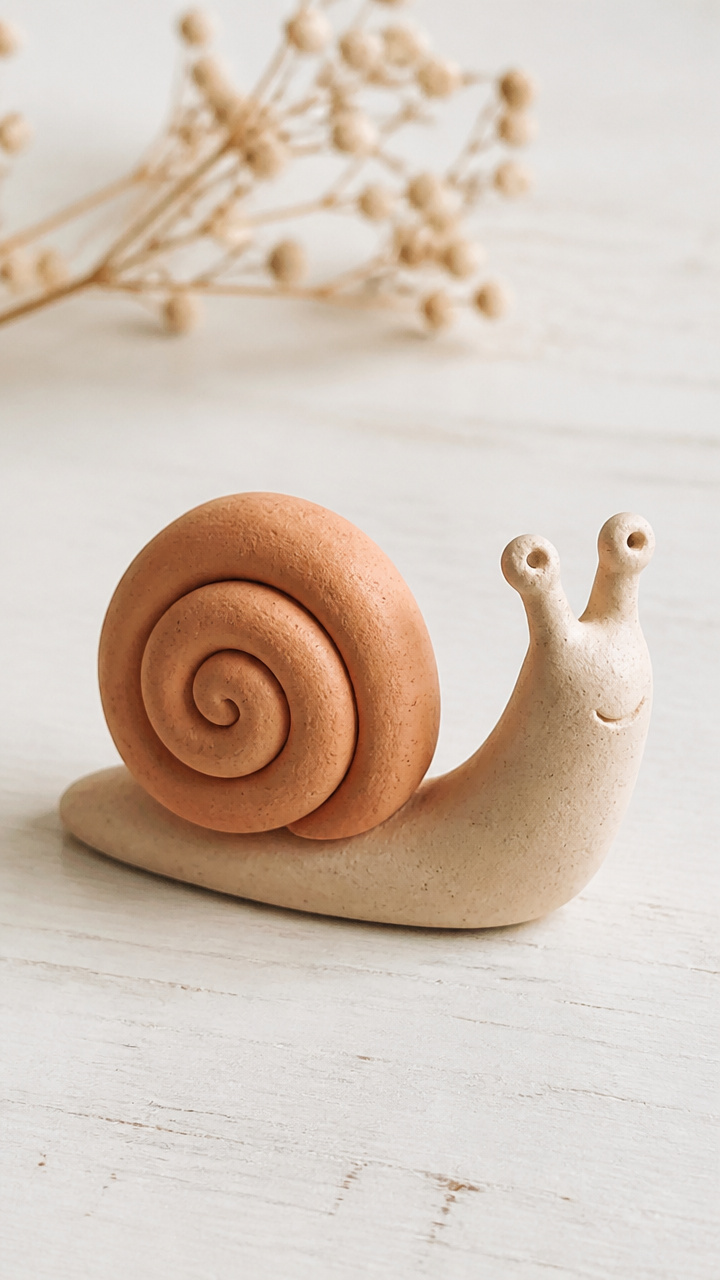
Air-dry clay rolls into a spiral shell with a soft body underneath. Shaping the coils slowly helps kids stay grounded and present.
Materials Needed
- White air-dry clay, 2 oz
- Rolling pin, 1
- Plastic knife, 1
- Toothpick, 1
- Acrylic paint (red), 1 small container
- Paintbrush, size 1
How to Make It
- Roll a small piece of clay into a 6-inch snake shape with both hands.
- Coil the snake tightly from the center outward to form a spiral shell.
- Flatten a second piece into an oval base and attach the coil on top.
- Use the toothpick to score lines on the shell, then paint the body red and let dry overnight.
11. Washi Tape Bookmarks
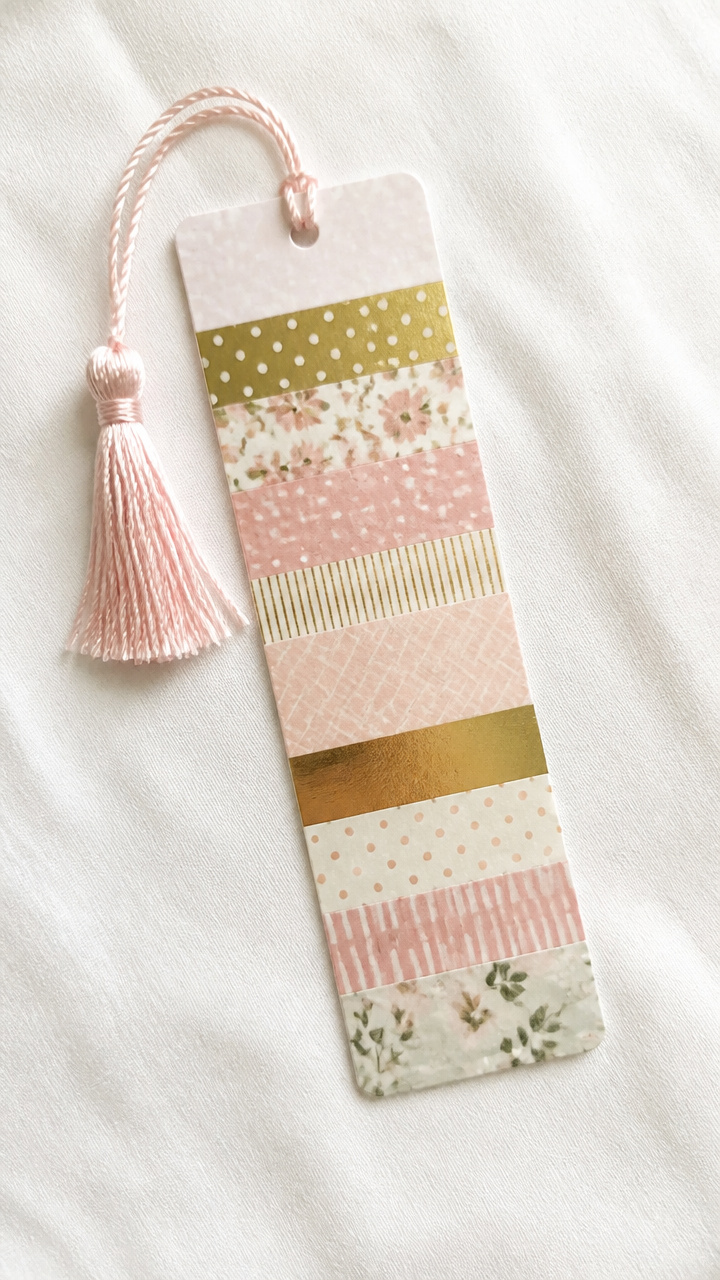
Sticky patterned tape sticks to cardstock strips for instant personalized bookmarks. No drying time, no mess, just clean design.
Materials Needed
- White cardstock, 1 sheet
- Scissors, 1 pair
- Ruler, 1
- Assorted washi tape, 3 rolls
- Hole punch, 1
- Ribbon, 6 inches
How to Make It
- Cut the cardstock into a 2×6 inch rectangle using the ruler and scissors.
- Layer 3 strips of different washi tape vertically down the front, pressing firmly.
- Flip and cover the back with one solid strip to seal the edges.
- Punch a hole at the top and thread the ribbon through to tie a small bow.
12. Glitter Glue Dot Painting
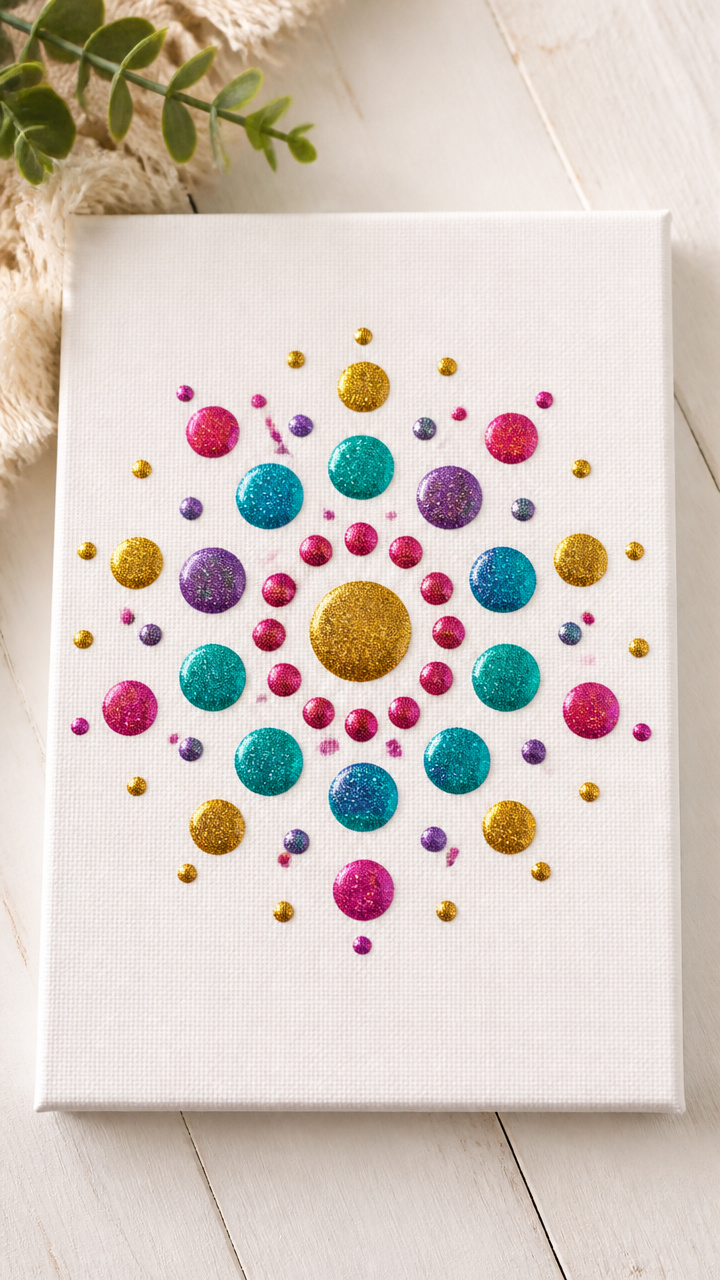
Precise dots of glitter glue form constellations or abstract patterns. The squeeze bottles give control and sparkle without spills.
Materials Needed
- Black construction paper, 6×6 inch
- Glitter glue bottles (gold, silver, blue), 3
- Cotton swab, 1
How to Make It
- Squeeze small dots of glitter glue onto the paper in any pattern, keeping spaces between.
- Use the cotton swab to gently adjust any blobs into even circles.
- Let the painting sit flat for 30 minutes until the glue loses its shine.
- Display on a low shelf where light catches the sparkles.
13. Foam Stamp Prints
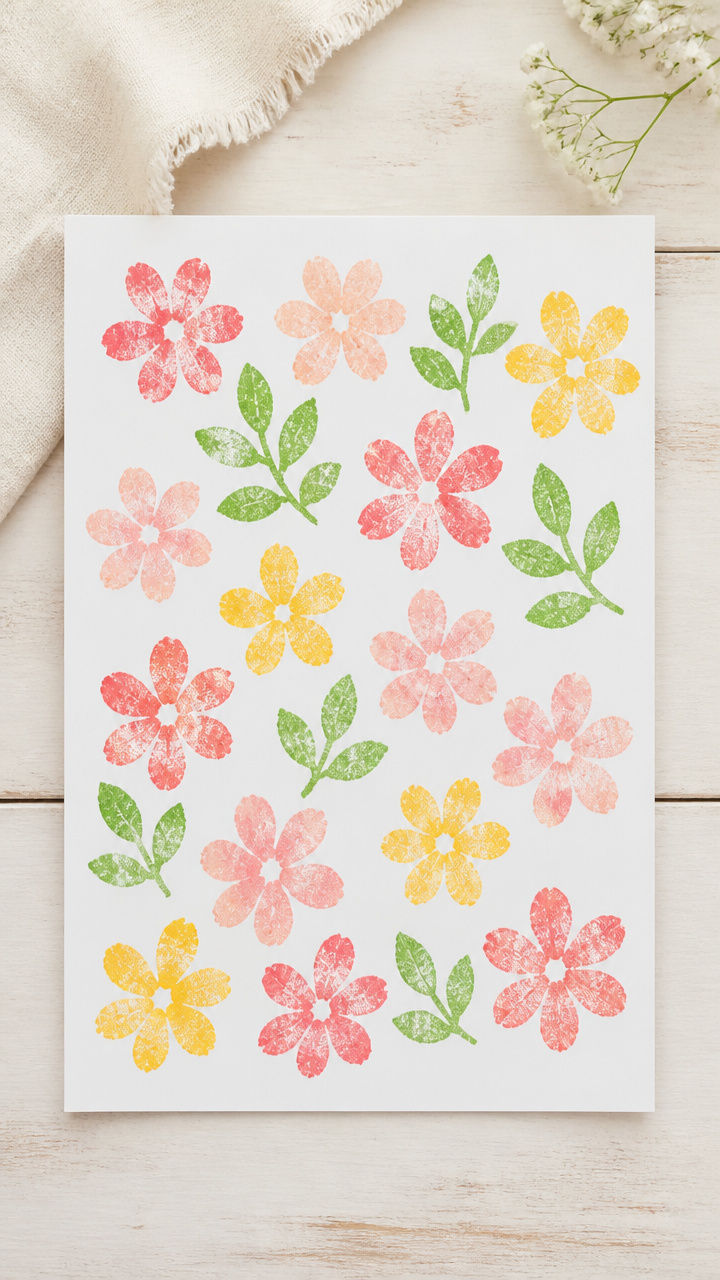
Carved foam sheets transfer crisp shapes onto paper with smooth rolling. Each stamp can be reused for endless pattern play.
Materials Needed
- Pack of foam sheets, 2 colors
- Scissors, 1 pair
- Pencil, 1
- Tempera paint (yellow), 1 container
- Brayer roller, 1
- White printer paper, 2 sheets
How to Make It
- Draw a simple sun shape on the yellow foam and cut it out carefully with scissors.
- Roll a thin layer of yellow tempera paint onto the brayer, then over the foam shape.
- Press the foam stamp firmly onto the printer paper, holding it flat for 3 seconds.
- Lift straight up to reveal a clean print and repeat with spacing.
14. Clothespin Butterfly
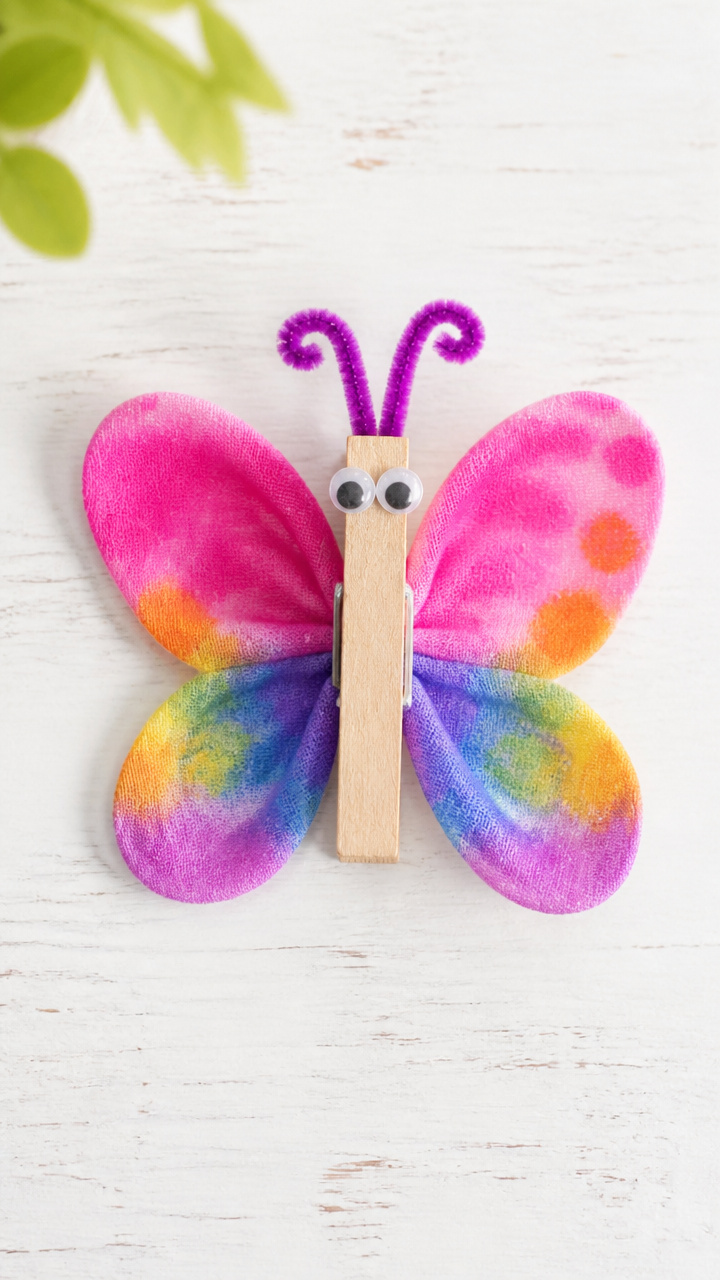
Wooden clothespins grow colorful wings made from folded tissue. A spring-loaded body lets it clip onto books or notes.
Materials Needed
- Wooden clothespin, 1
- Pink tissue paper, 1 sheet
- Scissors, 1 pair
- Glue stick, 1
- Googly eyes, 2 (6mm)
- Pipe cleaner (green), 1
How to Make It
- Fold the tissue paper in half and cut a wing shape along the fold, then unfold to make a symmetrical pair.
- Apply glue to the center crease and attach it to the spring part of the clothespin.
- Glue the googly eyes near the top of the clothespin head.
- Twist the pipe cleaner around the neck to make antennae with coiled tips.
15. Puzzle Piece Magnet
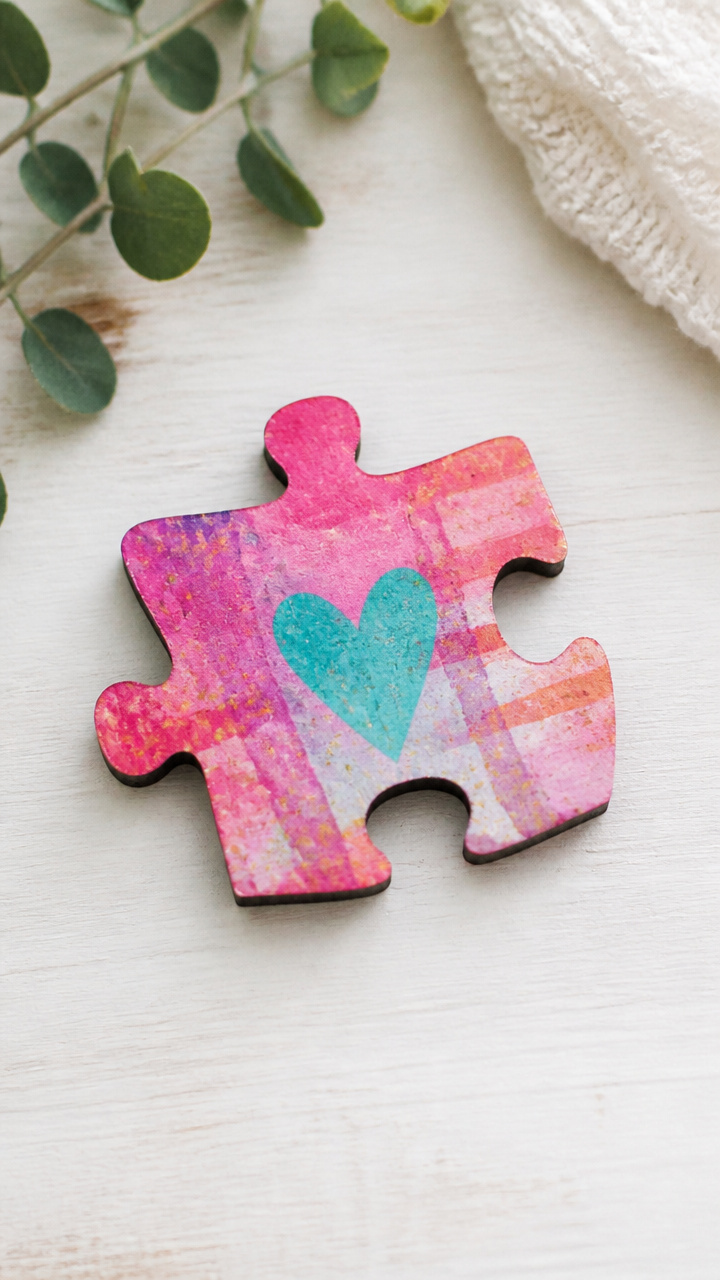
Old puzzle pieces turn into whimsical magnets with painted faces. It gives new life to broken sets and creates tiny characters.
Materials Needed
- Wooden jigsaw puzzle piece, 1
- Acrylic paint (blue and white), 2 colors
- Paintbrush, size 0
- Small magnet, 1 (1/2 inch)
- Craft glue, 1 bottle
How to Make It
- Paint the flat side of the puzzle piece blue and let it dry for 15 minutes.
- Use the small brush to add white swirls for clouds on top.
- Paint a simple smiling face on the raised end with white and blue details.
- Glue the magnet to the back and wait 30 minutes before placing on a fridge.
These quiet crafts meet kids where they are, whether they need focus, calm, or just a little joy. Grab a few supplies and let their hands lead the way.