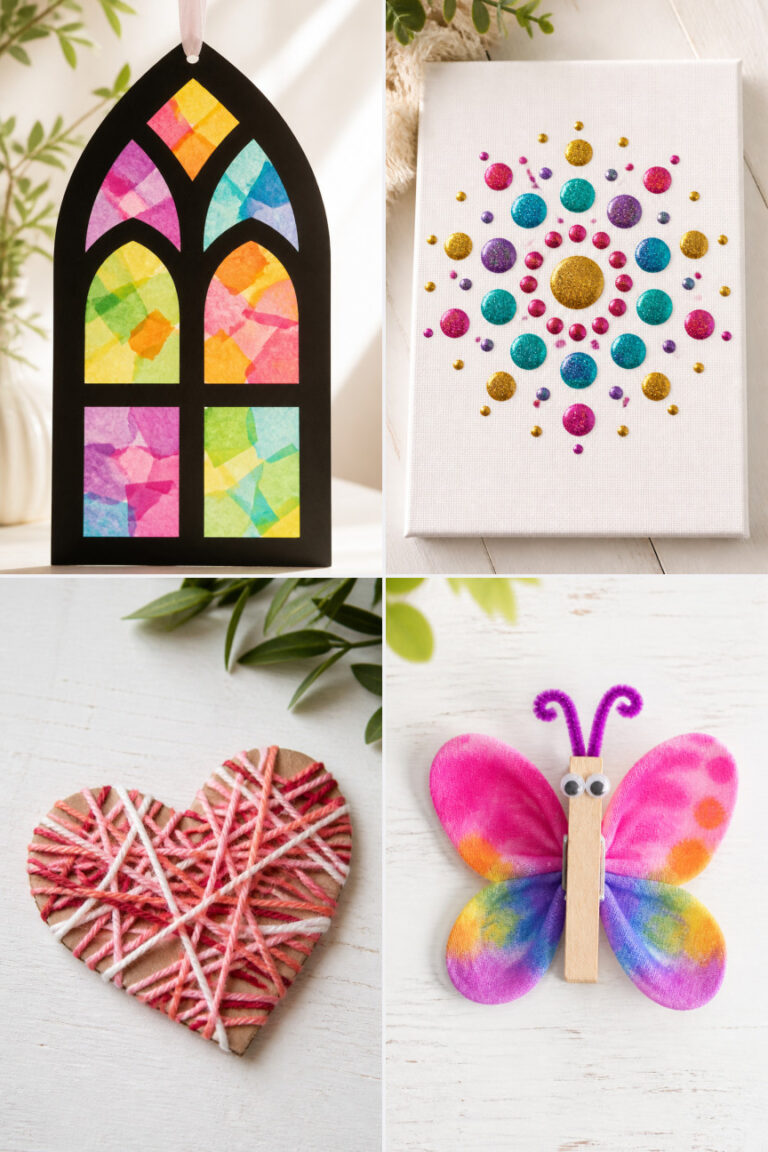
15 Creative Toilet Paper Roll Crafts for Kids to Make at Home
You know those empty toilet paper rolls piling up in your recycling bin? They’re not trash, they’re treasure waiting to be discovered. With a little paint, glue, and imagination, you and your kids can turn them into whimsical animals, clever toys, and colorful decorations that spark joy and creativity.
These crafts use simple supplies you likely already have. Each one teaches a new skill, from rolling and folding to painting and assembling, all while keeping little hands busy and minds engaged.
1. Paper Roll Octopus
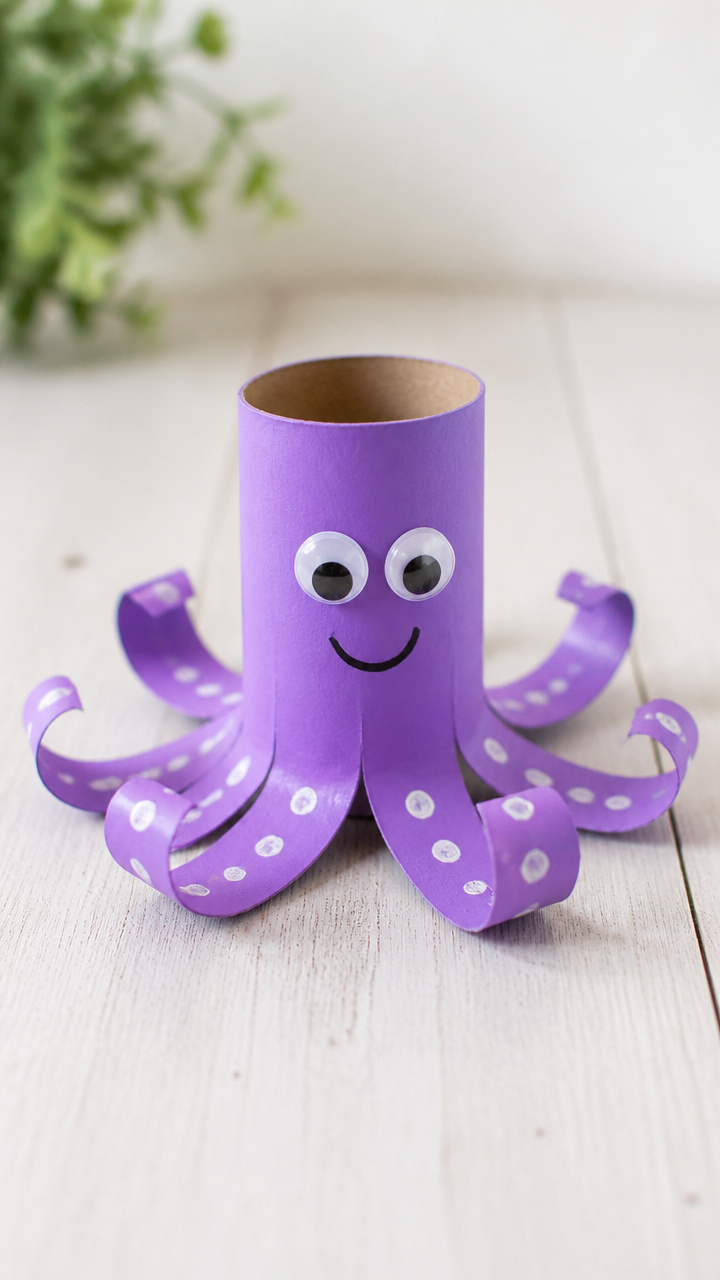
Soft tentacles and a round body make this octopus feel like a sea friend come to life. It’s perfect for pretend play or as a cheerful shelf buddy.
Materials Needed
- 1 empty toilet paper roll
- 8 strips of purple construction paper, 2 inches by 6 inches each
- White glue
- Googly eyes, 2 pack
- Purple acrylic paint
- Paintbrush
- Scissors
How to Make It
- Paint the entire toilet paper roll purple using the paintbrush. Let it dry completely on a piece of scrap paper, about 15 minutes.
- Glue one strip of purple paper to the bottom edge of the roll so it hangs down like a tentacle. Repeat with the other seven strips evenly spaced around the base.
- Once all tentacles are attached, glue two googly eyes near the top inside edge of the roll. Press gently and let dry for 10 minutes.
2. Roll Stamp Butterfly
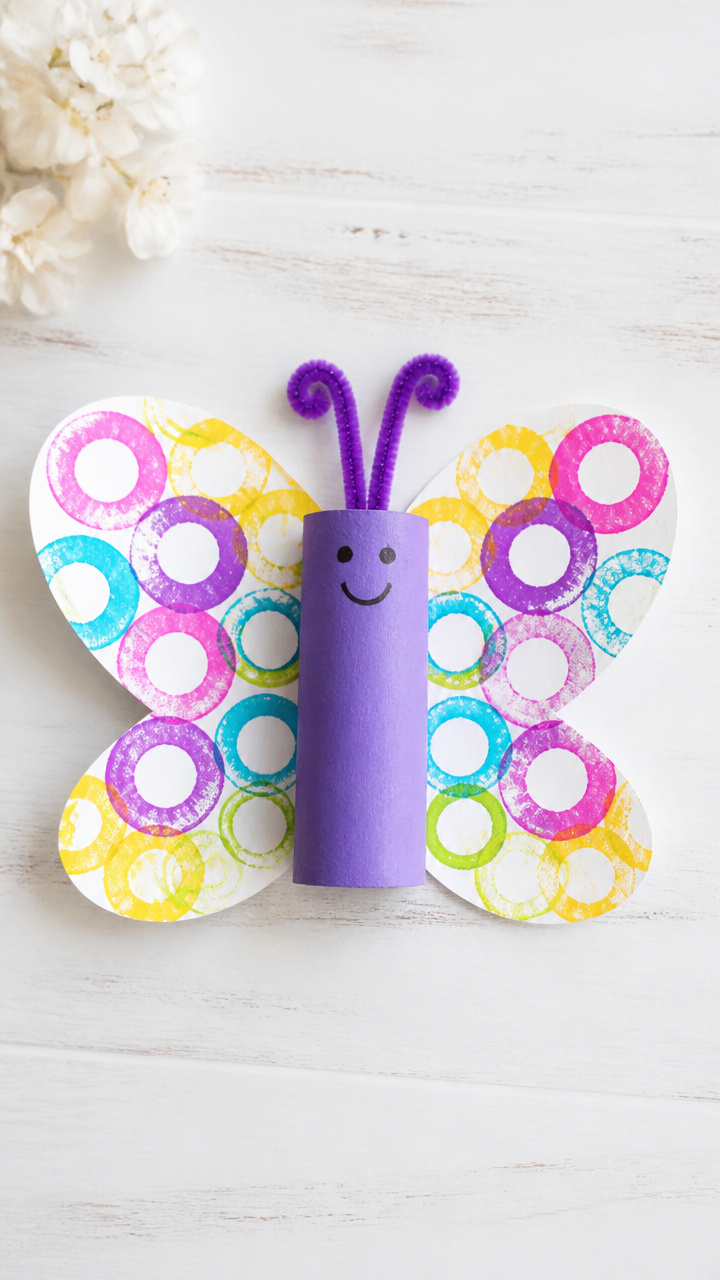
Bold wings with symmetrical patterns emerge when you press and lift. This craft teaches color mixing and pattern design through playful printing.
Materials Needed
- 1 empty toilet paper roll
- Red tempera paint
- Blue tempera paint
- Yellow tempera paint
- White drawing paper, 9×12 inches
- Paint tray
- Pencil
- Black marker
How to Make It
- Dip one end of the toilet paper roll into red paint on the tray. Press it firmly onto one side of the paper to make a wing shape.
- Repeat on the opposite side to create a mirror image. Rinse the roll and repeat with blue and yellow paint to layer colors and fill space.
- Once the paint dries, draw a body down the center with the black marker and add antennae with small loops at the top.


3. Cardboard Tube Binoculars
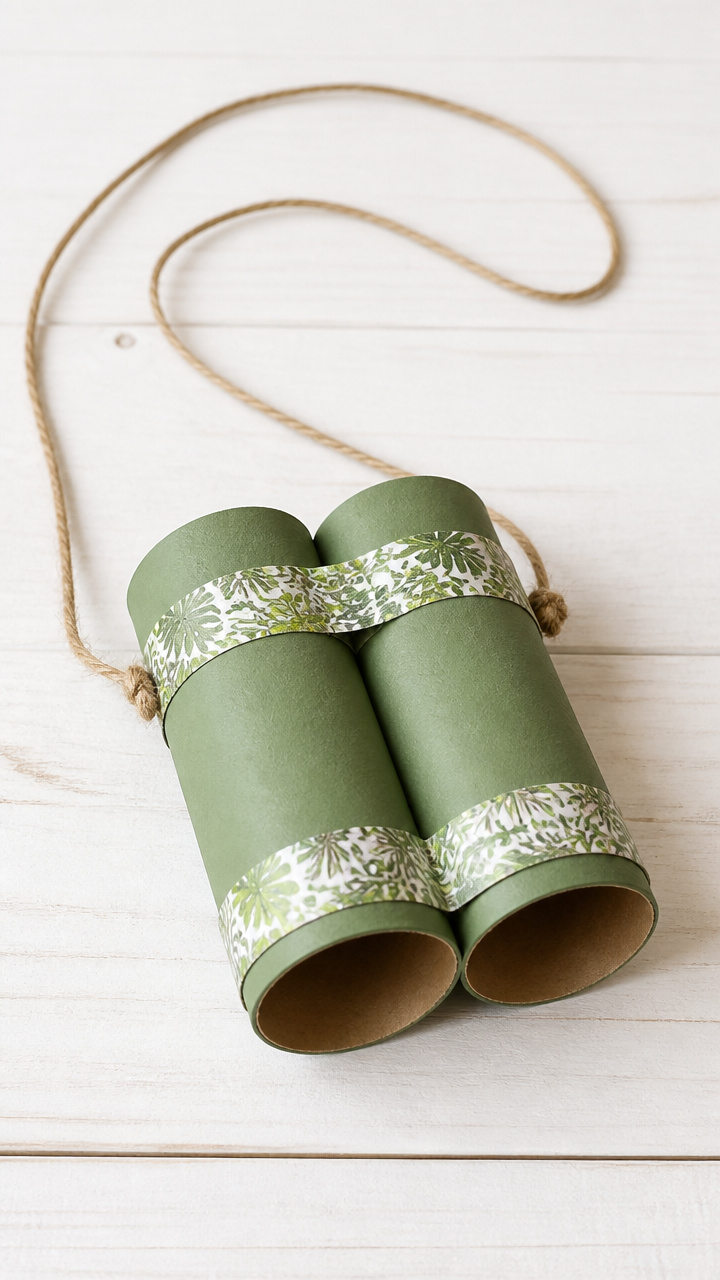
Two tubes taped together let kids peer into backyard adventures. These sturdy binoculars inspire outdoor exploration and imaginative safari missions.
Materials Needed
- 2 empty toilet paper rolls
- Masking tape
- String, 24 inches long
- Green acrylic paint
- Paintbrush
- Hole punch
- White glue
How to Make It
- Lay the two rolls side by side and tape them together along the length with masking tape. Wrap tightly so they stay aligned.
- Paint both tubes green and let dry flat for 20 minutes. Turn once halfway through to coat evenly.
- Punch one hole on each side of the outer tube walls near the ends. Thread the string through and tie knots inside to secure.


4. Toilet Roll Rocket
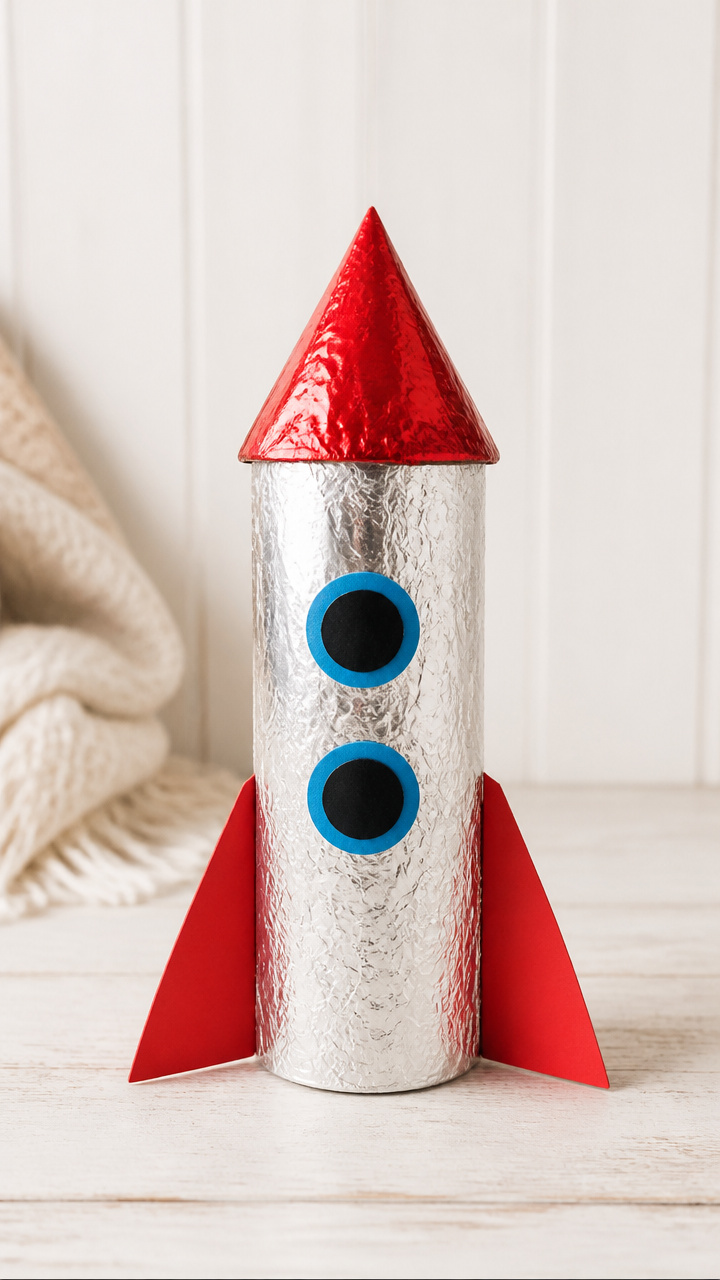
A pointed nose and fiery tail send this rocket soaring off shelves. It stands upright and looks ready for blastoff any time.
Materials Needed
- 1 empty toilet paper roll
- Red construction paper
- Yellow tissue paper, 6×6 inches
- White glue
- Scissors
- Aluminum foil, 6×6 inches
- Glue stick
How to Make It
- Cut a circle from the aluminum foil, about 3 inches wide. Crumple slightly and glue to one end of the roll as the nose cone.
- Cut three triangular fins from red construction paper. Glue one to the bottom edge of the roll, spacing the others evenly around it.
- Crumple yellow tissue paper into a flame shape and glue it to the bottom center of the roll so it peeks out beneath the fins.


5. Tube Puppet Theater
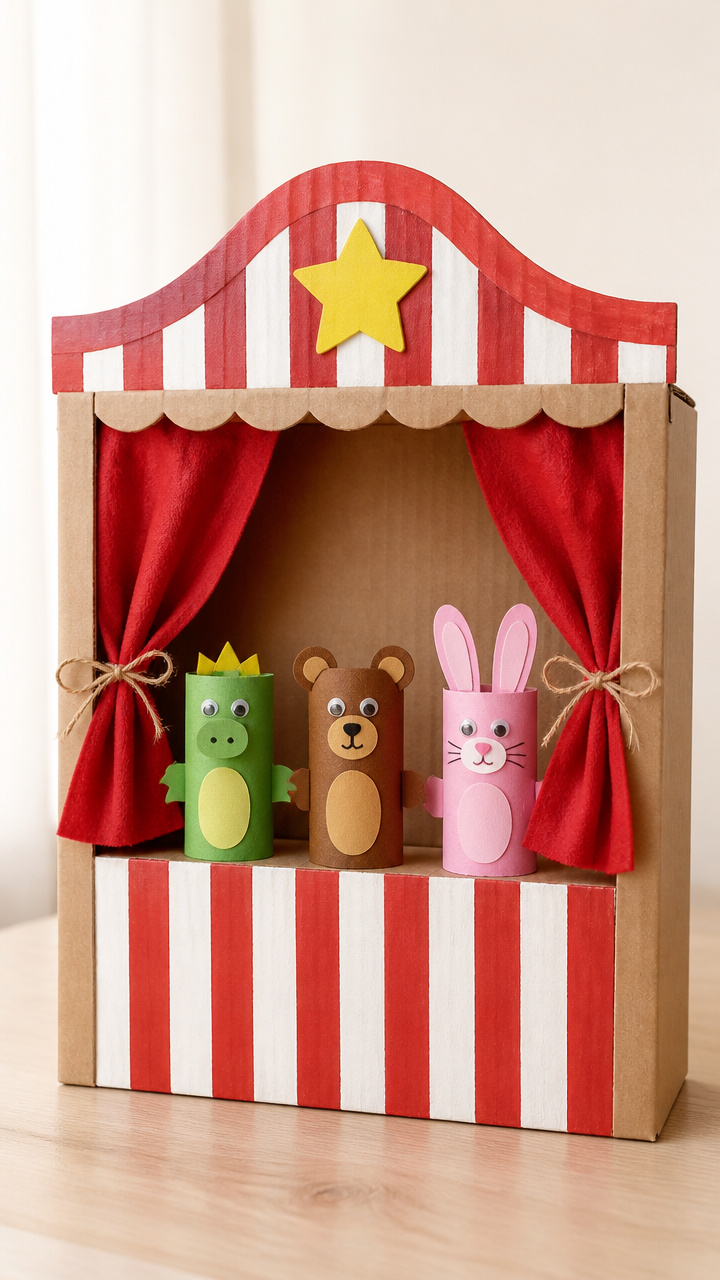
A standing stage with a curtained window invites finger puppet shows. This foldable theater fits on a table and holds attention during storytelling time.
Materials Needed
- 1 empty toilet paper roll
- Brown kraft paper, 8×10 inches
- Red felt, 5×5 inches
- White glue
- Glue stick
- Ruler
- Scissors
- Pencil
How to Make It
- Lay the roll on its side. Use the glue stick to attach brown kraft paper to the front, back, and sides, forming a box shape open at top and bottom.
- Cut a rectangle window in the front panel, 2 inches high by 3 inches wide, centered on the roll.
- Fold red felt in half and glue behind the window to form curtains. Leave edges loose so they can be pulled open with tiny fingers.
6. Bumblebee Body Tubes
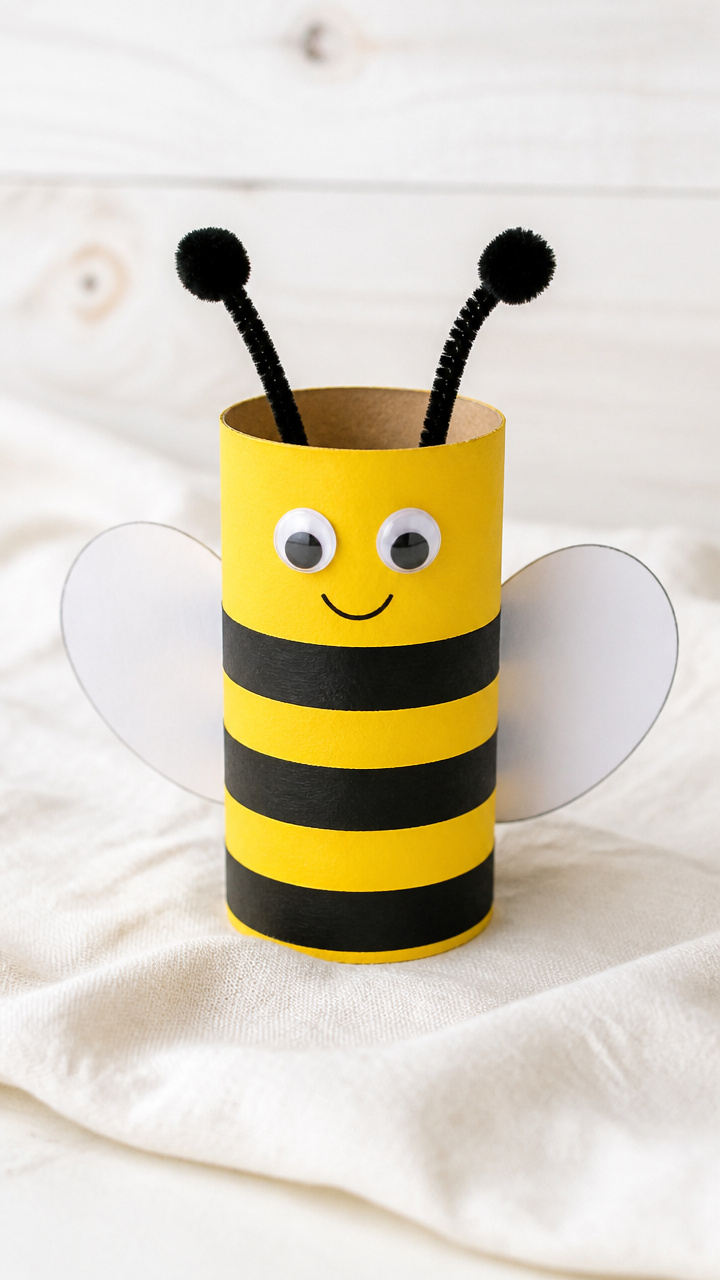
Striped segments and fluttering wings give this bee a buzzy personality. It hangs from a string or sits proudly on a windowsill.
Materials Needed
- 1 empty toilet paper roll
- Yellow acrylic paint
- Black acrylic paint
- Paintbrush
- White paper
- Scissors
- Glue stick
- Clear thread, 12 inches
- Wiggly eyes, 2
How to Make It
- Paint the roll yellow and let dry for 15 minutes. Use a thin brush to add three thick black stripes across the body, letting them dry 10 minutes.
- Cut two teardrop-shaped wings from white paper. Glue them to the back of the roll just below the top edge.
- Glue wiggly eyes near the top front. Tie thread to each side of the top edge for hanging.
7. Nestling Bird in a Roll
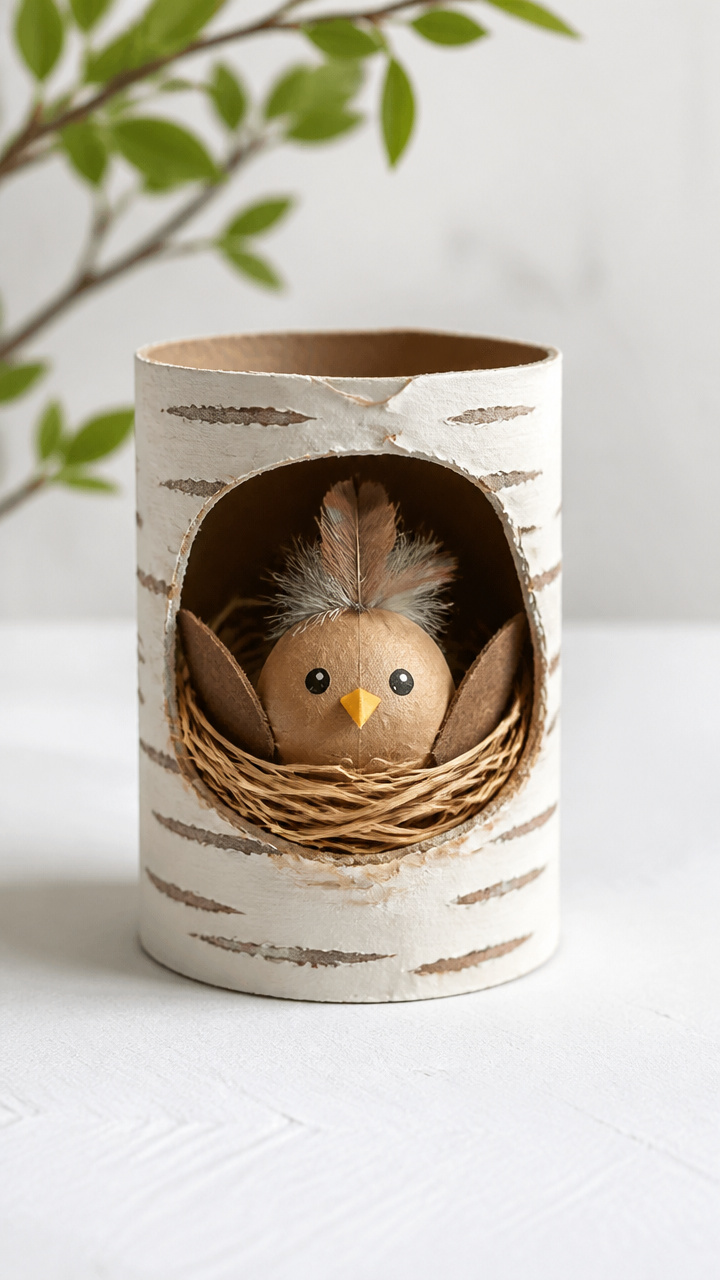
Fluffy feathers and an open beak make this bird look cozy and curious. It peeks out from the roll like it just hatched.
Materials Needed
- 1 empty toilet paper roll
- Orange felt, 3×3 inches
- Blue pom-poms, 3 sizes
- Tacky glue
- Yellow craft feathers, small handful
- Scissors
How to Make It
- Cut a triangle beak from orange felt. Glue it to the top front edge of the roll so it points outward.
- Glue the largest blue pom-pom just below the beak to form the head. Press and hold for 10 seconds.
- Line the inside upper rim of the roll with yellow feathers, tucking tips down so they flare like fluff. Let dry completely.
8. Firework Roll Print Art
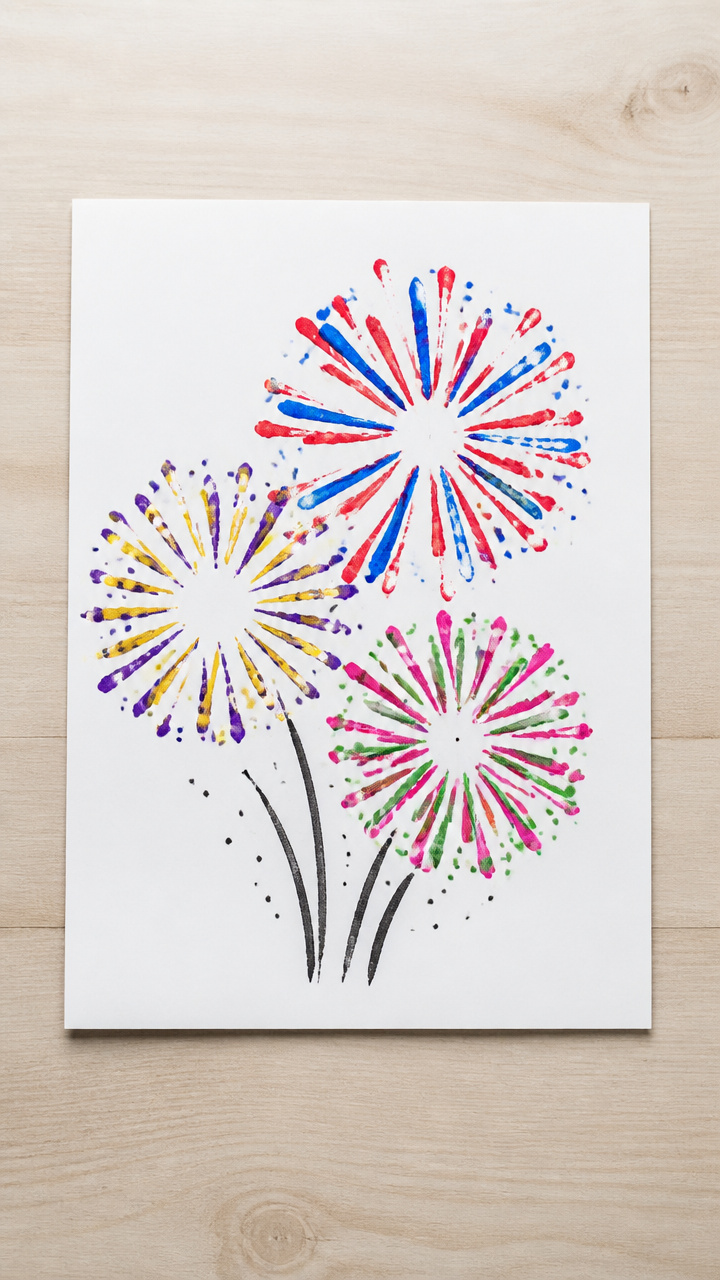
Sprays of color burst from the center like real fireworks. This sensory-rich activity works best outdoors or over newspaper.
Materials Needed
- 1 empty toilet paper roll
- Red liquid watercolor
- Blue liquid watercolor
- Yellow liquid watercolor
- Watercolor paper, 8×10 inches
- Small sponge, 1 inch cube
- Shallow dish
How to Make It
- Pour a teaspoon of red watercolor into the dish. Dip one end of the sponge into the color and dab it lightly onto the open end of the roll.
- Press the roll firmly onto the watercolor paper and lift straight up to leave a ringed print. Rotate slightly and repeat nearby.
- Rinse the sponge and repeat with blue and yellow, overlapping prints to create explosion layers. Let air dry flat for 30 minutes.
9. Roll Animal Feet Stamps
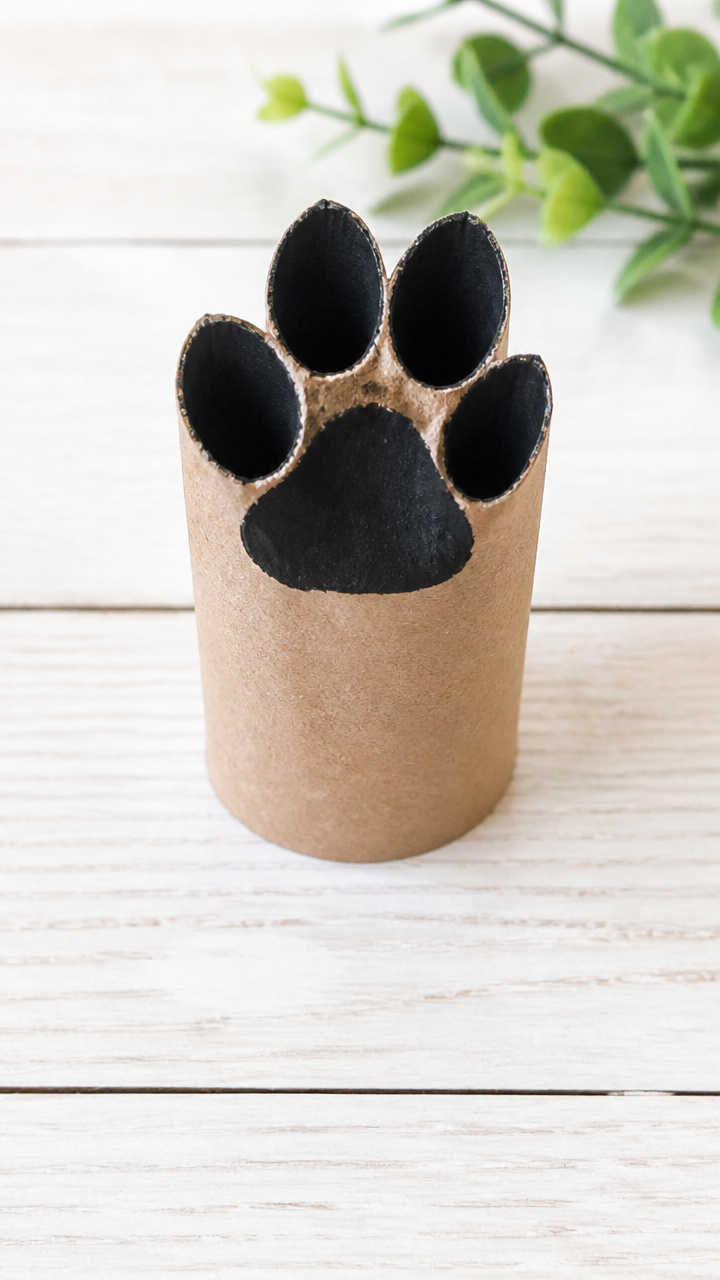
Sturdy paw prints march across paper when you dip and press. These stamps grow into full animal stories with added details.
Materials Needed
- 1 empty toilet paper roll
- Brown acrylic paint
- Paintbrush
- Black marker
- Stamp pad, black
- Drawing paper, 9×12 inches
How to Make It
- Paint the roll brown and let dry for 20 minutes. Draw four small oval pads and five toe marks on one end using the black marker.
- Press the stamped end into the ink pad until fully coated. Test on scrap paper first to check clarity.
- Press firmly onto the drawing paper and lift straight up. Repeat to make a trail, then add animals with crayons or markers.
10. Toilet Roll Crown
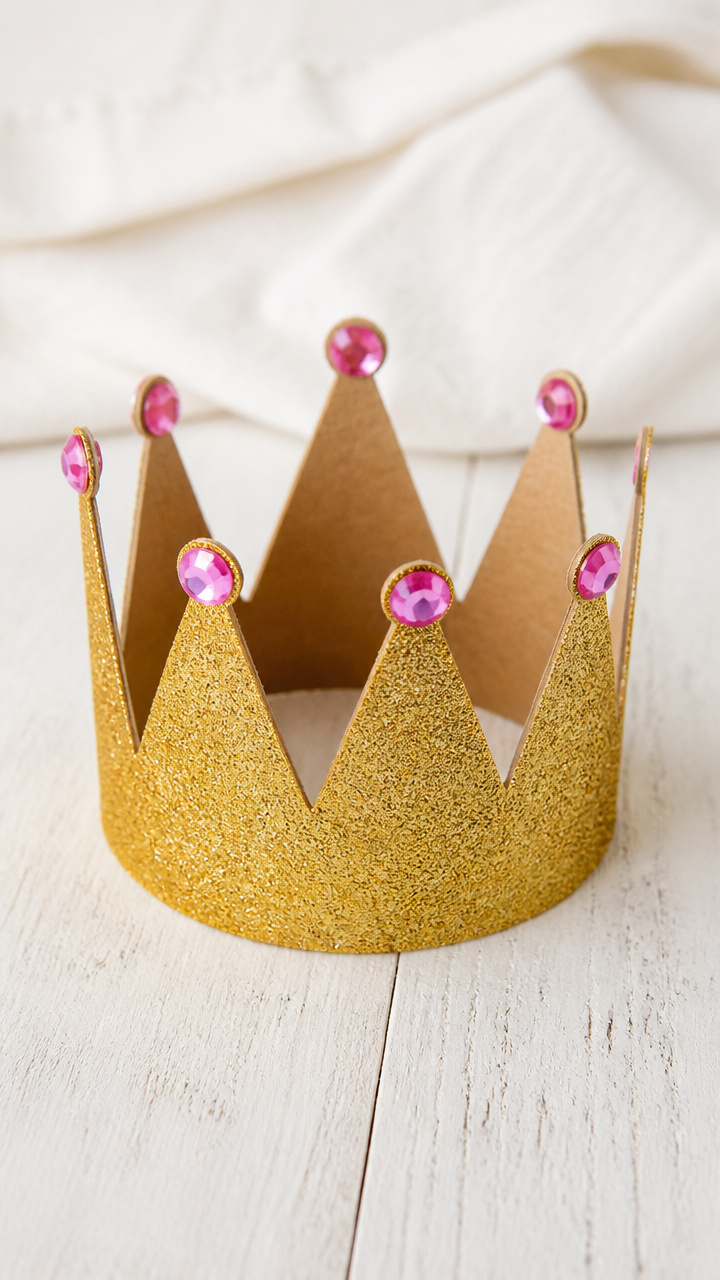
A row of standing rolls forms a bumpy royal band. When decorated and taped, it fits snugly on a child’s head.
Materials Needed
- 5 empty toilet paper rolls
- Hot pink construction paper
- White glue
- Glue stick
- Scissors
- Measuring tape
- Double-sided tape
How to Make It
- Cut each roll in half crosswise to make 10 short tubes. Flatten one side of each with your palm to help them stand.
- Wrap each piece with hot pink paper using the glue stick. Overlap edges neatly and press to seal.
- Measure the child’s head and cut a strip of cardstock to fit. Attach the 10 pieces upright along the strip using double-sided tape.


11. Ladybug Log Hideout
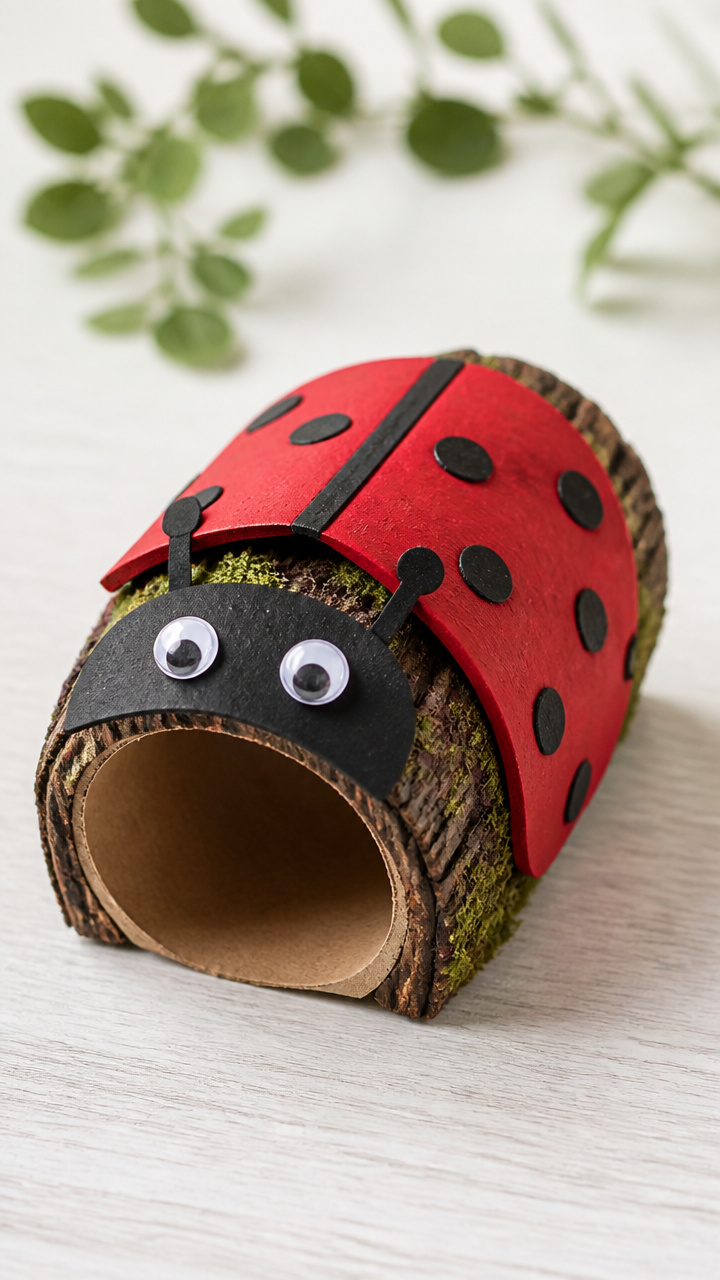
Polka dots and curled legs make this bug seem ready to crawl. It stands on its own and doubles as a story prop.
Materials Needed
- 1 empty toilet paper roll
- Red acrylic paint
- Black acrylic paint
- Paintbrush
- Black pipe cleaner, 12 inches
- Round red stickers, 1 inch diameter, 6 count
- Scissors
How to Make It
- Paint the entire roll red and let dry for 15 minutes. Draw a thick black line down the middle of the roll lengthwise.
- Cut the pipe cleaner into six equal pieces. Bend each into a tiny leg shape and push one pair into each side near the bottom.
- Place three round stickers on each side of the black line to form polka dots. Press gently to avoid wrinkling.
12. Roll Weaving Frame
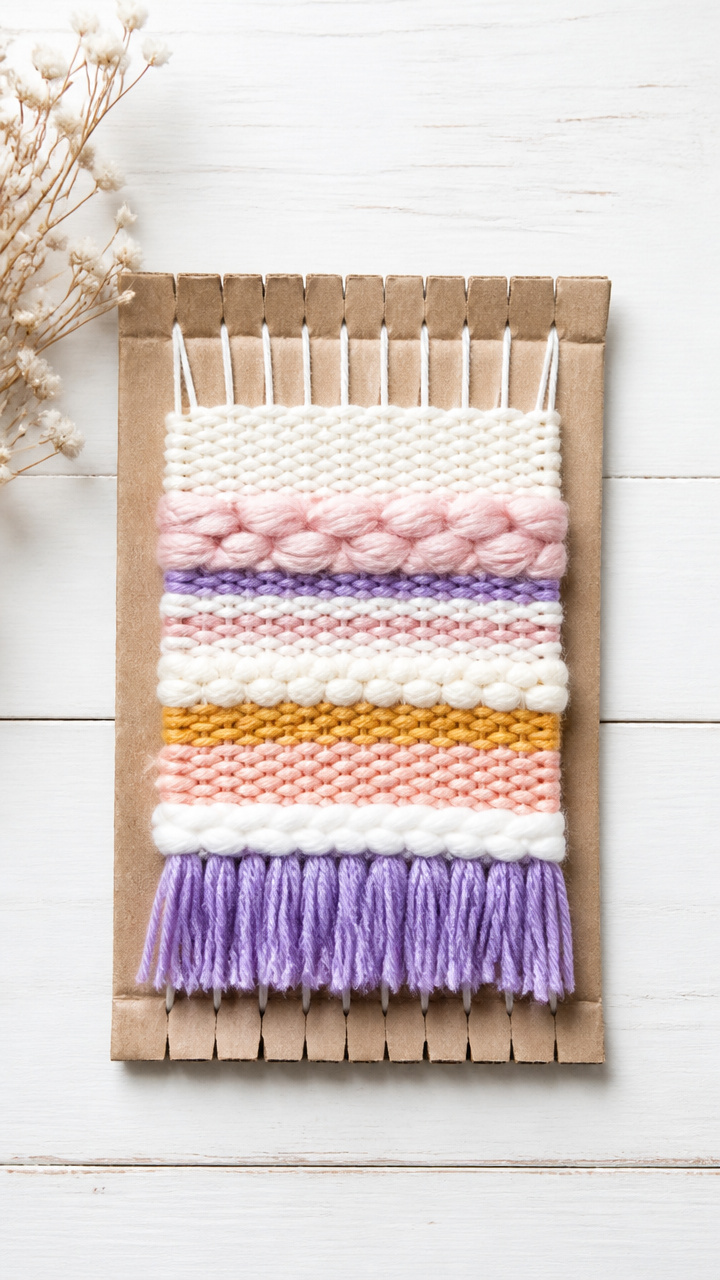
Vertical slits hold yarn strands for simple over-under weaving. This loom fits small hands and builds fine motor skills.
Materials Needed
- 1 empty toilet paper roll
- Craft knife
- Ruler
- Pencil
- Yarn scraps, assorted colors, 12 inches each
- Blunt needle
How to Make It
- Use the pencil to mark vertical lines every 1/2 inch around the top and bottom rims of the roll. Connect top and bottom marks with light lines.
- Make small cuts along each line with the craft knife, just deep enough to insert yarn ends. Adult supervision required.
- Insert one yarn strand into each slit, pulling tight. Weave horizontally with another yarn using the blunt needle, going over and under vertical threads.
13. Snail Shell Spiral
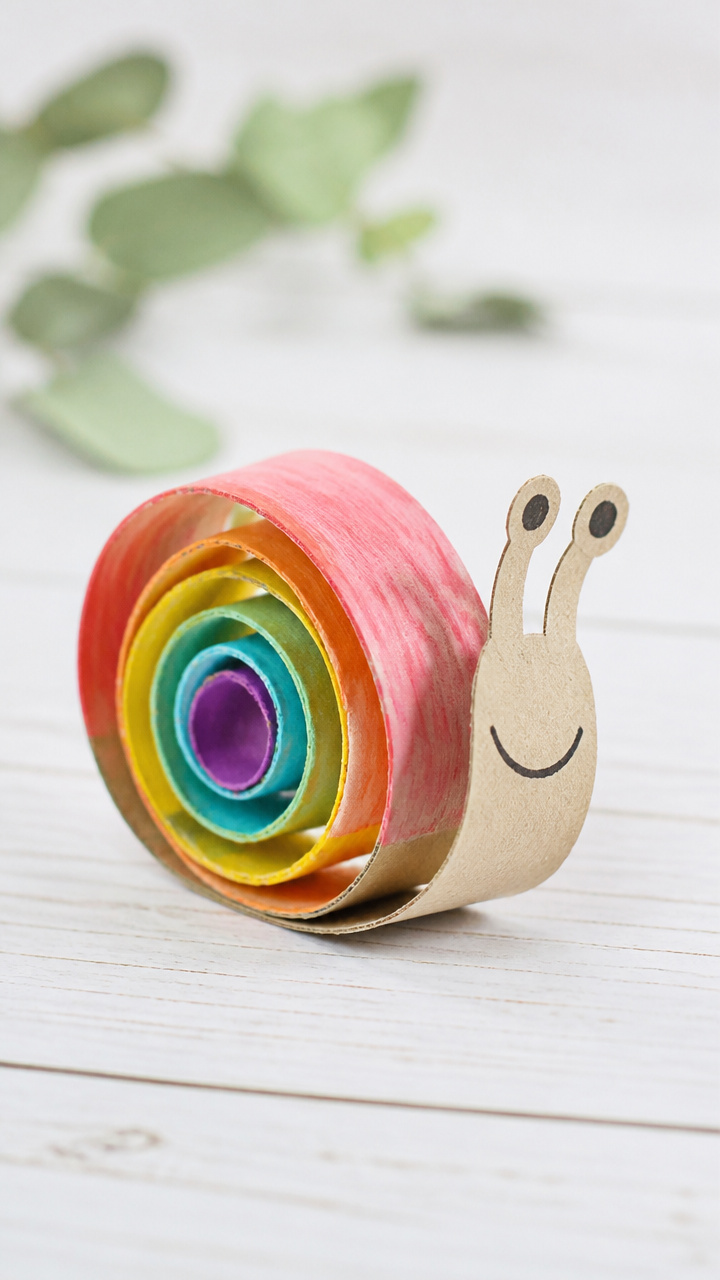
A coiled paper shell gives this snail slow-motion charm. It glides along surfaces with soft paper feet.
Materials Needed
- 1 empty toilet paper roll
- Teal construction paper
- Glue stick
- Brown pipe cleaner, 12 inches
- White paper
- Scissors
- Googly eyes, 2
How to Make It
- Cut a spiral from teal paper starting at the outer edge, 1 inch wide and 6 inches long. Roll it tightly from the center and glue the end.
- Glue the spiral to one side of the roll so it curves behind. Let dry 10 minutes.
- Cut two short legs from brown pipe cleaner and two eye stalks from white paper. Attach eyes to the tops and glue all parts to the front.


14. Tube Marble Run Maze
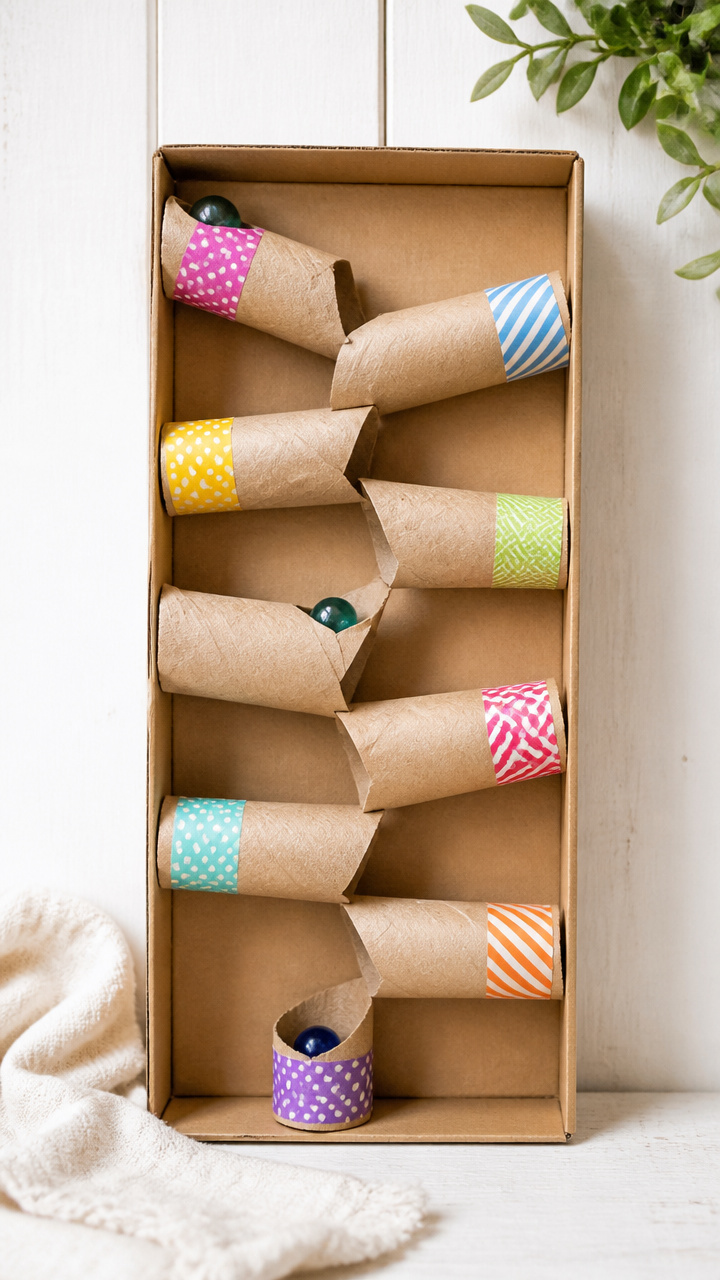
A tilted roll guides a marble down a zigzag path. Cut slits and bends create obstacles that test balance and patience.
Materials Needed
- 1 empty toilet paper roll
- Plastic marble
- Craft knife
- Ruler
- Pencil
- Tape
- Book or block to tilt
How to Make It
- Lay the roll flat. Use the pencil to mark three diagonal cuts across the length, each 1 inch long and angled left to right.
- With adult help, make each cut with the craft knife. Bend the flaps slightly inward to form speed bumps.
- Place one end on a book and the other on the table. Roll the marble through and adjust angles until it moves smoothly.
15. Snowman Stack Surprise
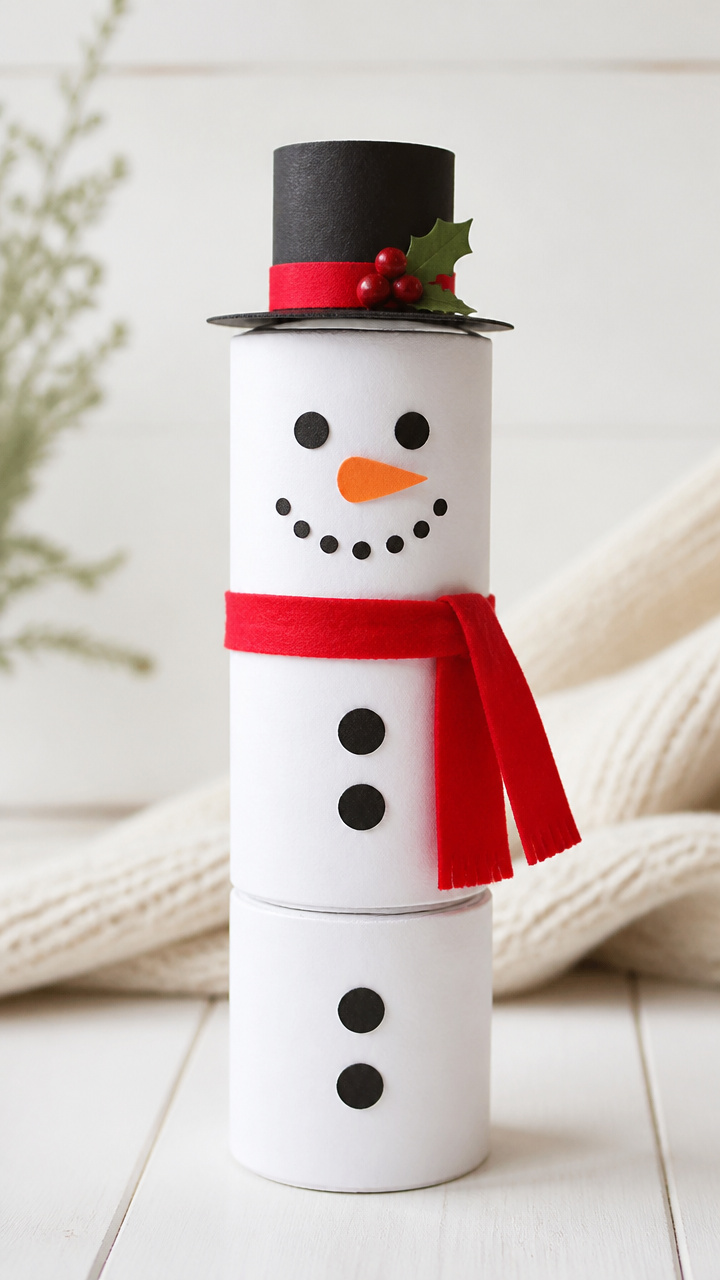
Three nested rolls form a frosty figure with a scarf and face. When lifted, a hidden message appears underneath.
Materials Needed
- 3 empty toilet paper rolls
- White paint
- Paintbrush
- Orange felt, 2×2 inches
- Black buttons, 3
- Fabric scrap, 4×4 inches
- Glue
- Index card
How to Make It
- Paint all three rolls white and stack them vertically, largest at bottom. Glue together and let dry 20 minutes.
- Cut a carrot nose from orange felt and glue below the top roll. Add three black buttons down the front.
- Wrap fabric scrap around the middle as a scarf. Slide an index card under the bottom roll with a secret note drawn on it.
Each of these crafts turns something ordinary into a moment of wonder. Grab a few rolls and start creating with your kids today.