13 Handmade Christmas Card Ideas With a Vintage Feel
Long after the holidays pass, the cards people cherish most are the ones they tuck into drawers and save for years. Store-bought greetings simply cannot match the quiet warmth of a handmade card with a vintage soul, crafted with soft paper, faded ink, and delicate details.
These thirteen card ideas draw from different corners of craft history, using time-honored techniques and real materials to create genuine keepsakes.
With clear steps you can follow right now, there is no guesswork involved. Just honest, timeless making that brings the comforting charm of the past to your holiday crafting.
1. Pressed Holly Sprig Cards
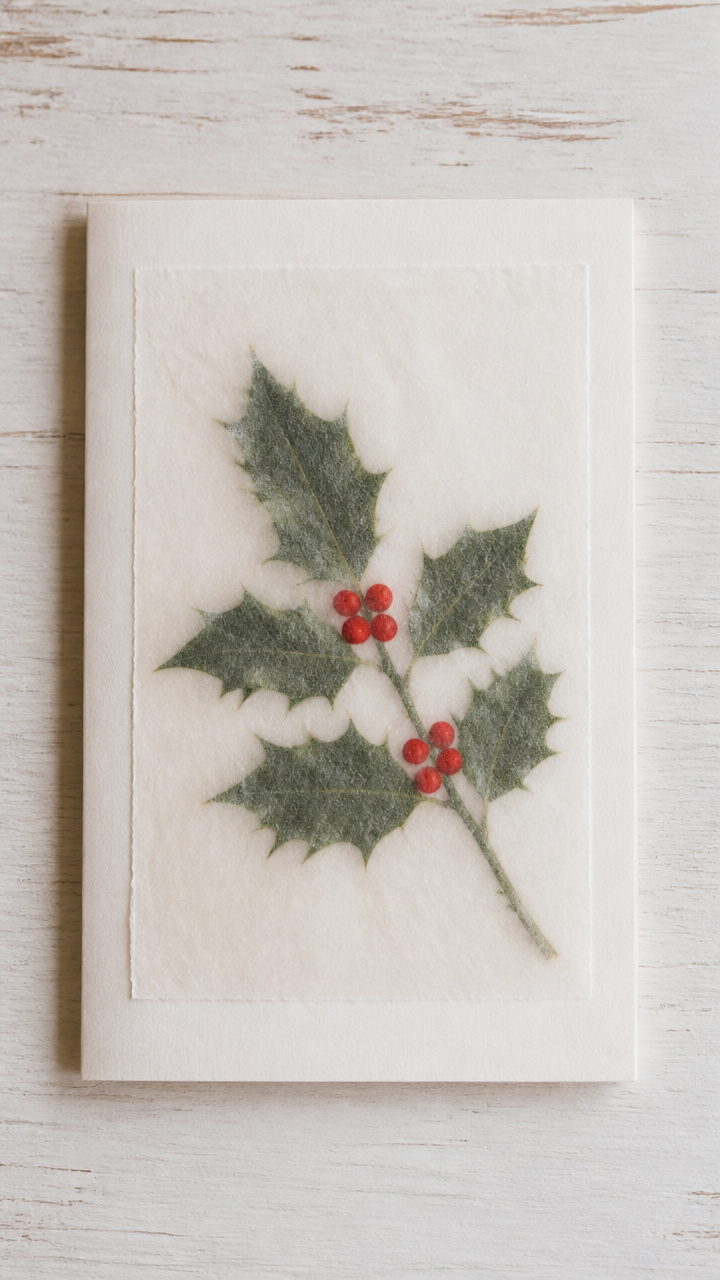
Real holly leaves pressed in waxed paper add a crisp, natural elegance to your cards. This method preserves the plant’s shape and color with a translucent finish that glows when held to the light.
Materials Needed
- Fresh holly sprigs with berries
- A4 white cardstock
- Parchment paper, two sheets
- Heavy book
- Wax paper
- Iron
- Glue stick
- Scissors
How to Make It
- Pick small holly sprigs with one or two leaves and a berry cluster. Trim stems to 2 inches.
- Place each sprig between two sheets of wax paper, then sandwich inside parchment paper.
- Press with a warm iron on low heat for 10 seconds to seal the wax around the leaf.
- Let cool completely, then trim the waxed patch to 2×3 inches.
- Glue the waxed holly piece onto the front of a folded A4 cardstock card.


2. Sepia Ink Quill Lettering
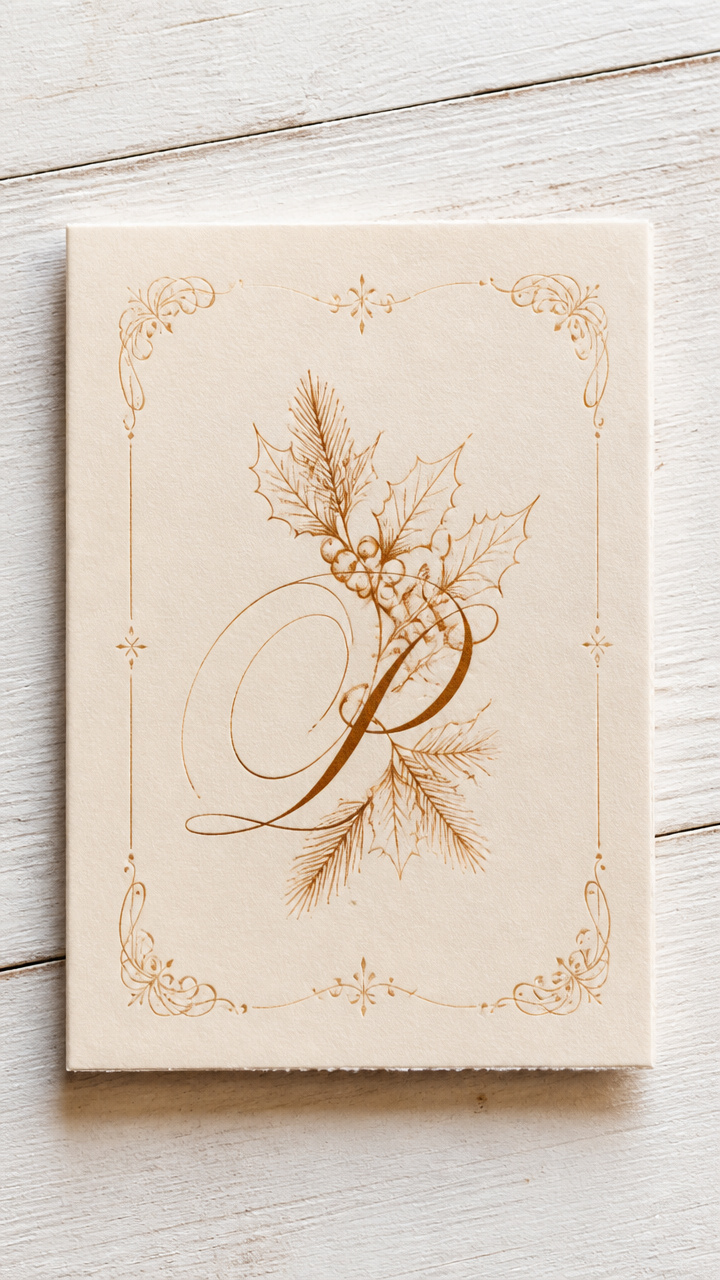
Hand-lettered greetings in flowing script give a timeless, personal touch. Using a dip pen and sepia ink creates soft, antique-style writing that looks like it came from an old ledger.
Materials Needed
- Smooth cotton cardstock, 5×7 inches
- Dip pen with steel nib
- Sepia calligraphy ink
- Inkwell
- Ruler
- Light pencil
- Eraser
How to Make It
- Draw light horizontal lines every half inch with pencil to guide your lettering.
- Dip the nib into sepia ink, wiping off excess on the rim of the inkwell.
- Write your message in cursive using even downstrokes and thin upstrokes.
- Let dry for 5 minutes, then gently erase the pencil lines with a soft eraser.


3. Crackled Paint Ornament Cutouts
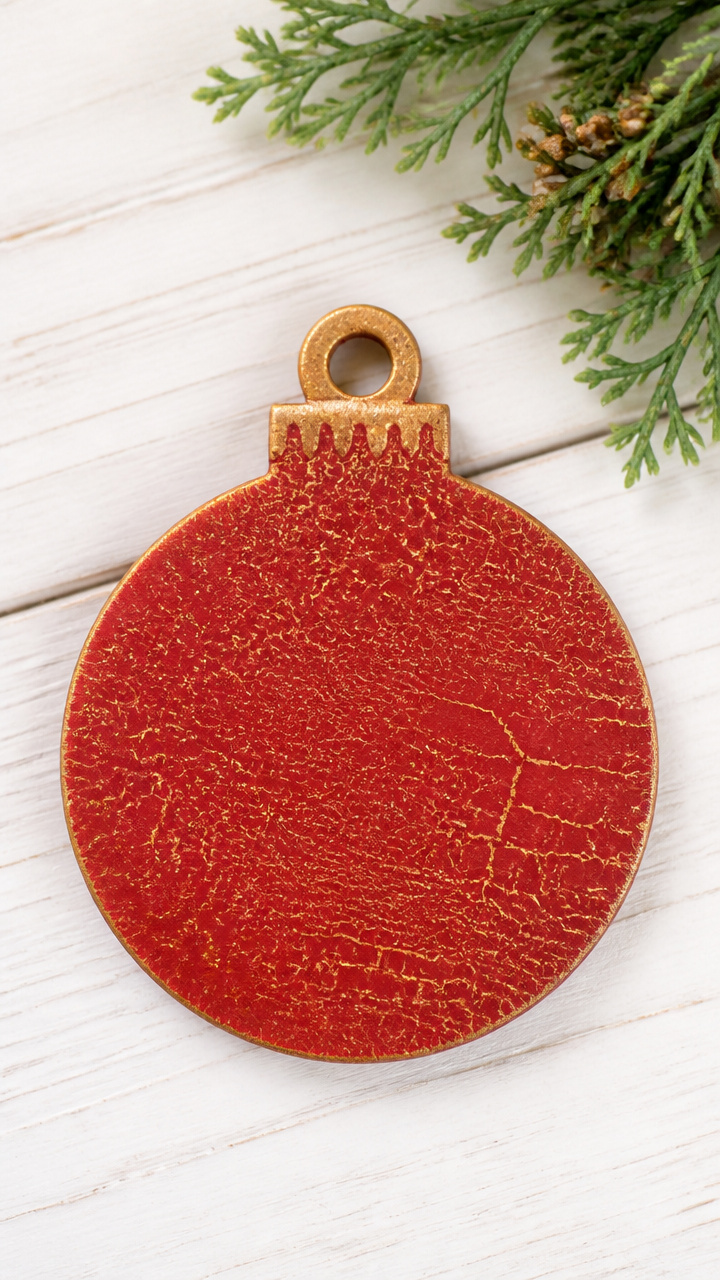
Mini painted ornaments with a crackled finish look like they’ve been pulled from a family attic. The aged texture adds instant character to simple shapes.
Materials Needed
- Matte red acrylic paint
- Crackle medium
- Gold craft paint
- Cardboard
- Craft knife
- Round ornament template (2 inch)
- White glue
- Paintbrush
- Manila file folder weight cardstock
How to Make It
- Cut a 2 inch ornament shape from cardboard using the template.
- Paint the front with a thick coat of matte red acrylic paint and let dry for 15 minutes.
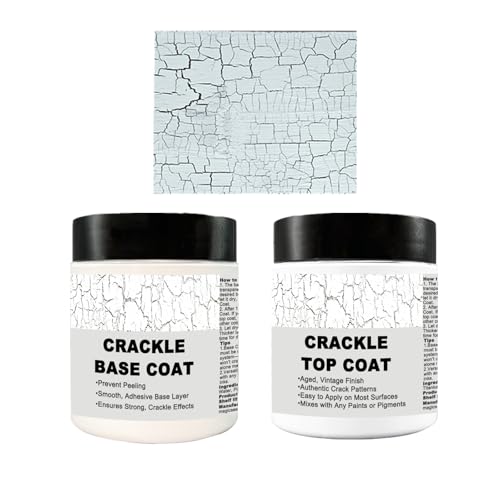
- Apply a full layer of crackle medium over the red paint and wait 3 minutes.
- Paint a thin coat of gold craft paint on top and let sit undisturbed for 20 minutes until cracks form.
- Glue the dried ornament cutout to the center of a folded manila cardstock card.


4. Lace-Edged Watercolor Snowflakes
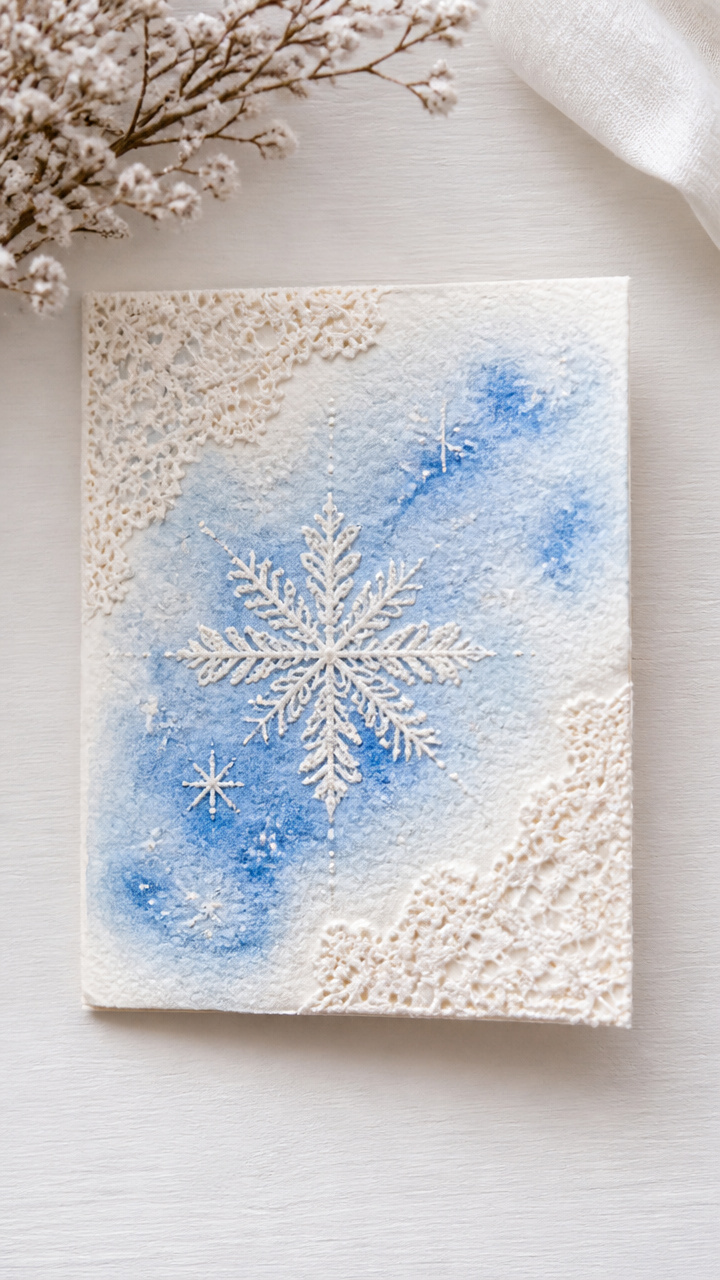
Delicate lace patterns pressed into wet watercolor create ghostly snowflake designs. The fabric imprint gives a subtle, embroidered feel.
Materials Needed
- Cold press watercolor paper, 4×5 inches
- Blue watercolor paint
- Watercolor brush
- Small piece of vintage lace trim
- Spray bottle with water
- Clothespins
- Wooden board
- Pencil
How to Make It
- Tape the watercolor paper to a wooden board using clothespins to keep it flat.
- Mix blue watercolor paint with water to a light wash consistency.
- Wet the entire paper surface lightly with the spray bottle.
- Lay the lace flat over the wet area and press gently with fingers for 10 seconds.
- Lift the lace carefully and let the paper dry upright for 1 hour before removing tape.


5. Antique Postcard Collage
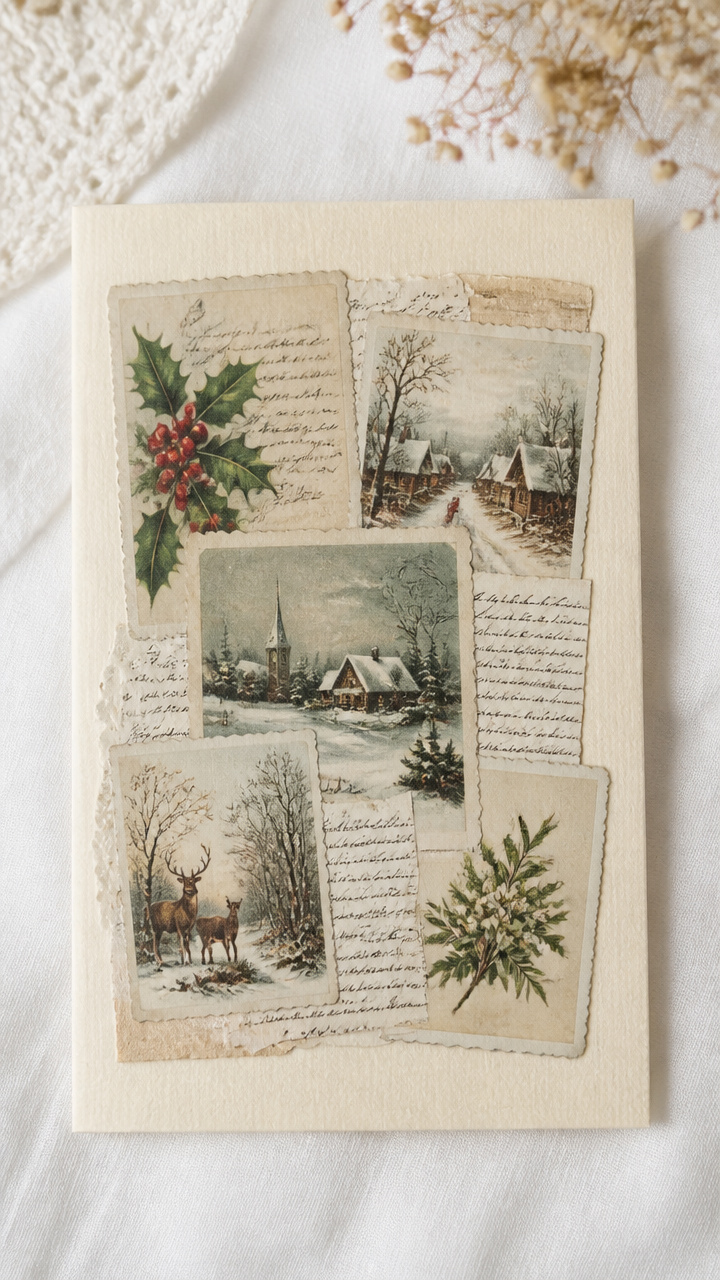
Vintage postcards layered with handwritten notes mimic old travel memories. Cutting real or reproduction postcards into mini scenes makes each card one-of-a-kind.
Materials Needed
- Assorted vintage Christmas postcards
- Scissors
- Pencil
- Ruler
- Glue stick
- Cream linen cardstock, 5×7 inches
- Brown fine-tip marker
How to Make It
- Cut postcards into 2×3 inch rectangles featuring trees, Santas, or snowy scenes.
- Use a ruler to lightly mark placement on the cream cardstock front.
- Glue one postcard snippet to the lower right corner.
- Add a short handwritten note above it in brown marker, such as 'Season's Greetings'.


6. Cinnamon-Sugar Stained Edges
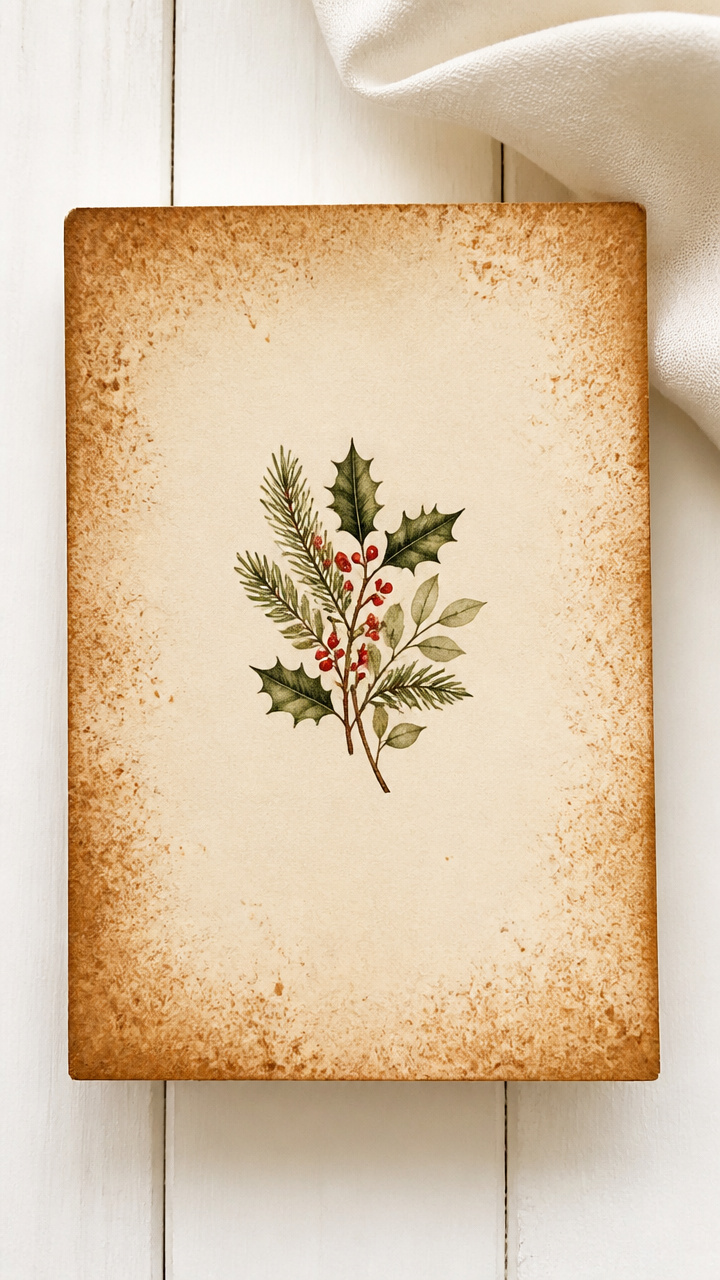
Warm spice-stained paper edges evoke holiday baking and cozy afternoons. The cinnamon-sugar mix darkens the border for a softly aged look.
Materials Needed
- A4 cream cardstock
- Ground cinnamon
- Granulated sugar
- Small bowl
- Water
- Cotton swab
- Paintbrush
- Paper towel
How to Make It
- Mix 2 teaspoons cinnamon and 1 teaspoon sugar with 1 tablespoon water in a bowl.
- Dip a cotton swab into the mixture and rub along all four edges of the cardstock.
- Let sit for 3 minutes, then blot lightly with a paper towel.
- Dry flat for 20 minutes before folding in half.
7. Embroidery Hoop Mini Scene
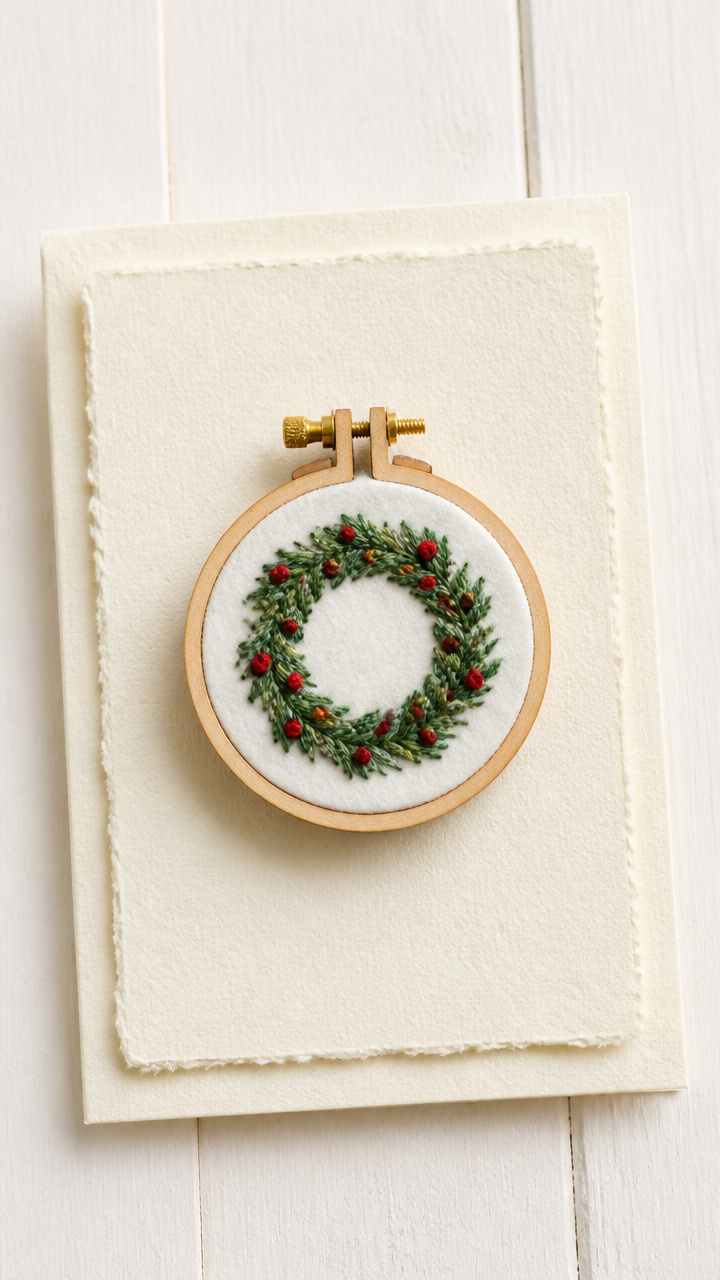
Tiny stitched wreaths in miniature hoops become charming card embellishments. The thread detail catches light and adds handmade depth.
Materials Needed
- 1-inch embroidery hoop
- Green embroidery floss
- Red beads, 2 mm
- Needle
- White felt circle, 1.5 inch
- Glue dot
- Manila cardstock card
How to Make It
- Stretch the felt tightly in the embroidery hoop and tighten the screw.
- Stitch a circular wreath shape using backstitch with green floss.
- Add five red beads as berries using a single knot stitch.
- Remove excess felt from the back, leaving only the stitched design.
- Attach the hoop to the card front with a glue dot under the base.


8. Hand-Torn Paper Poinsettias
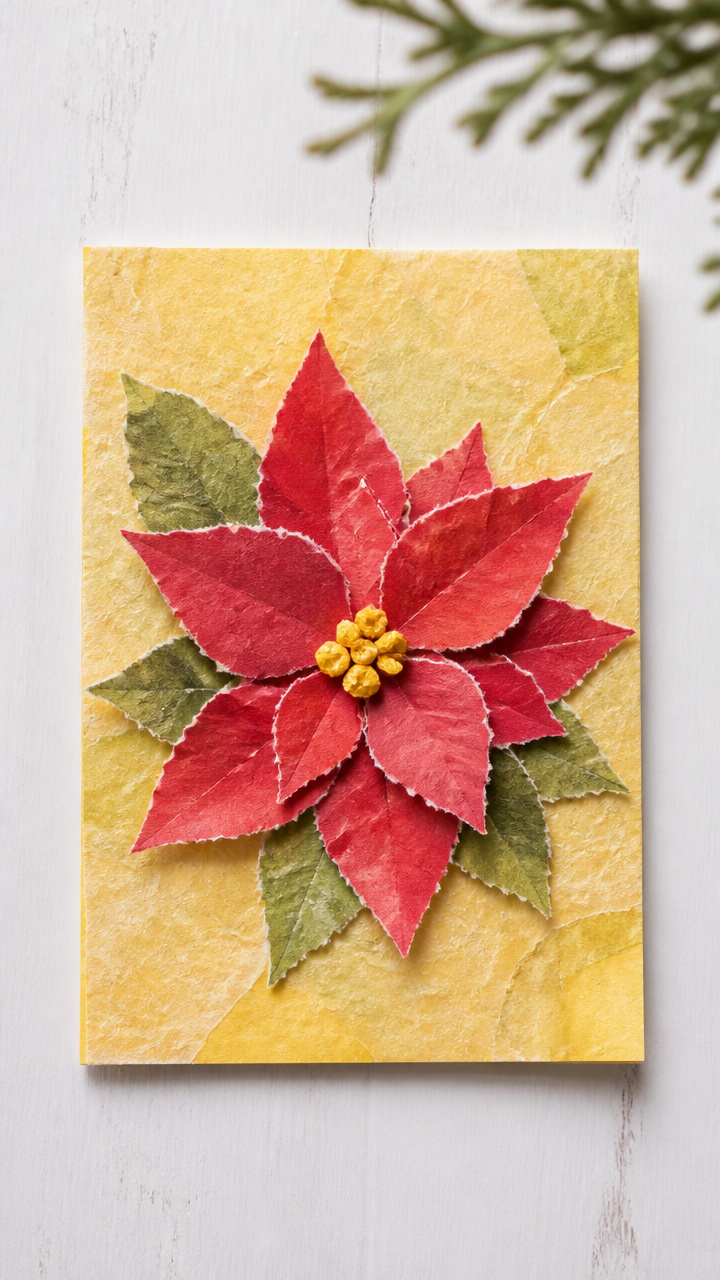
Soft, hand-torn red petals layered into flower shapes mimic old-fashioned decoupage. The uneven edges give a gentle, weathered bloom.
Materials Needed
- Red construction paper
- Yellow tissue paper
- Pencil
- Cardboard circle template, 1 inch
- Glue stick
- Scissors
- Cream card base
How to Make It
- Trace the cardboard circle onto red paper and cut out with jagged, torn edges.
- Make six petals this way, each slightly different.
- Stack them in a spiral on the card front and glue at the center.
- Crumple a small yellow tissue ball and glue in the middle as the center.


9. Faint Ledger Background Print
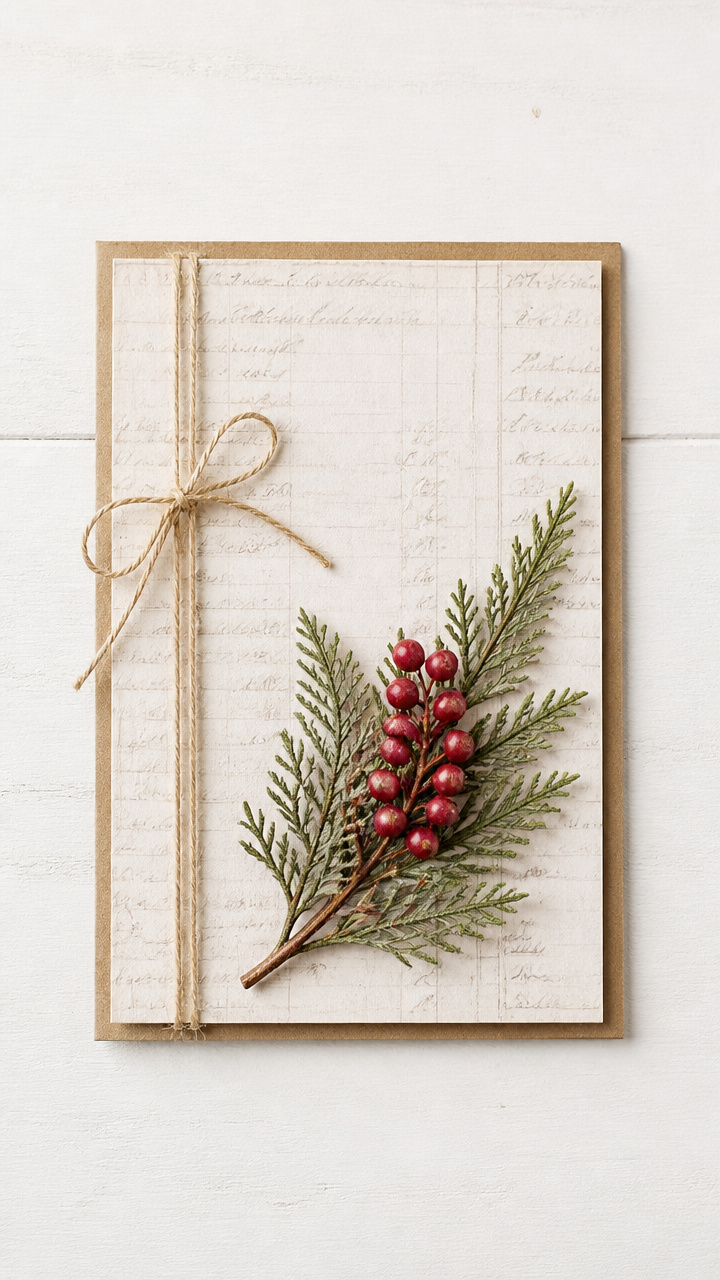
A faint grid of numbers and script in gray ink mimics old accounting pages. Printing this behind your message adds quiet history.
Materials Needed
- Gray ink pad
- Small ledger stamp
- Acrylic block
- Ruler
- Pencil
- Eraser
- White cardstock
- Black calligraphy pen
How to Make It
- Position the ledger stamp at the top left of the card using the acrylic block.
- Press evenly and repeat diagonally across the background every 2 inches.
- Let ink dry for 3 minutes.
- Write your greeting in black calligraphy below the last stamped line.
![Handmade with Love [Your Name] Stamp – Personalized Self-Inking Stamp for Craft Projects, Gifts, Cards, and Homemade Goods](https://m.media-amazon.com/images/I/41NhM6ViEpL._SL500_.jpg)

10. Bottle Cap Jingle Bells
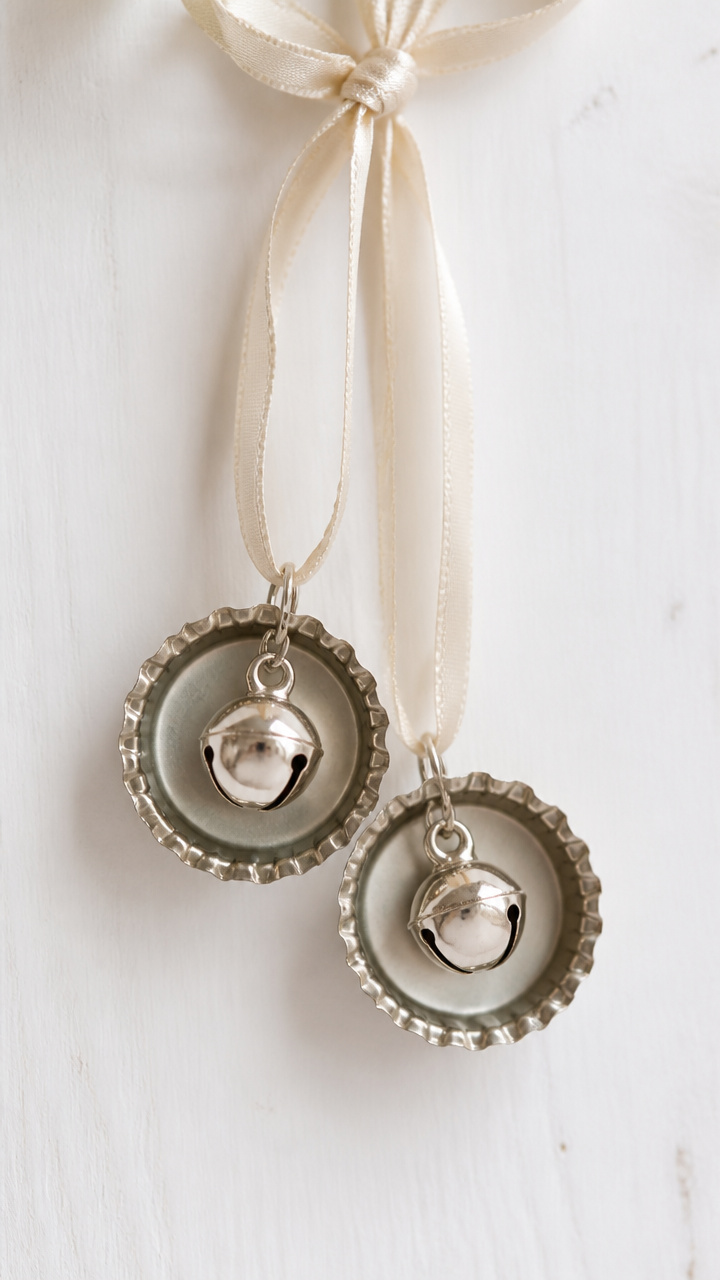
Tiny bells mounted in repurposed bottle caps dangle playfully from the card front. They catch the breeze and add sound and shine.
Materials Needed
- Two clean aluminum bottle caps
- Two small silver jingle bells
- Strong craft glue
- Thin ribbon, 6 inches
- Hole punch
- Scissors
- Thick kraft card
How to Make It
- Glue one bell inside each bottle cap and let set for 5 minutes.
- Punch a hole near the top edge of the card.
- Thread ribbon through the hole and tie a bow on the front.
- Slide the bottle cap bells onto the ends of the ribbon tails.


11. Chalk-Paste Transferred Script
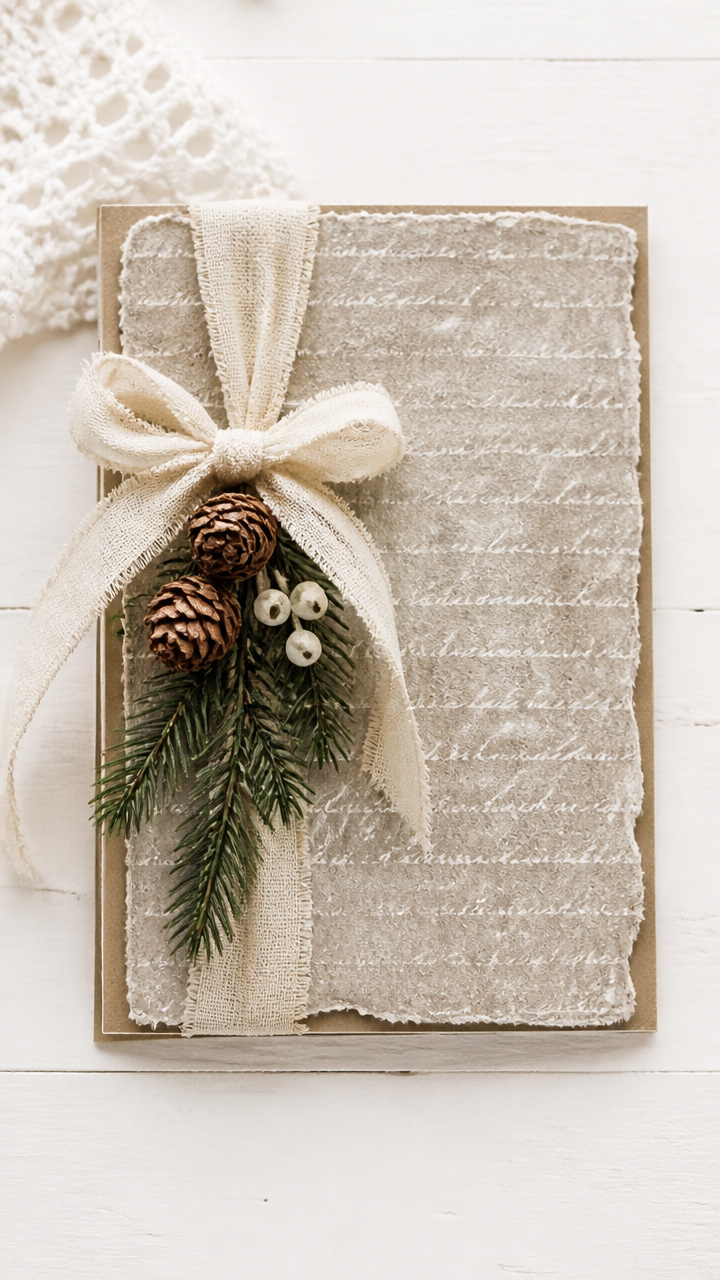
Handwritten messages transferred with chalk paste create smudged, weathered text. The soft blur looks like words whispered from the past.
Materials Needed
- White chalk
- Small bowl
- Water
- Spoon
- Pencil
- Tracing paper
- Cardstock card
- Cotton cloth
How to Make It
- Break chalk into powder and mix with 2 teaspoons water to make a paste.
- Write a message in reverse on tracing paper using the paste and a spoon.
- Lay the tracing paper face down on the card and press with a cotton cloth.
- Peel slowly to reveal the transferred script with a chalky, faded look.


12. Map Fragment Window Fold
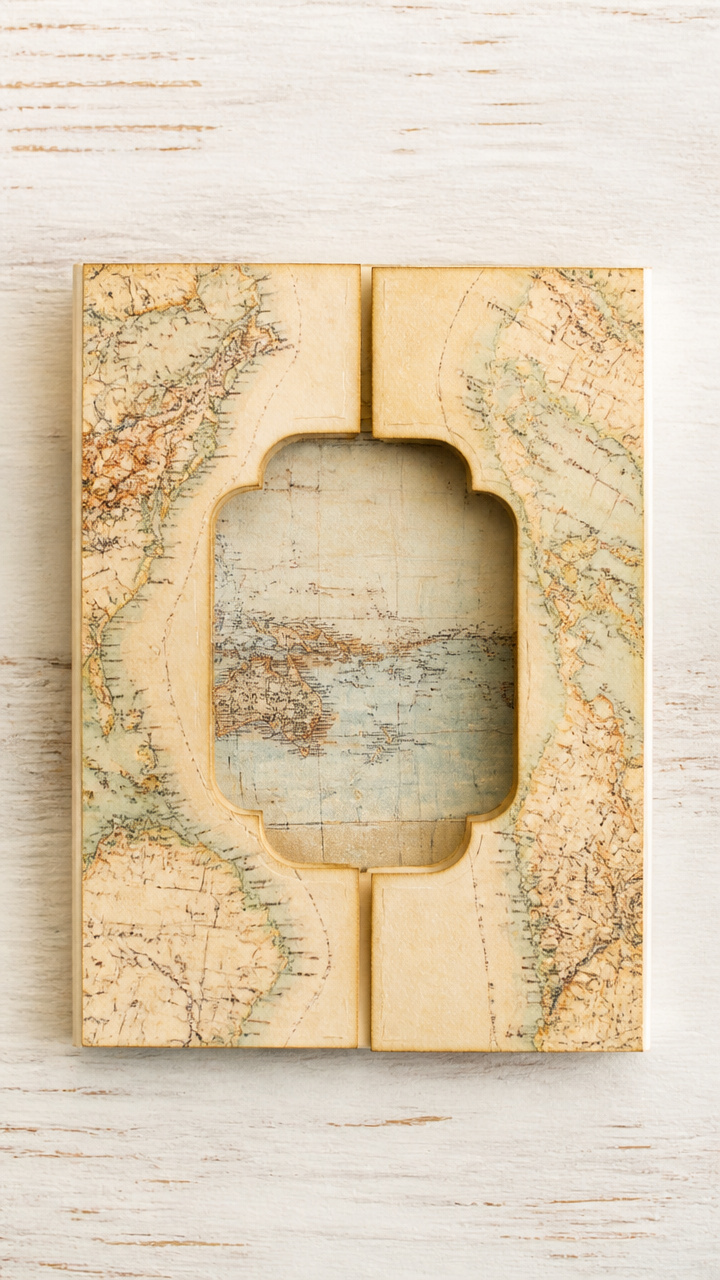
Old world map snippets peep through a die-cut window to suggest faraway wishes. The yellowed paper hints at journeys taken and those still dreamed.
Materials Needed
- Vintage atlas page
- Craft knife
- Cutting mat
- Ruler
- Glue stick
- Window card template, 3×4 inch
- Blue-gray cardstock
How to Make It
- Place the window template on the blue-gray cardstock and trace lightly.
- Cut out the inner rectangle with a craft knife, leaving a 0.5 inch border.
- Find a map section with place names and cut a 3.5×4.5 inch piece.
- Glue the map fragment behind the window so text shows through clearly.


13. Frosted Pinecone Sprig Accent
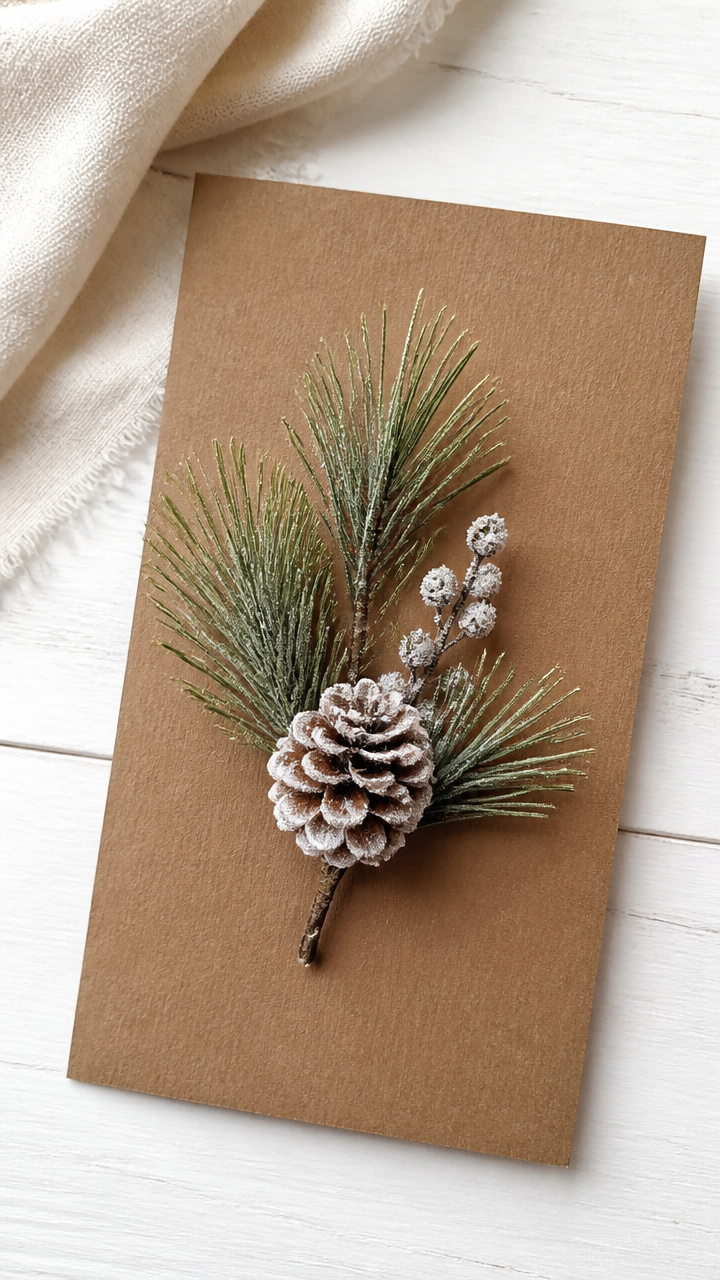
A tiny pinecone dipped in glue and sugar sparkles like it’s just fallen from a snowy tree. The natural shape brings forest charm to your envelope.
Materials Needed
- Small pinecone
- White craft glue
- Granulated sugar
- Shallow dish
- Toothpick
- Brown cardstock card
- Tweezers
How to Make It
- Mix 1 tablespoon glue with 1 teaspoon water in a shallow dish.
- Roll the pinecone in the mixture using tweezers, coating evenly.
- Pour sugar into a second dish and roll the wet pinecone to cover completely.
- Set aside for 30 minutes to dry, then attach near the top of the card with a glue dot.


These cards are more than just paper and glue. They carry the quiet pride of something made by hand, touched by time, and given with care. Pick one that speaks to you and start slow, one step at a time.