15 Vintage-Inspired Christmas Ornament Crafts for a Nostalgic Tree
I love how handmade decorations can make a tree feel alive with memory and meaning. These vintage-inspired crafts blend timeless textures and nostalgic details to create a warm, personal holiday glow. Simple to make and full of heart, each one invites you to slow down and savor the season.
The joy of crafting these ornaments lies not just in how they look, but in the moments they help you create. May your tree shine with charm and your home be filled with wonder this Christmas.
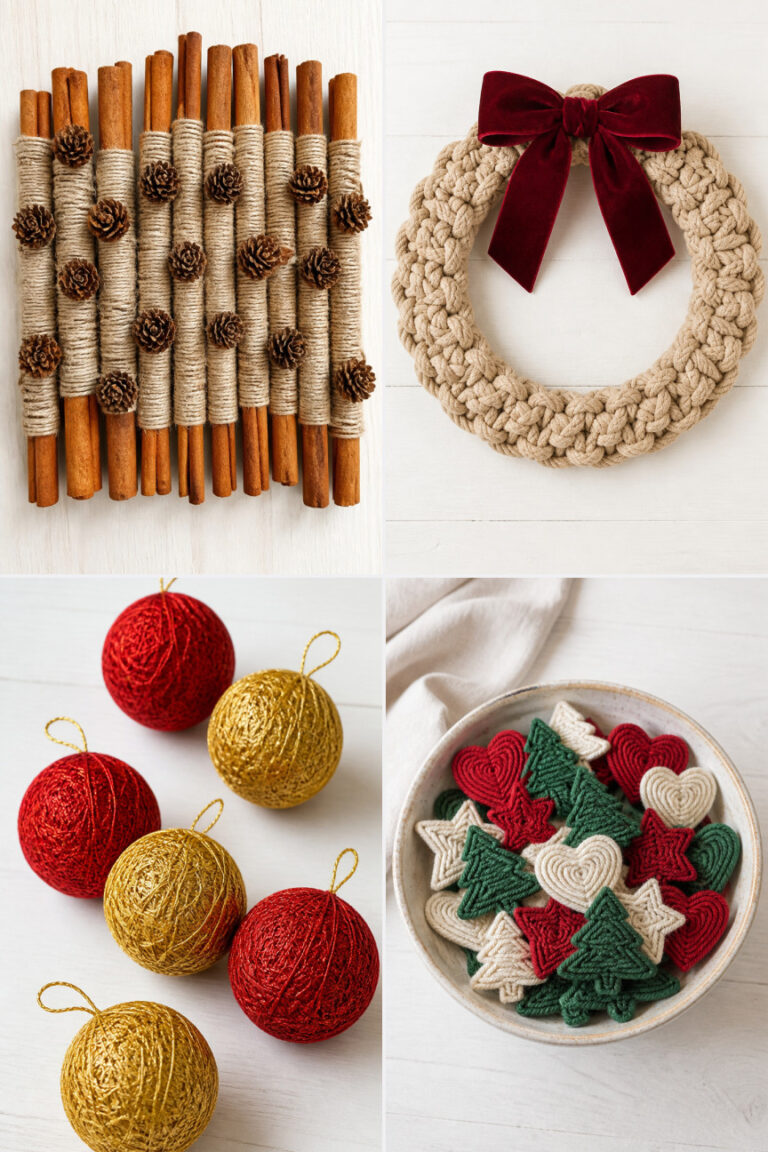
1. Cinnamon Stick Pinecone Wreath
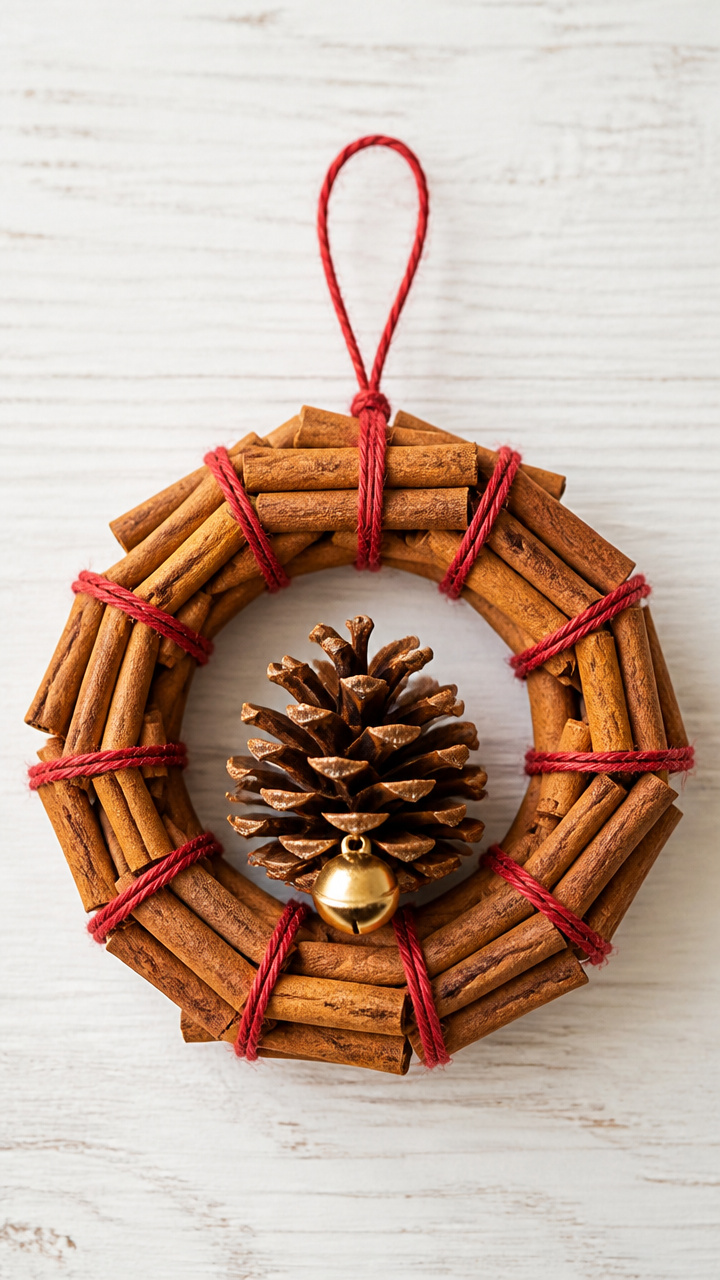
Rich with spice and forest scent, this tiny wreath wraps natural pinecones in warm cinnamon sticks. It looks like it came from a country store shelf.
Materials Needed
- 6 large cinnamon sticks
- 1 medium pinecone
- hot glue gun and glue sticks
- thin red twine, 12 inches
- small gold jingle bell
How to Make It
- Stand the pinecone upright on its base. Arrange three cinnamon sticks around the bottom edge and glue them in place with hot glue.
- Position the remaining three cinnamon sticks at the top to form a circle. Overlap each stick slightly where they meet and glue them together at the joints.
- Tie the twine into a loop and attach it to the top back of the wreath with a dab of hot glue. Glue the bell to the front where the sticks meet.


2. Embroidery Hoop Snowflake
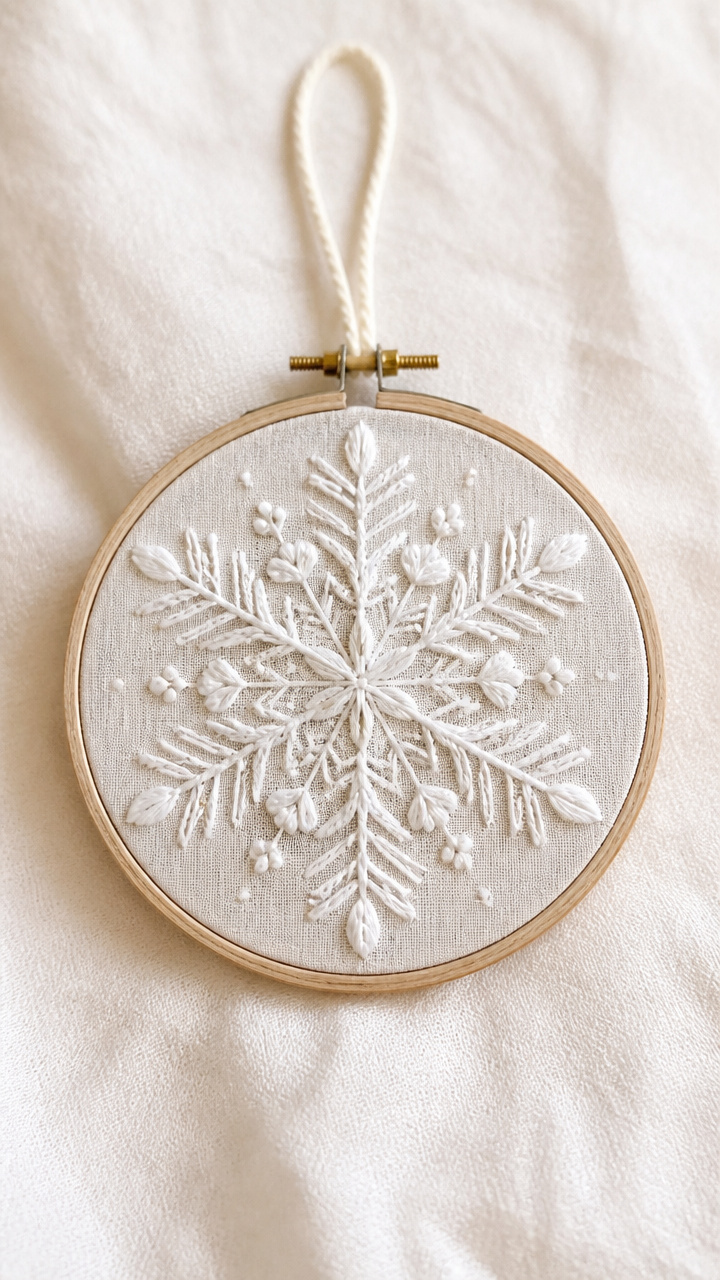
Delicate white thread stitched inside a wooden hoop creates a frosty design that catches the light like real ice.
Materials Needed
- 4 inch wooden embroidery hoop
- white embroidery thread
- embroidery needle
- manila tagboard, 3×3 inches
- craft knife
How to Make It
- Remove the inner ring from the hoop. Cut a 12 inch piece of thread and thread it through the needle. Tie a knot at the end.
- Place the tagboard in the center of the inner ring. Stitch a six-pointed snowflake using straight stitches from the center outward.
- Fit the inner ring back into the outer hoop and tighten. Trim any excess thread. Use the hoop screw as a hanger.


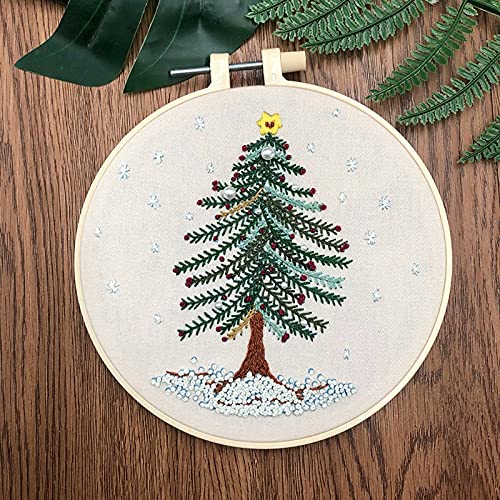
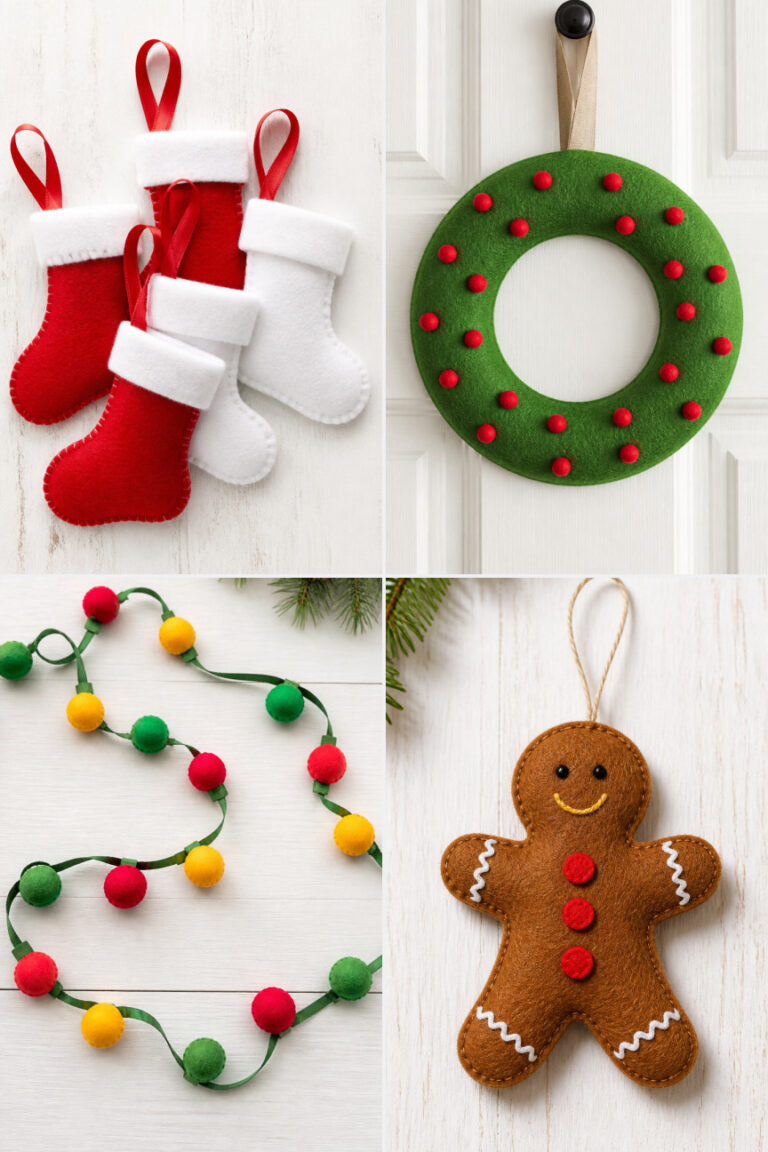
3. Molasses Cookie Cutout
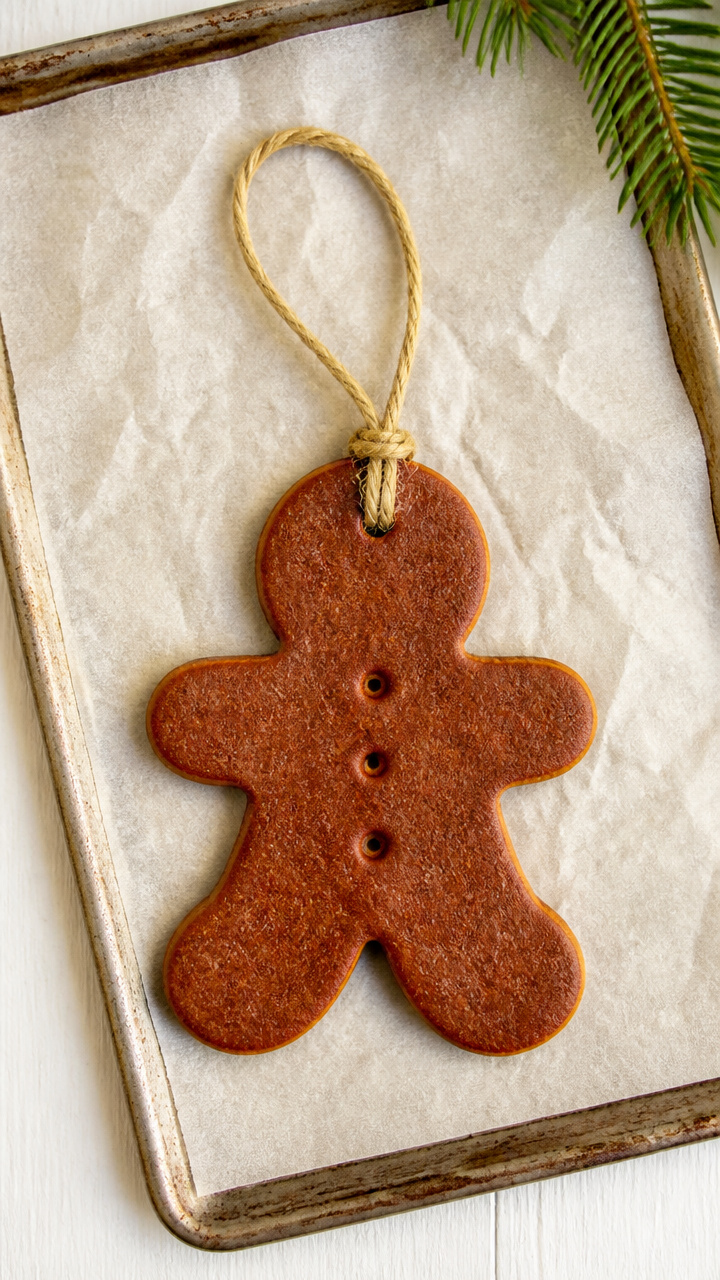
A sweet-scented ornament shaped like a gingerbread boy carries the smell of holiday baking and childhood kitchens.
Materials Needed
- 1/4 cup all purpose flour
- 1/4 cup molasses
- 1/8 teaspoon ground ginger
- 1/8 teaspoon ground cinnamon
- parchment paper
- baking sheet
- hole punch, small
- natural twine, 8 inches
How to Make It
- Preheat oven to 300°F. Mix flour, molasses, ginger, and cinnamon in a bowl until a smooth dough forms.
- Roll the dough to 1/4 inch thick on parchment paper. Cut out a cookie shape using a metal cookie cutter.
- Punch a hole near the top before baking. Bake for 2 hours. Cool completely and thread twine through the hole.


4. Vintage Book Page Bell
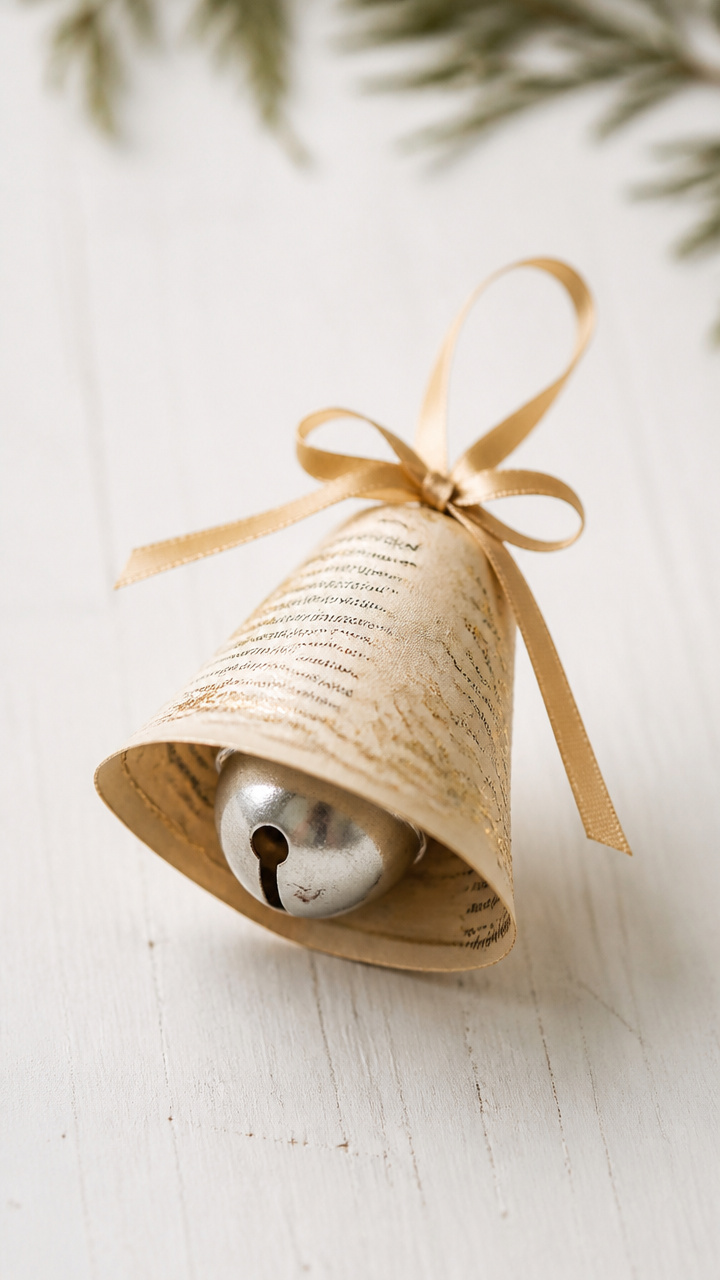
Faint text from an old book clings to a shimmering bell, giving it the quiet elegance of a forgotten library.
Materials Needed
- 1 silver jingle bell, 1 inch
- old book page, 4×4 inches
- mod podge matte finish
- foam brush
- gold metallic pen
- thin ribbon, 10 inches
How to Make It
- Brush mod podge evenly over one side of the book page. Wrap it tightly around the bell, text facing out.
- Smooth out air bubbles with your fingertip. Apply another coat of mod podge over the paper and let dry for 30 minutes.
- Use the gold pen to trace the rim of the bell. Tie ribbon through the clapper loop for hanging.


5. Hand-Sewn Felt Angel
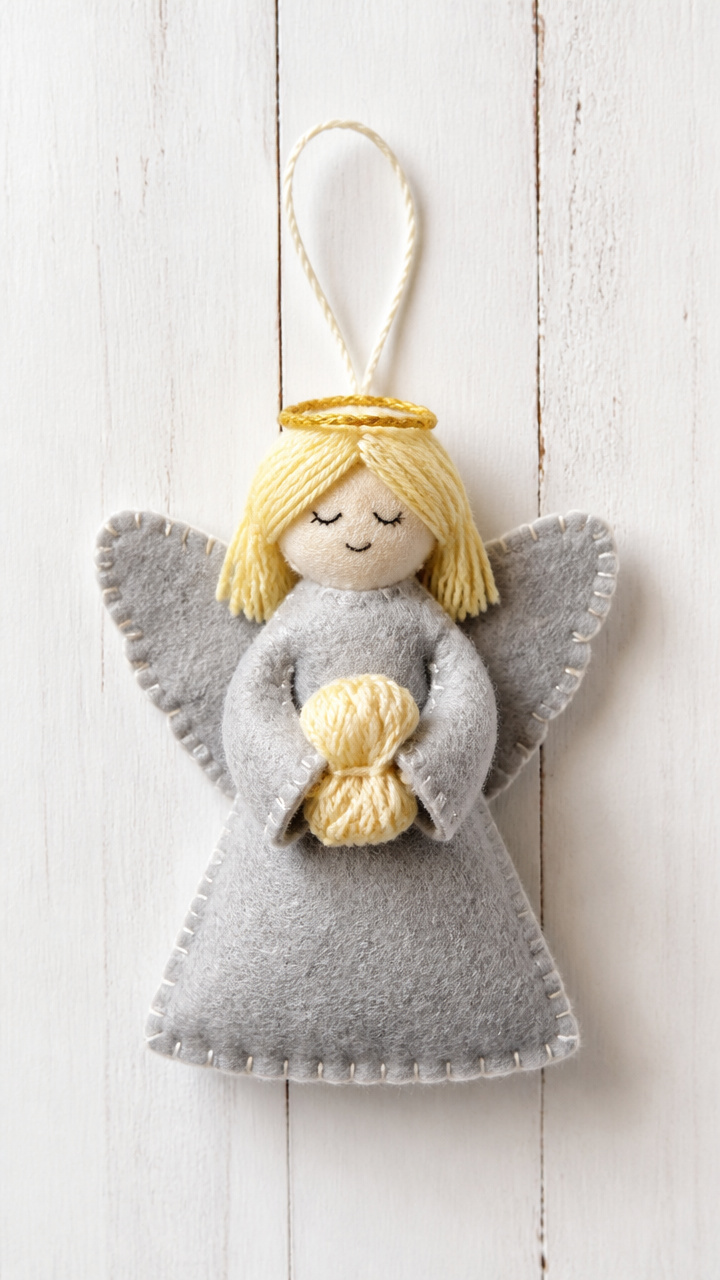
Soft gray felt stitched by hand becomes a gentle angel with a face drawn in fine ink and hair of twisted yarn.
Materials Needed
- gray wool blend felt, 6×6 inch square
- yellow embroidery floss
- sharp scissors
- sewing needle
- black fabric pen
- polyester stuffing
How to Make It
- Cut two identical angel shapes from the felt using curved edges for head and robe. Draw facial features with the fabric pen.
- Thread the needle with yellow floss and sew around the edges with a whip stitch, leaving the top open.
- Stuff lightly with polyester filling. Continue stitching to close the top. Twist a small piece of floss for a halo and glue it above the head.


6. Pressed Flower Glass Cabochon
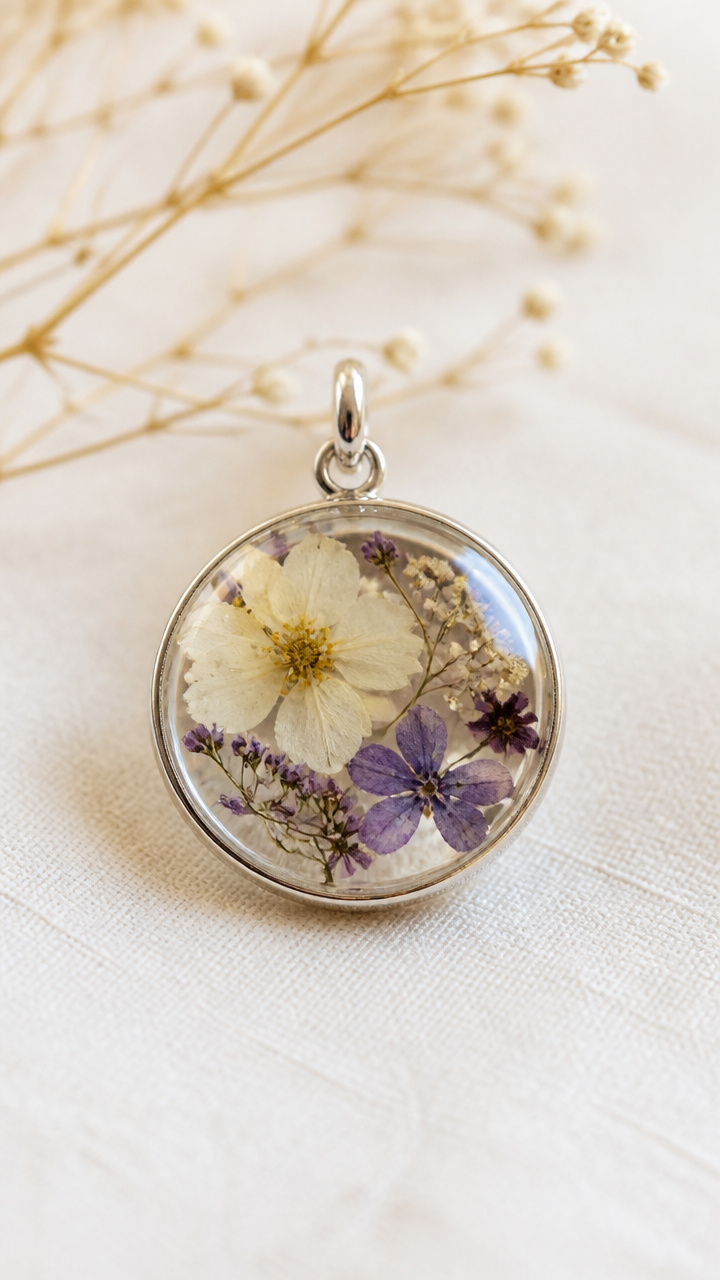
Tiny dried blooms sealed under glass look like treasures saved between dictionary pages for decades.
Materials Needed
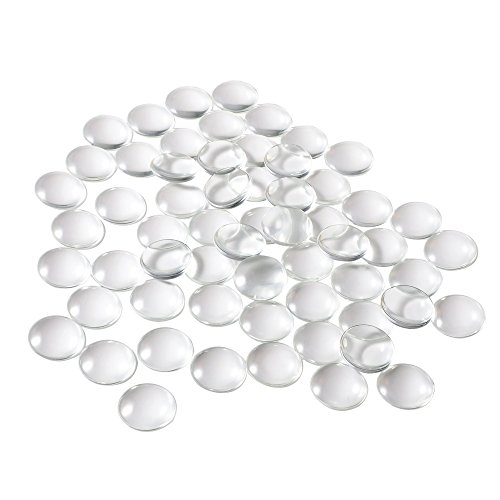
- glass cabochon, 25mm flat back
- dried baby’s breath or violet petals
- clear UV resin
- UV curing lamp
- tweezers
- ornament bail with loop
How to Make It
- Arrange the flower pieces inside the cabochon dome using tweezers. Keep them clustered in the center.
- Mix a small drop of UV resin and pour it slowly to fill the dome. Avoid bubbles by pouring in one motion.
- Cure under the UV lamp for 2 minutes. Attach the bail to the back with strong craft glue. Let dry 1 hour.

7. Crocheted Doily Star
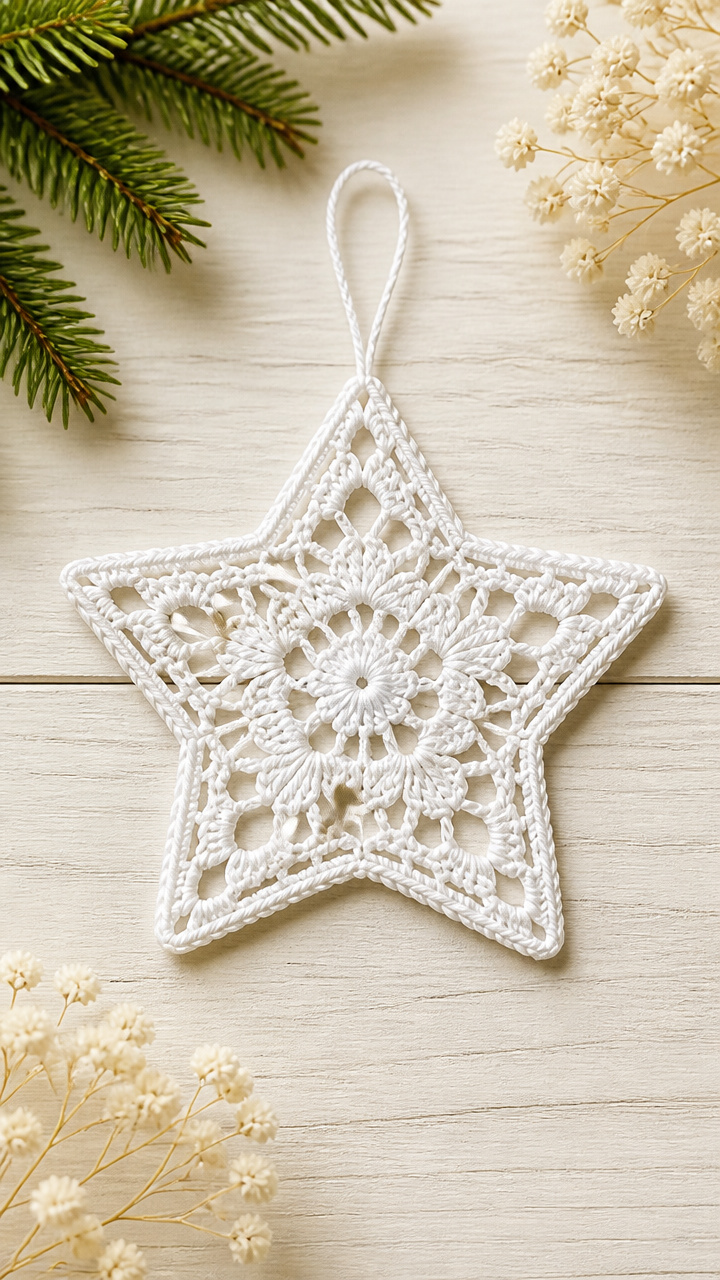
A crisp white star made from tight crochet stitches stands proudly like one from a 1950s holiday display.
Materials Needed
- size 10 crochet cotton thread, white
- steel crochet hook, size 7
- cardboard template, 3 inch star
- fabric stiffener
- spray bottle
How to Make It
- Crochet a chain 5, then work single crochets in a spiral until the star fits the template. Fasten off and weave in ends.
- Coat both sides with fabric stiffener using a spray bottle. Let dry flat on wax paper for 2 hours.
- Attach a short strand of thread to one point for hanging. The star should hold its shape firmly.


8. Antique Button Sled
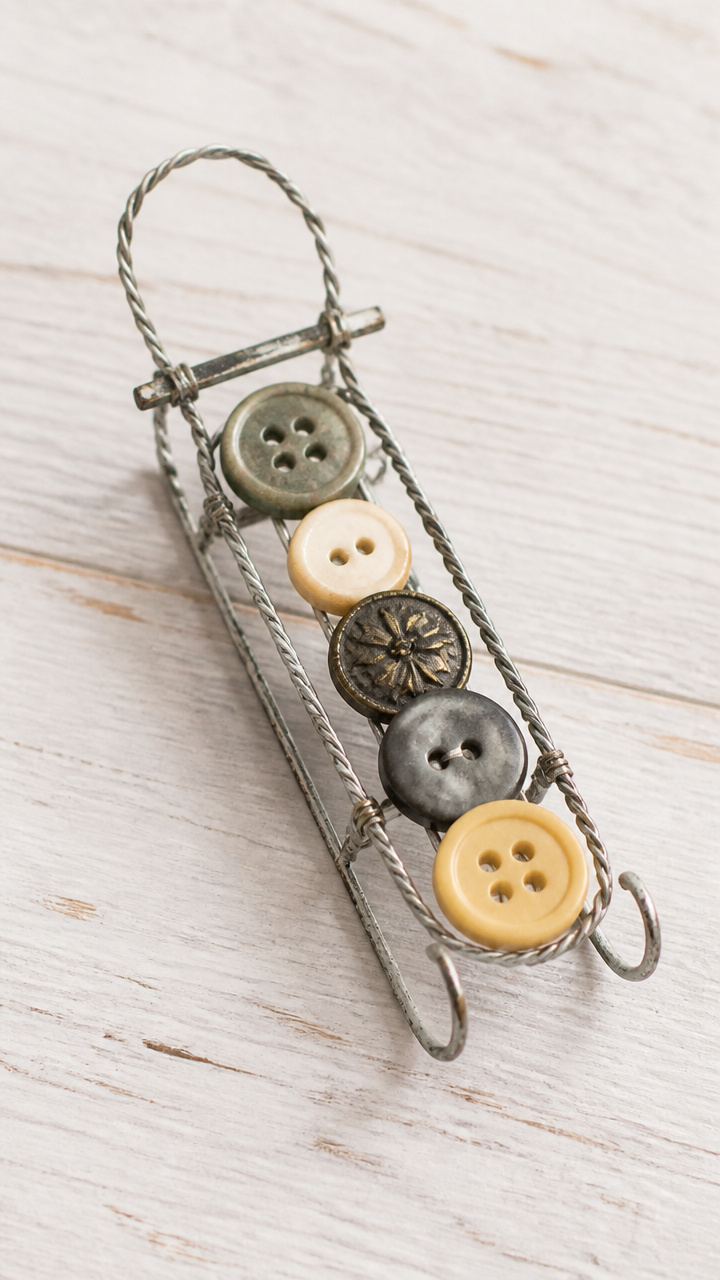
Five mismatched buttons tied together with wire become a miniature sled that looks pulled from a toy chest attic find.
Materials Needed
- 5 vintage buttons (3 round, 2 flat oval)
- 18 gauge floral wire, 10 inches
- round nose pliers
- fine sandpaper
- brown acrylic paint
How to Make It
- Sand each button lightly to dull shine. Paint the edges brown and let dry for 20 minutes.
- Bend the wire into a U shape for runners. Thread buttons onto the wire in order: oval, round, round, round, oval.
- Twist the wire ends at the back to secure. Curve the runners slightly upward for a realistic sled shape.


9. Salt Dough Leaf Imprint
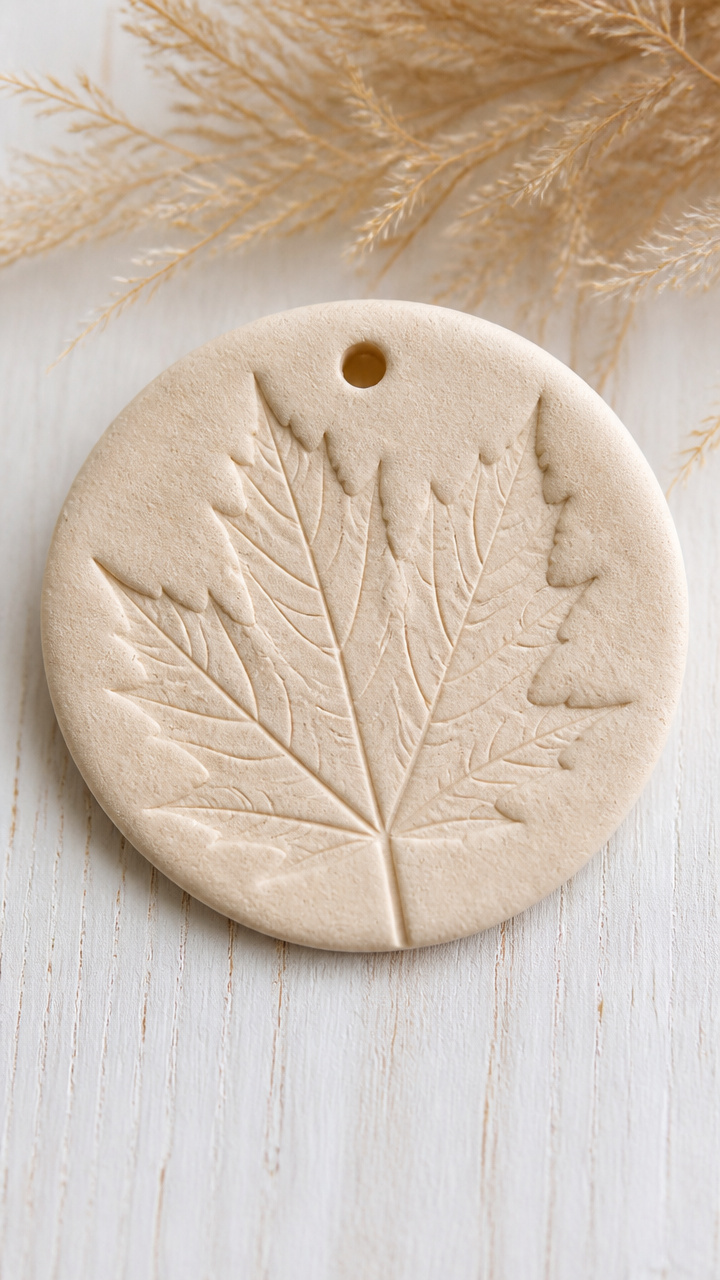
Real maple leaves pressed into homemade dough leave delicate veins behind, capturing autumn’s last touch on winter greenery.
Materials Needed
- 1/2 cup salt
- 1/2 cup flour
- 1/4 cup water
- real maple leaf
- rolling pin
- straw
- green acrylic paint
How to Make It
- Mix salt, flour, and water in a bowl until a smooth ball forms. Roll it to 1/4 inch thickness with a rolling pin.
- Press the leaf vein-side down into the dough. Lift carefully after 10 seconds.
- Use a straw to poke a hole at the top. Bake at 200°F for 3 hours. Paint the stem green and let dry.


10. Lace-Trimmed Perfume Bottle
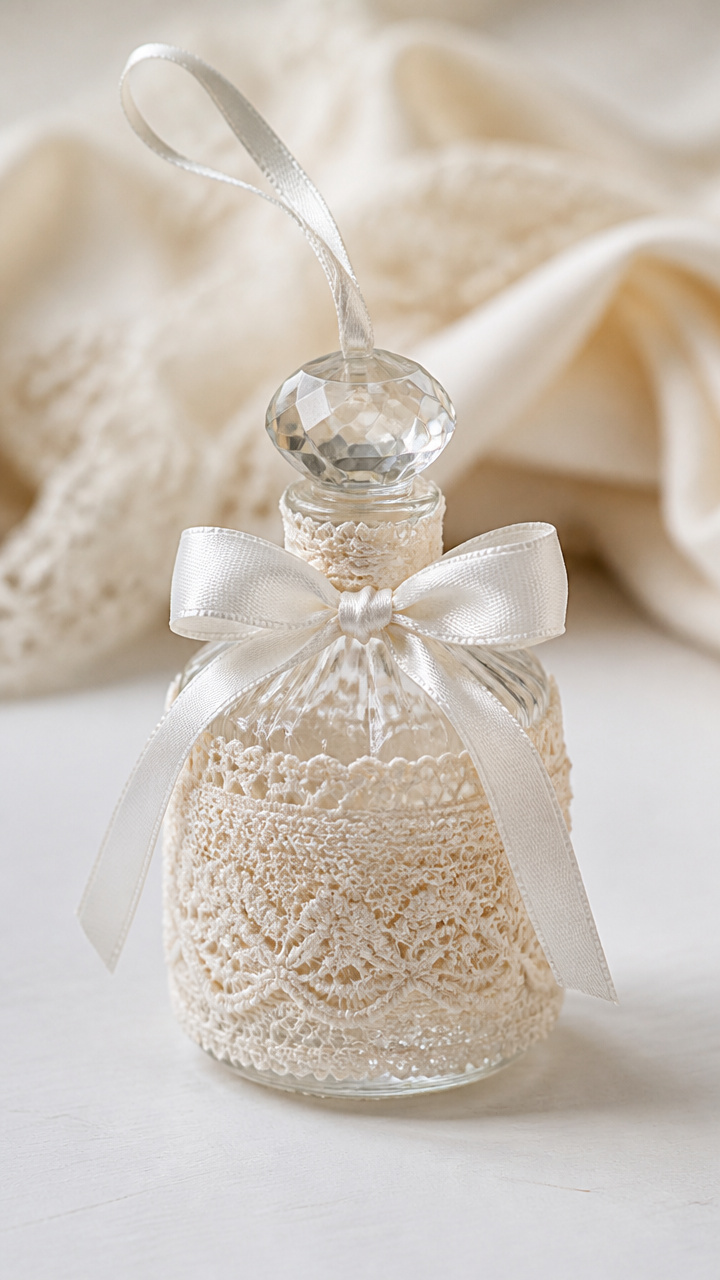
A discarded glass vial wrapped in ivory lace and tied with satin ribbon becomes a dainty keepsake ornament.
Materials Needed
- empty glass perfume bottle, 2 inch tall
- ivory lace trim, 6 inches
- white satin ribbon, 1/4 inch wide, 12 inches
- strong craft glue
- cotton ball
How to Make It
- Wrap the lace trim around the neck of the bottle and glue in place. Overlap the ends neatly.
- Fluff the cotton ball and insert it halfway into the bottle opening to mimic old fashion perfume wadding.
- Tie the satin ribbon in a bow around the base of the neck. Secure the knot with a dot of glue.


11. Tin Can Lid Holly Berry

Repurposed can lids bent into glossy red berries cluster like winter shrubs on a snowy branch.
Materials Needed
- 3 clean tin can lids
- red spray paint
- needle nose pliers
- green pipe cleaner
- metal snips
How to Make It
- Cut each lid into thirds using metal snips. You will have nine petal shaped pieces.
- Bend each piece inward with pliers to form a cup shape. Spray paint all pieces red and let dry 30 minutes.
- Twist three pieces together at the base with a green pipe cleaner stem. Repeat to make three berry clusters.


12. Quilt Square Ornament
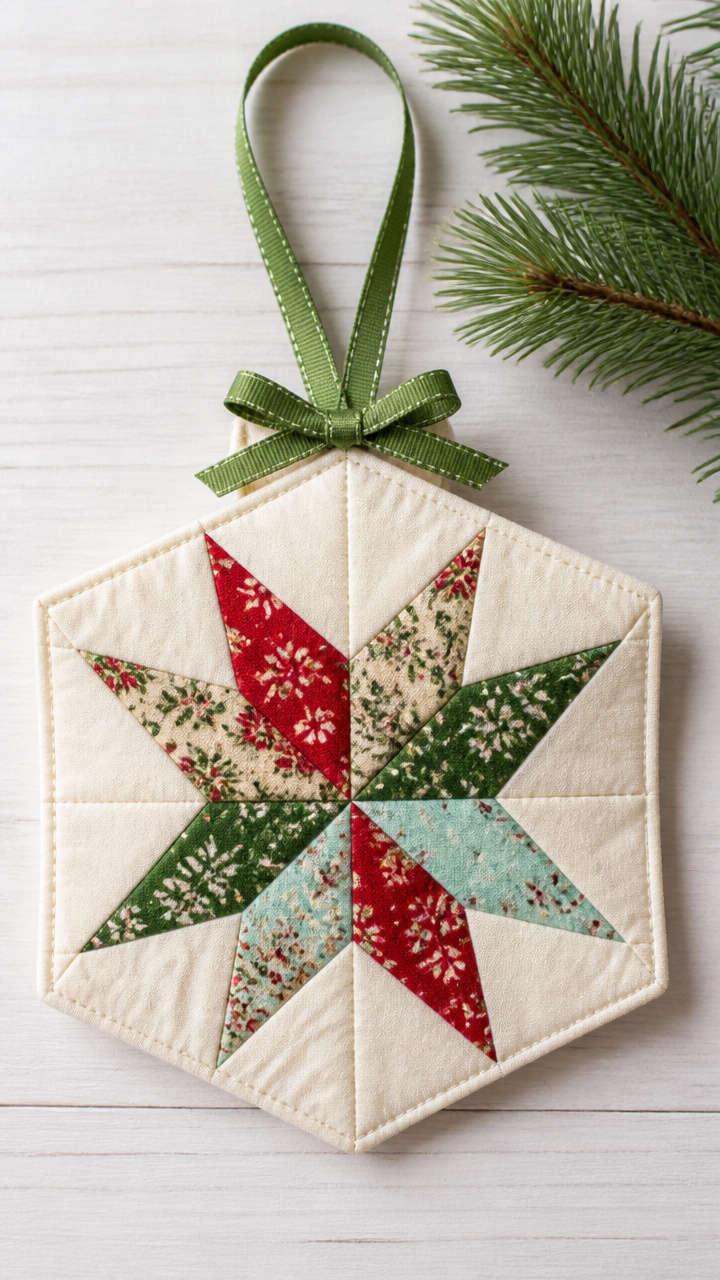
Tiny triangles of patterned cotton fabric form a star block that echoes pioneer quilts hung on farmhouse walls.
Materials Needed
- assorted cotton fabric scraps, 12 pieces, 2×2 inches
- 8 inch square muslin backing
- rotary cutter
- quilting ruler
- iron
- fusible webbing
How to Make It
- Cut eight triangles from the fabric scraps, each 2 inches per side. Arrange them in a star pattern on the muslin.
- Fuse the pieces in place with a warm iron following the webbing instructions.
- Cut the patchwork to a 3 inch square. Hem the edges with a tight zigzag stitch. Add a fabric loop to hang.


13. Chalkware Santa Face
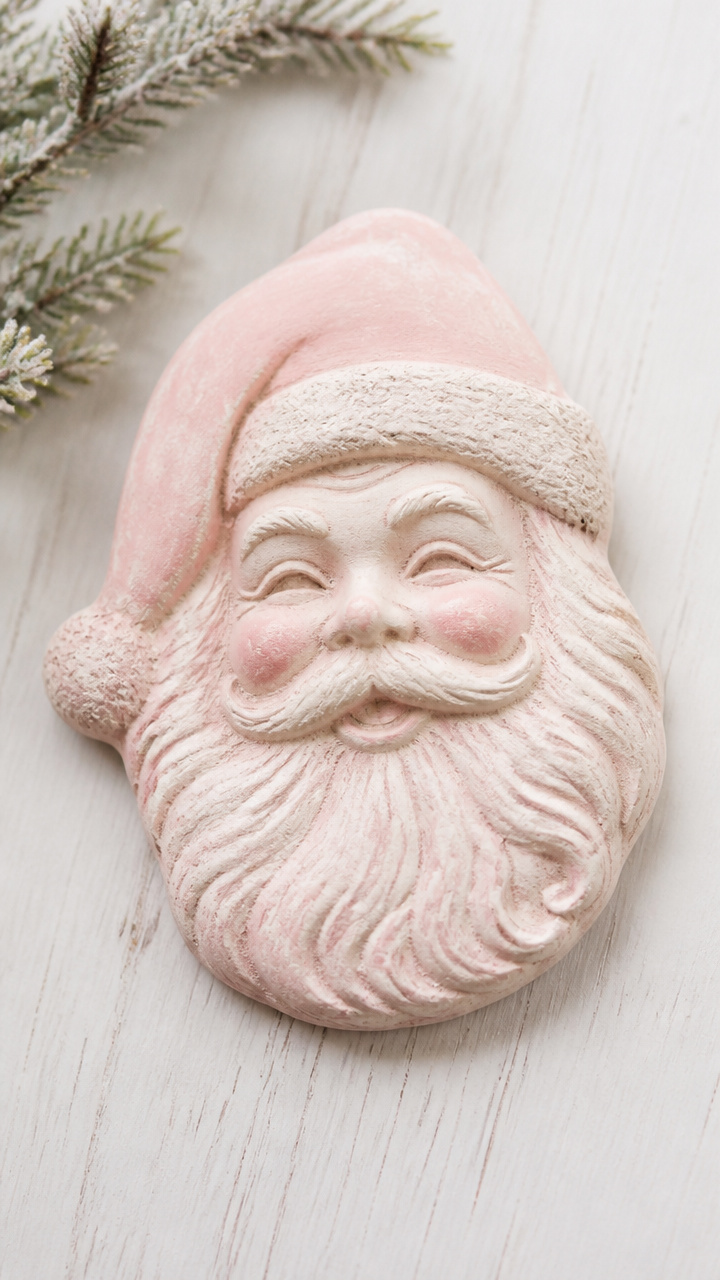
A smooth plaster cast of a jolly face painted in faded pastels mimics figurines found in grandparent’s china cabinets.
Materials Needed
- plaster of paris, 1/2 cup
- water, 1/4 cup
- silicone mold, Santa face
- pastel pink acrylic paint
- soft brush
- sandpaper, 220 grit
How to Make It
- Mix plaster of paris with water until smooth. Pour into the mold and tap gently to release bubbles.
- Let set for 1 hour. Remove from mold and sand rough edges lightly.
- Paint cheeks and hat with pink. Let dry and rub surface gently with cloth to dull shine.


14. Retro Beaded Jingle Ball
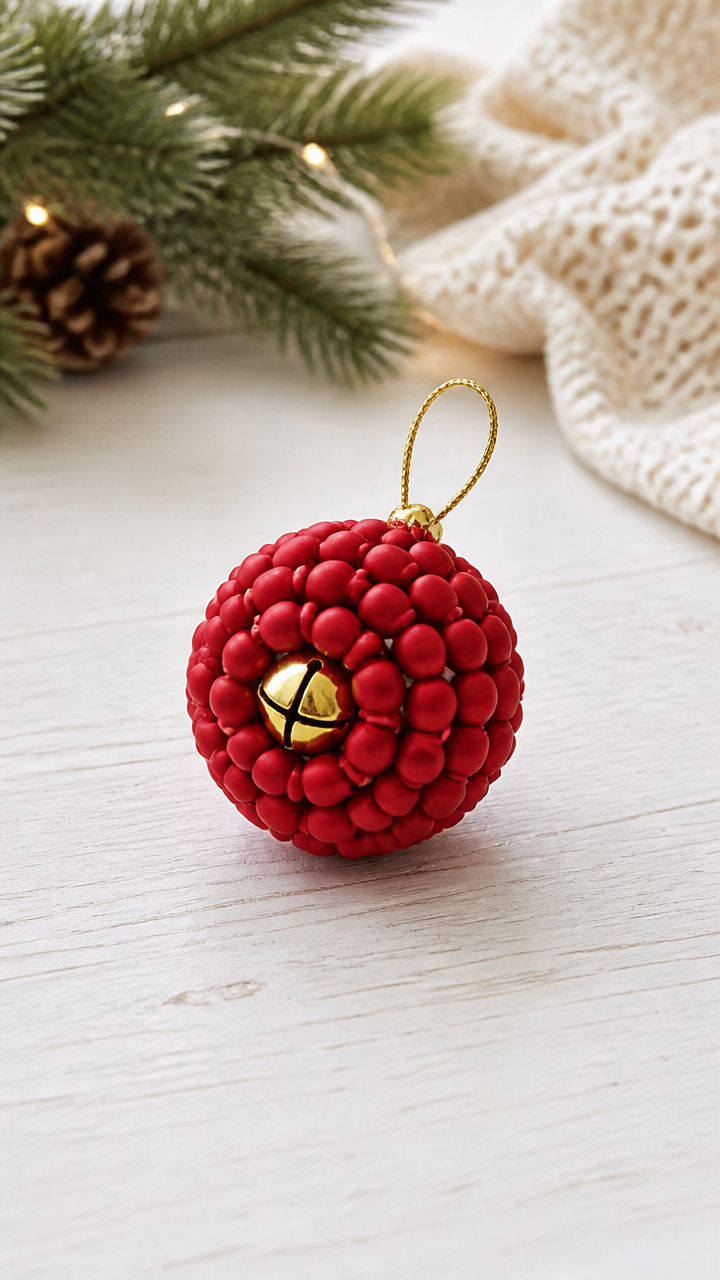
Matte red beads strung on wire form a dimpled sphere that jingles softly when touched.
Materials Needed
- matte red pony beads, 48
- flexible wire, 24 inches
- gold jingle bell
- wire cutters
How to Make It
- Cut wire into six 4 inch strands. String eight beads onto each piece.
- Pinch each strand at the center and twist the middle to form a spiked ball.
- String the bell onto a new 6 inch wire and twist ends around one bead cluster to attach.


15. Dipped Wax Pine Twig
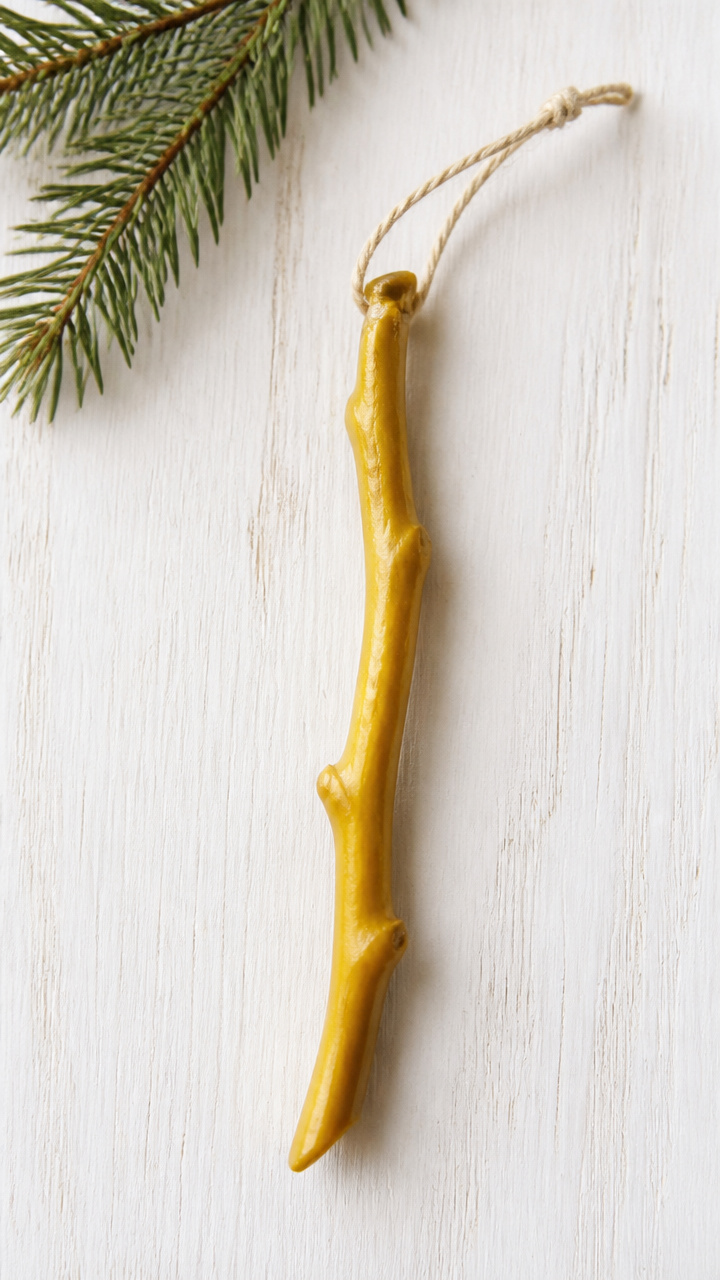
A slender twig coated in layers of beeswax glows like a candlelit memory from long ago winters.
Materials Needed
- thin pine twig, 5 inches
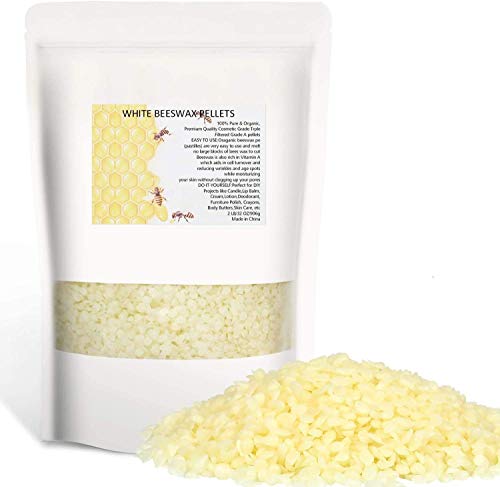
- beeswax pellets, 1/4 cup
- double boiler
- cotton string, 8 inches
- clothespin
How to Make It
- Melt beeswax in a double boiler over low heat. Clamp the twig with a clothespin by one end.
- Dip the twig slowly into the wax, rotating gently. Let excess drip off for 10 seconds.
- Hang to dry for 15 minutes. Tie string around the top for hanging.


Each of these ornaments brings a little history and heart to your holiday decor. Pick one that speaks to you and start crafting tonight.