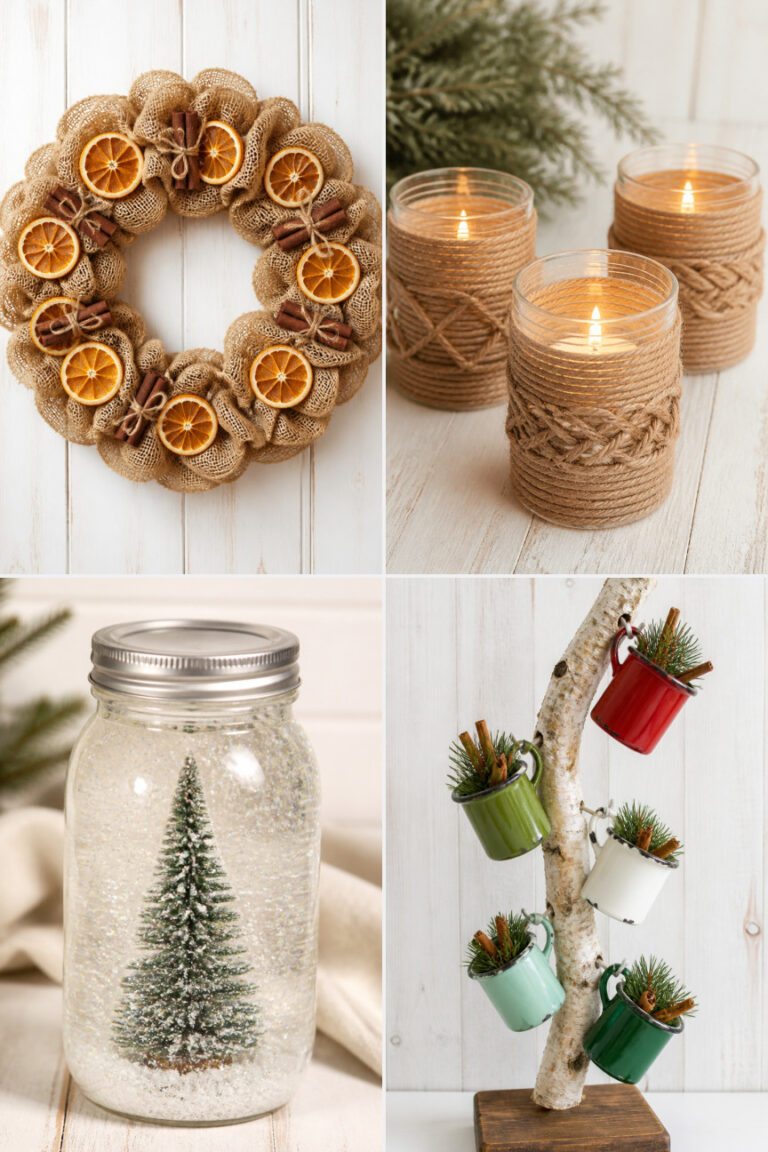
17 Christmas Crafts Using Dollar Store Supplies
There’s something special about making holiday decor that feels personal and full of heart. With just a few simple finds from your local dollar store, you can create beautiful pieces that add warmth to your home without stretching your budget.
Each of these crafts uses affordable, accessible materials but delivers charm and quality you’d find in pricier stores. Best of all, they’re fun to make and perfect for sharing with family or gifting to neighbors.
1. Rustic Pinecone Wreath
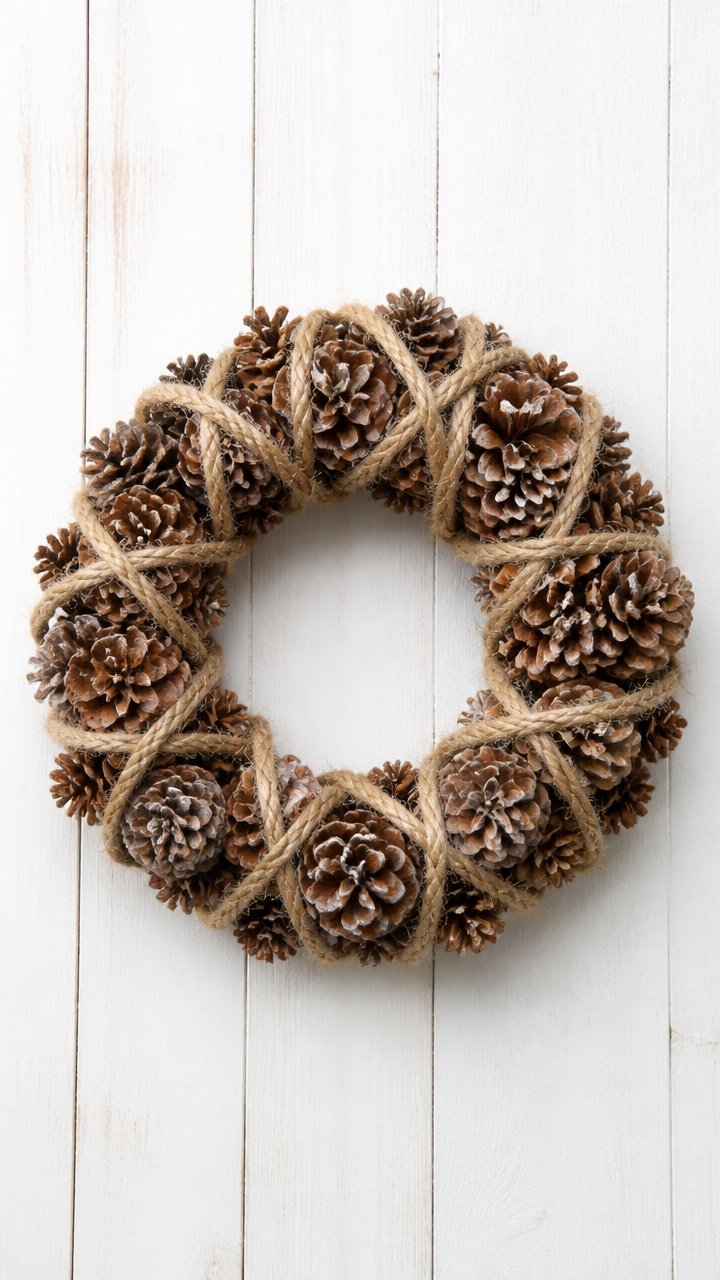
Pinecones wrapped in twine give this wreath a cozy, woodsy feel perfect for front doors or mantels. It smells faintly of the forest when you bring it indoors.
Materials Needed
- 24 medium pinecones
- 12-inch wire wreath frame
- Hot glue gun
- Glue sticks
- Jute twine (10 yards)
- Scissors
How to Make It
- Arrange pinecones around the wire frame to see how many fit snugly side by side.
- Apply hot glue to the base of each pinecone and press it firmly onto the frame, overlapping slightly as you go.
- Wrap jute twine tightly around the entire outer edge of the frame to hide any gaps between pinecones.
- Let dry completely for 15 minutes before hanging with a twine loop.


2. Mini Mason Jar Snow Globes
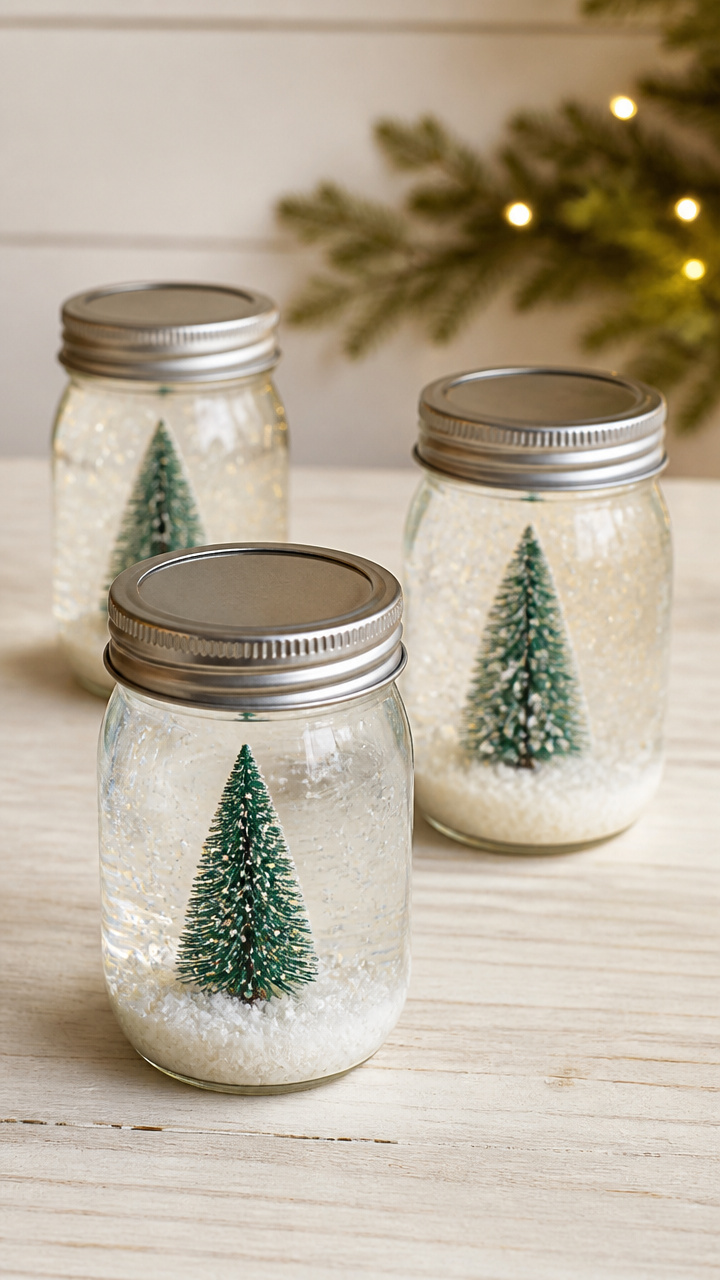
Tiny snow globes made in small jars sparkle on windowsills and delight kids with a gentle shake. They hold a little winter magic inside.
Materials Needed
- 6 small mason jars with lids
- Artificial snow (2 oz bag)
- Plastic mini evergreen trees (6 pieces)
- Distilled water (1 cup)
- Glycerin (1 tablespoon)
- Waterproof craft glue
How to Make It
- Glue one mini tree to the inside center of each jar lid and let dry for 10 minutes.
- Fill each jar with distilled water almost to the top, then add 1 teaspoon glycerin per jar.
- Sprinkle a pinch of artificial snow into each jar.
- Screw the lid tightly onto each jar, turn upside down, and shake gently to test the snowfall effect.


3. Cinnamon Stick Candles
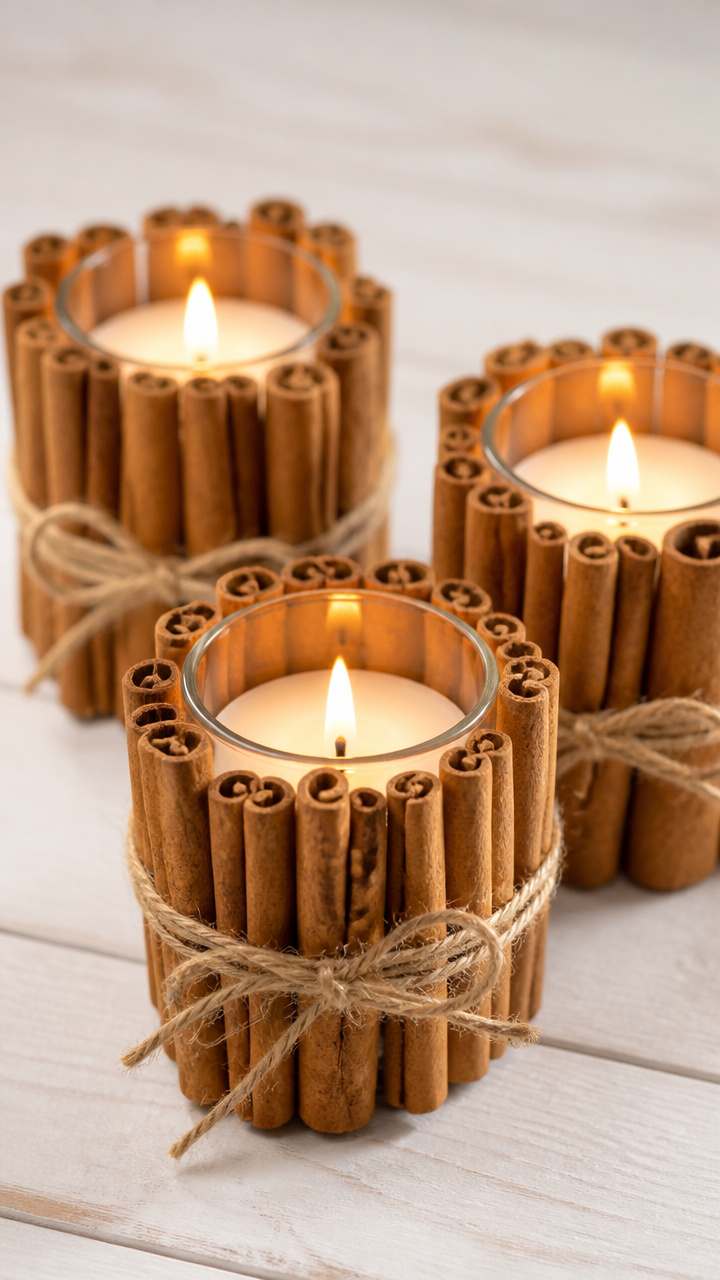
Clusters of cinnamon sticks wrapped around votives fill the room with warm spice and soft flickering light. They double as sweet-smelling gifts.
Materials Needed
- 6 clear glass votive holders
- Cinnamon sticks (36 total)
- Hot glue gun
- Glue sticks
- Tealight candles
How to Make It
- Stand 6 cinnamon sticks evenly around the outside of a votive holder, forming a circle.
- Apply hot glue between each stick at top, middle, and bottom to secure them together.
- Repeat for all six holders.
- Insert a tealight candle into each finished holder before lighting.


4. Felt Stocking Ornaments

Soft red and white felt stockings dangle from the tree like tiny promises of presents to come. Each one is stitched with care and full of nostalgia.
Materials Needed
- Red felt sheet (9 x 12 inches)
- White felt sheet (9 x 12 inches)
- Scissors
- Fabric scissors
- Needle and red embroidery floss
- Straight pins
- Pencil
How to Make It
- Draw a stocking shape 3 inches tall on paper and cut it out as a template.
- Pin the template to both red and white felt and trace six times, alternating colors for variety.
- Cut out each pair of felt stockings.
- Sew two matching pieces together using a whipstitch, leaving the top open, and thread a short red ribbon loop through the top before closing.


5. Glittered Ornament Coasters
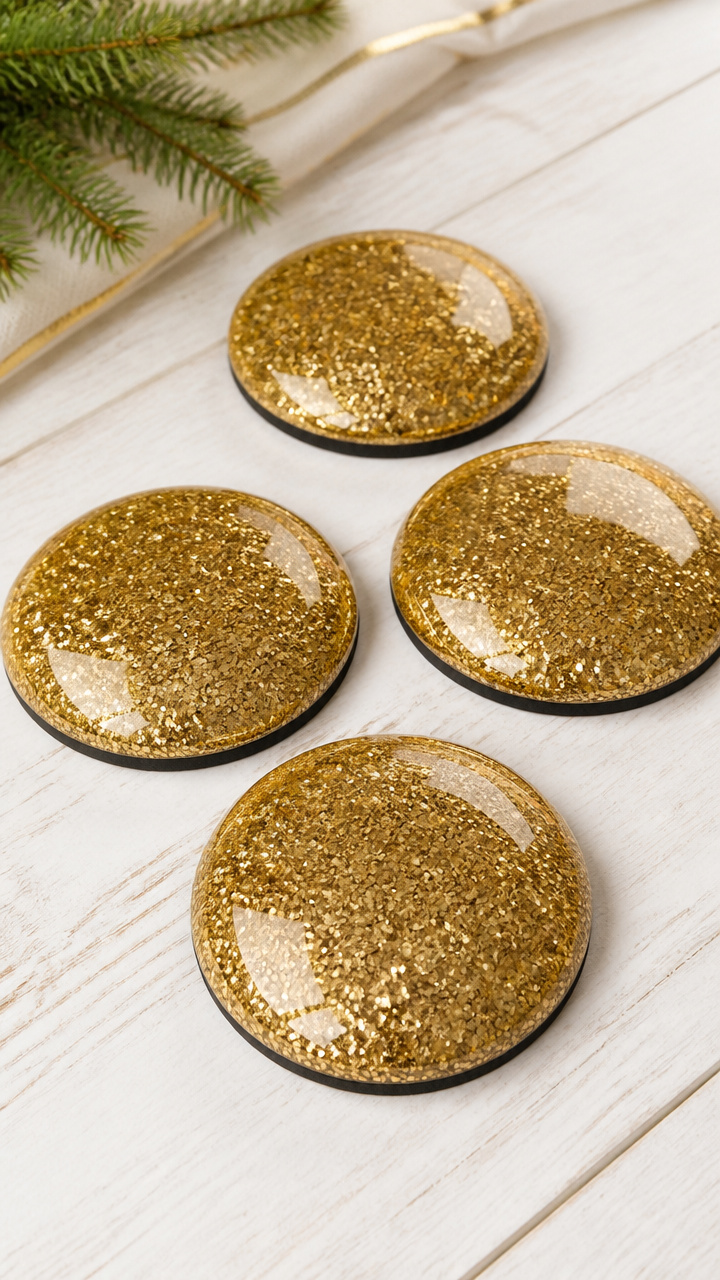
Shiny round coasters made from ornaments protect furniture while adding festive shimmer. They catch the light like real holiday baubles.
Materials Needed
- 6 plastic ball ornaments (3-inch diameter)
- Gold glitter spray paint
- Craft foam sheet (black, 9×12)
- Scissors
- Low-tack tape
- Foam brush
How to Make It
- Cut each ornament in half carefully using scissors, creating 12 open bowls.
- Place each half-shell on a protected surface and spray evenly with gold glitter paint in thin layers.
- Let dry 20 minutes between coats, apply two coats total.
- Cut 12 circles from black craft foam slightly larger than the base of each half-ornament and glue inside for stability.


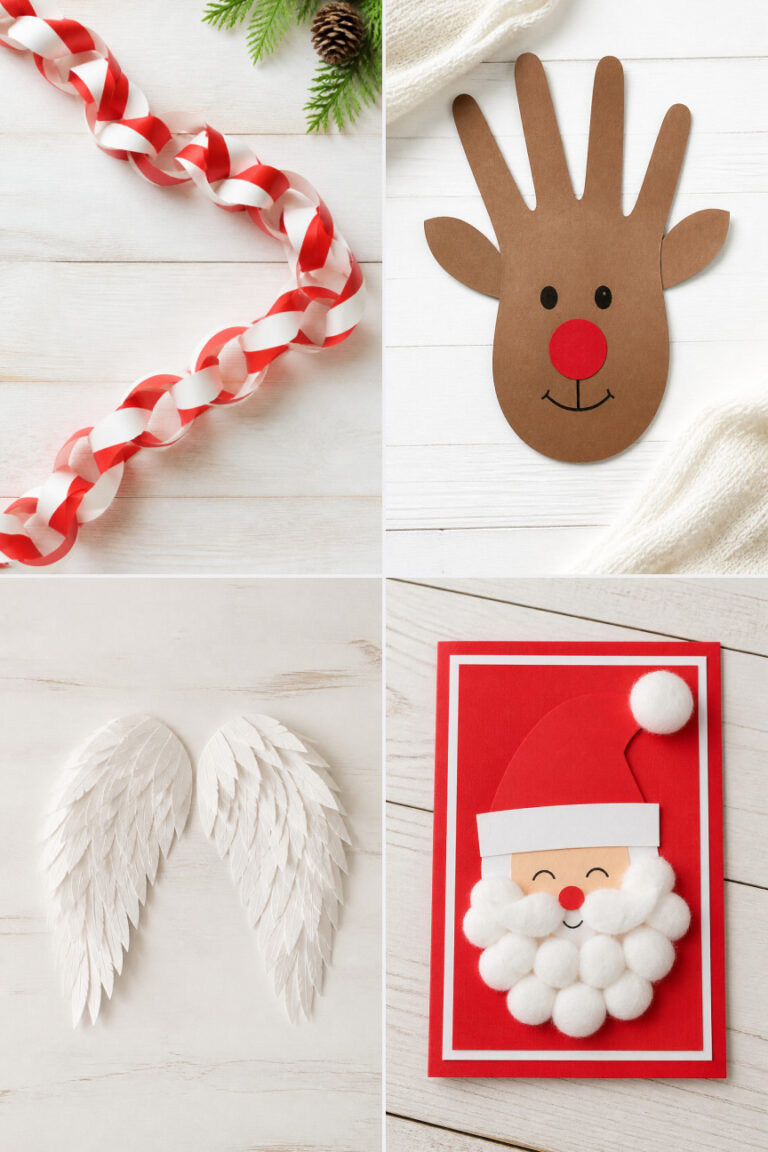
6. Paper Chain Garland
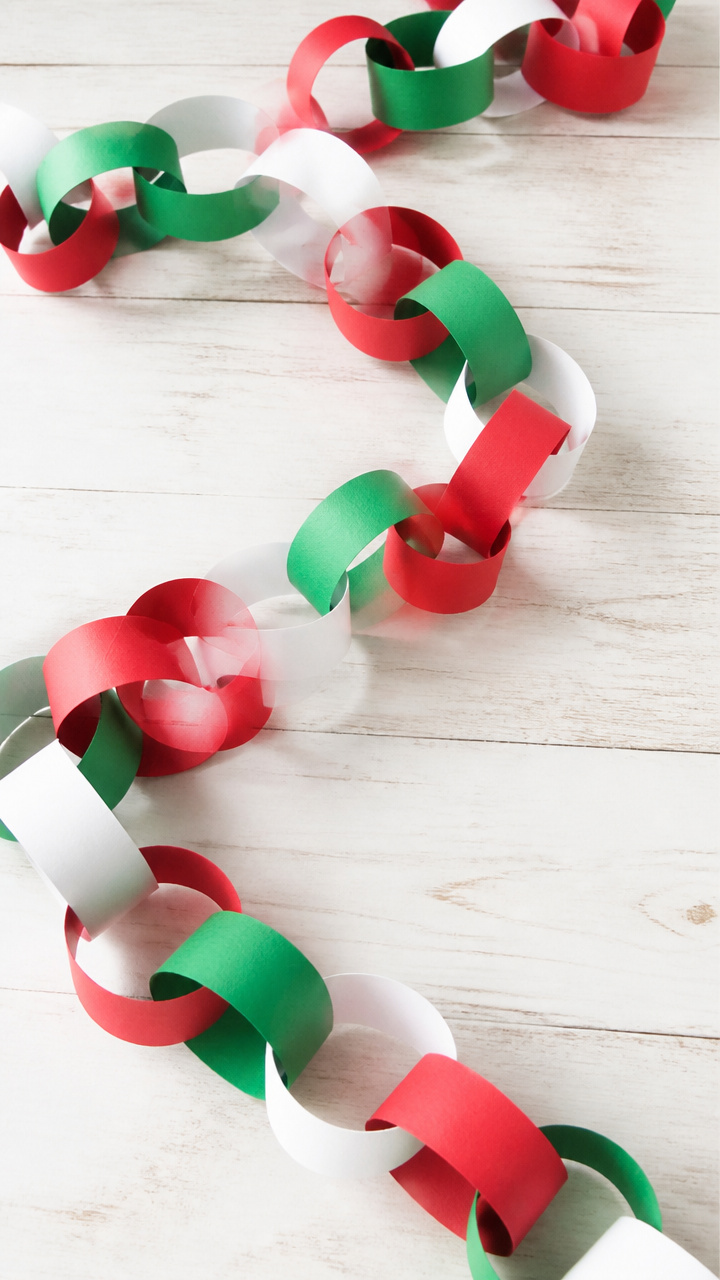
Bright loops strung across the room bring back childhood joy in the simplest way. This garland takes minutes and fills spaces with color.
Materials Needed
- Colored construction paper (red, green, white – 12 sheets each)
- Scissors
- White school glue
- Ruler
- Pencil
How to Make It
- Cut each sheet into 1-inch wide strips, trimming them to 8 inches long.
- Take one strip, glue the ends together to form a loop.
- Thread a second strip through the first loop before gluing it closed.
- Continue linking until the garland reaches 6 feet, alternating colors as you go.


7. Beaded Candy Cane Ornaments
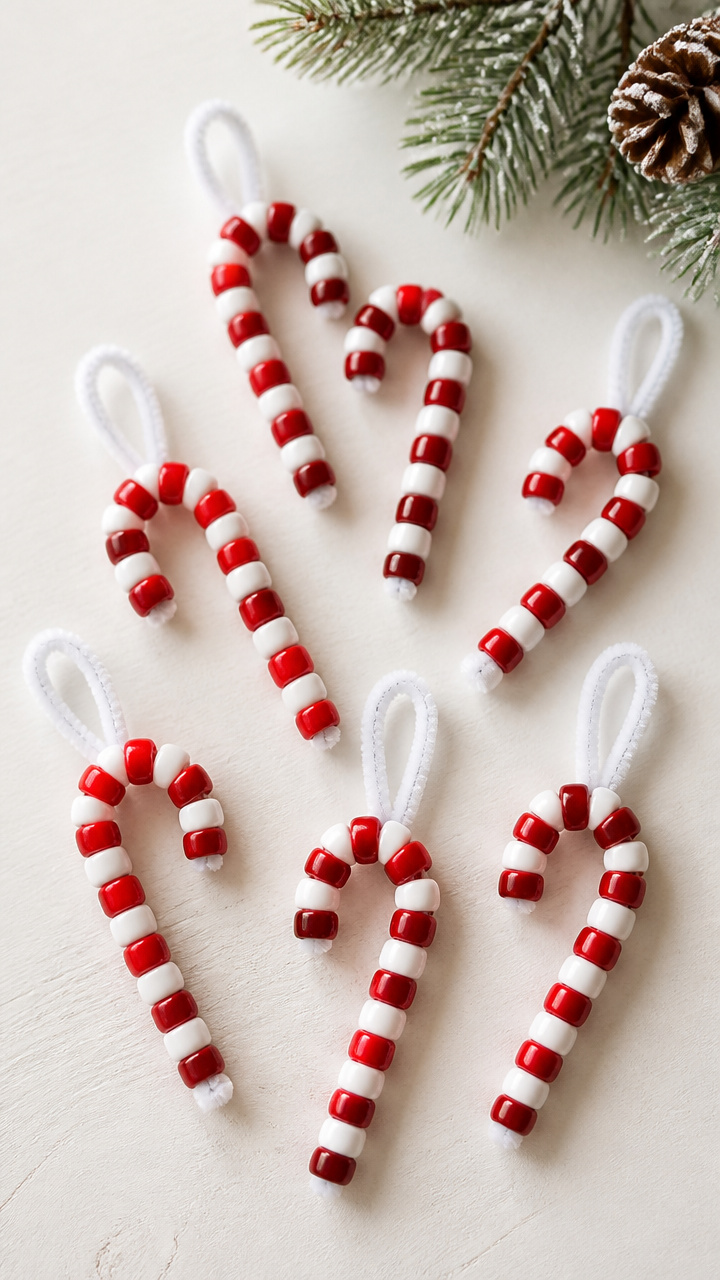
Red and white pony beads bend into miniature candy canes that hang proudly on branches. Kids love shaping them just right.
Materials Needed
- Red pony beads (100 count)
- White pony beads (100 count)
- Pipe cleaners (white, 6 count)
- Round-nose pliers
- Scissors
How to Make It
- Thread 12 red beads onto a pipe cleaner, alternating with 3 white beads every fourth bead.
- Bend the top inch of the pipe cleaner at a 90-degree angle using pliers.
- Shape the straight section into a cane curve, securing the end with a twist.
- Trim excess length with scissors and smooth any sharp edges.


8. Clothespin Reindeer
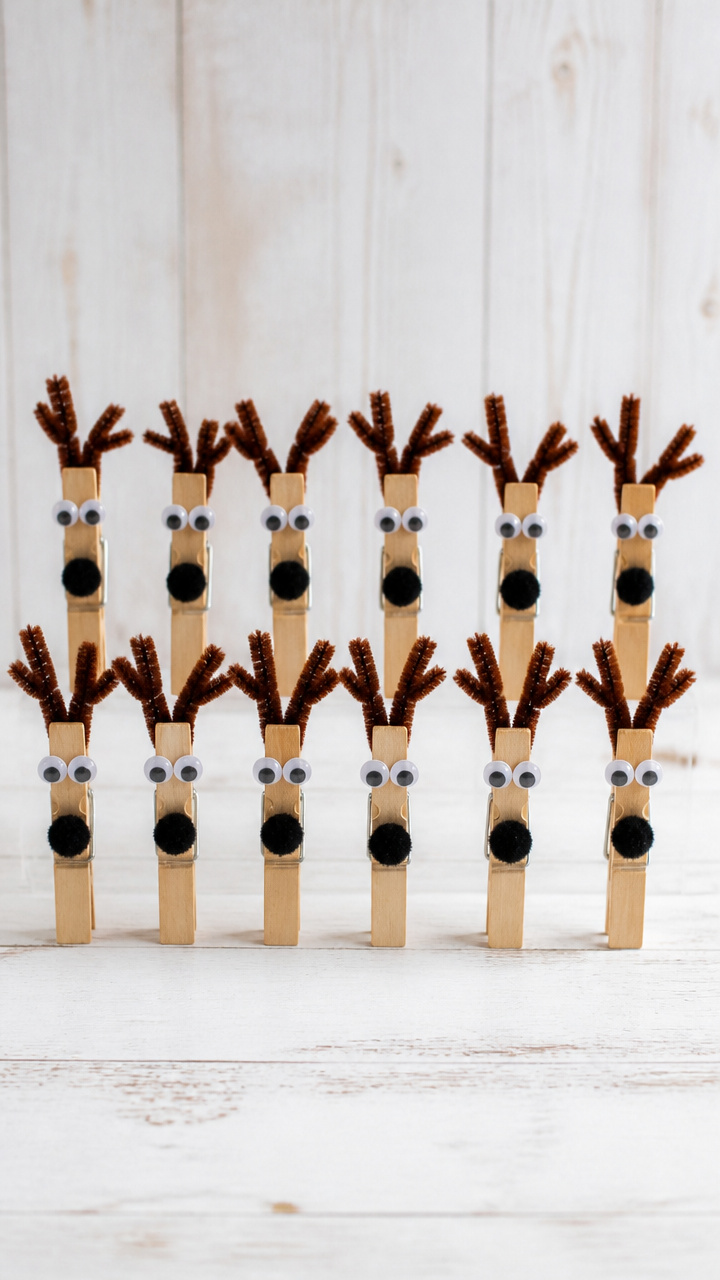
Wooden clothespins become adorable reindeer with a few clever additions. Line them up on a shelf or use them as place card holders.
Materials Needed
- 12 wooden clothespins
- Small black pom-poms (12 mm, 12 count)
- Googly eyes (10 mm, 24 count)
- Brown pipe cleaners (6 count)
- Hot glue gun
- Glue sticks
- Scissors
How to Make It
- Glue one black pom-pom to the rounded end of each clothespin for the nose.
- Attach two googly eyes above the nose with a dab of hot glue.
- Cut pipe cleaners in half and twist two pieces into antlers, then glue them to the top of each clothespin.
- Let glue set for 10 minutes before arranging.


9. Button Snowmen
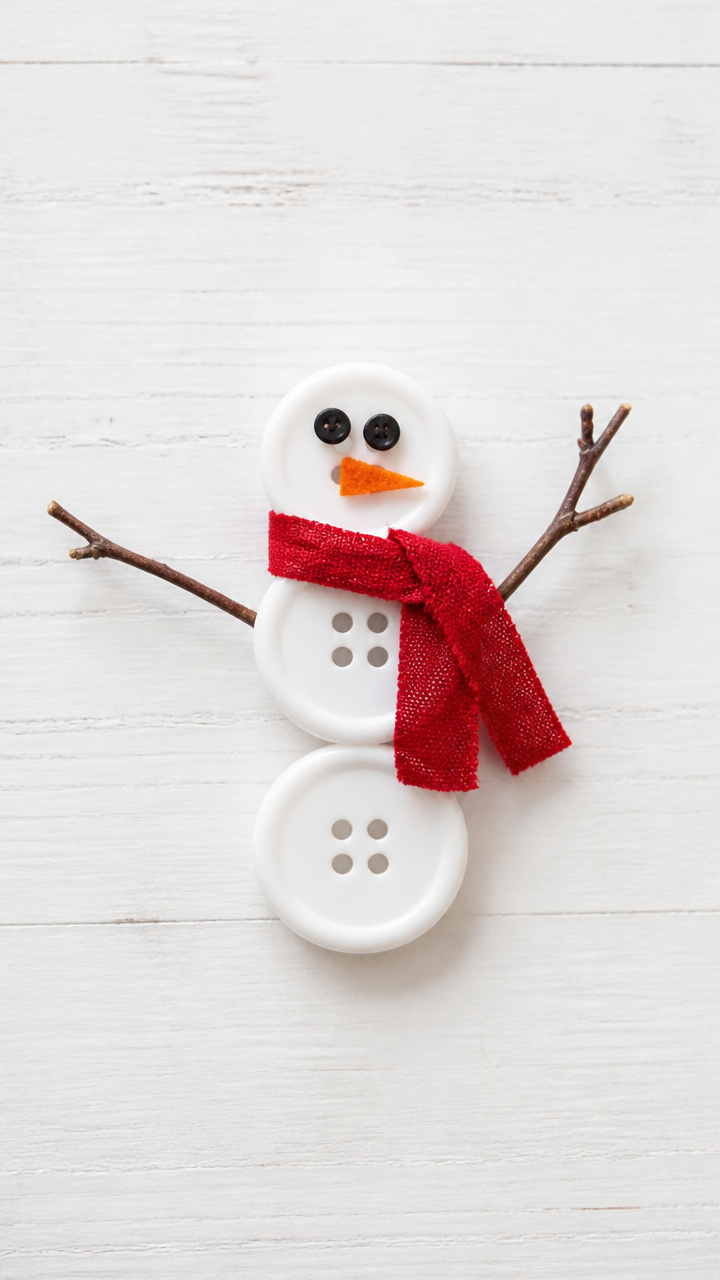
Three stacked buttons with twig arms and a fabric scarf make charming little snowmen. Display them in a bowl or glue them to cards.
Materials Needed
- Large white buttons (¾ inch, 18 count)
- Black buttons (¼ inch, 18 count)
- Orange felt scraps
- Twigs (small, 2 inches long, 18 count)
- Fabric scraps (red, 3×3 inch squares)
- Hot glue gun
- Glue sticks
How to Make It
- Stack three large white buttons vertically and glue them together with hot glue.
- Glue two small black buttons below the top button for eyes.
- Cut tiny carrot shapes from orange felt and glue one between the top and middle button.
- Glue two short twigs to the sides for arms and wrap a small strip of red fabric around the base for a scarf.


10. Tinsel Tree Toppers
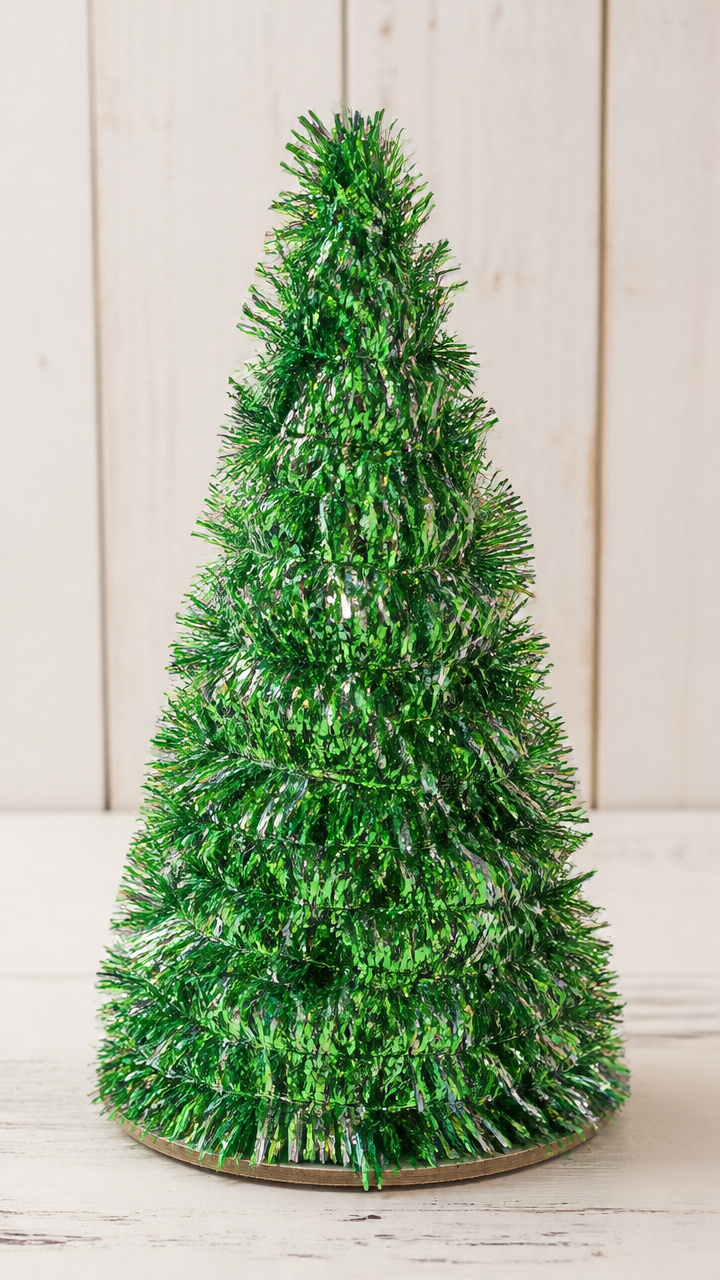
Fluffy tinsel sprigs perched on cone shapes shine from the highest branch. These toppers glow under string lights.
Materials Needed
- Cardboard sheets (white, 9×12)
- Green tinsel garland (6 feet)
- Scissors
- Hot glue gun
- Glue sticks
- Ruler
- Pencil
How to Make It
- Cut cardboard into 6 triangle shapes, each 5 inches tall and 3 inches at the base.
- Roll each triangle into a cone and glue the seam with hot glue.
- Cut tinsel garland into 6-inch strands (use 12 per cone).
- Glue strands densely around the cone base, working upward until covered, then place on tree tip.


11. Popsicle Stick Ladder Ornaments
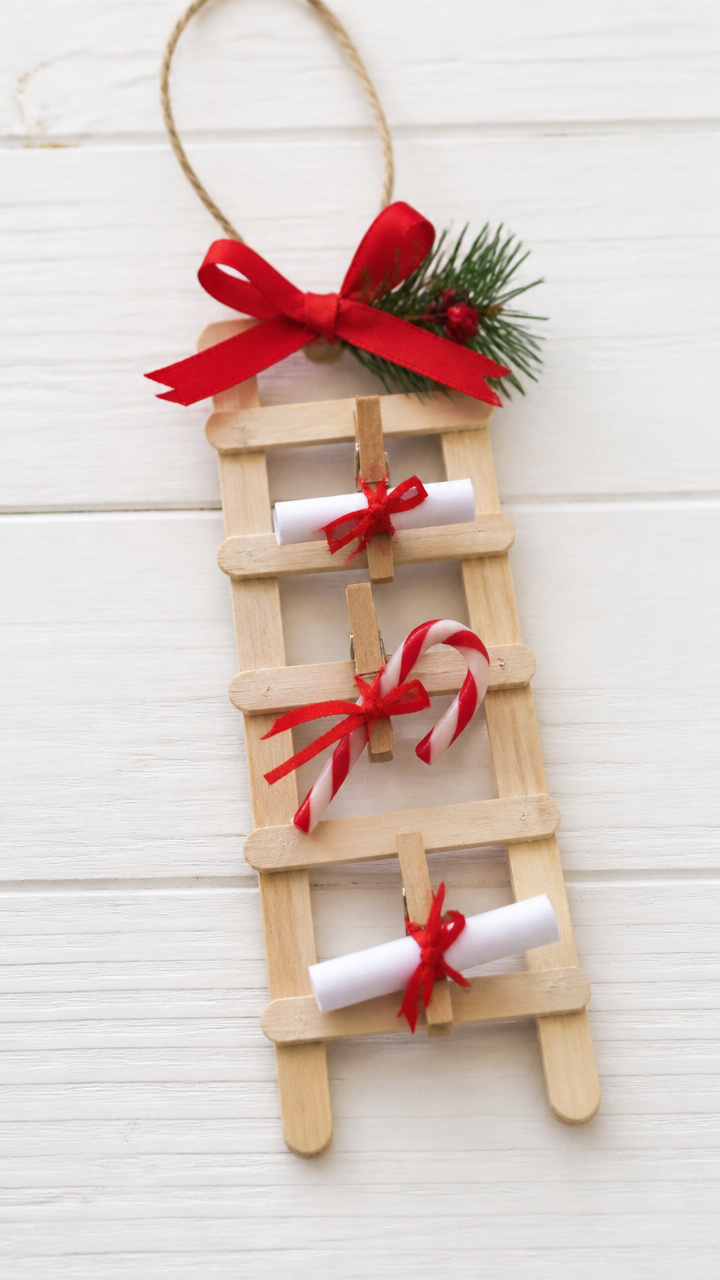
Little ladders built from popsicle sticks hold tiny rolled-up notes or candy canes. They’re rustic and full of surprise.
Materials Needed
- Popsicle sticks (36 count)
- Hot glue gun
- Glue sticks
- Scissors
- Miniature clothespins (6 count)
- Red ribbon (⅛ inch wide, 3 yards)
How to Make It
- Lay two popsicle sticks parallel on a flat surface, 2 inches apart.
- Glue five sticks perpendicular across them like rungs, spaced ½ inch apart.
- Cut a third stick in half and glue one half to each end upright to form sides.
- Tie a ribbon loop to the top and clip a mini clothespin to each rung for decoration.



12. Salt Dough Ornaments
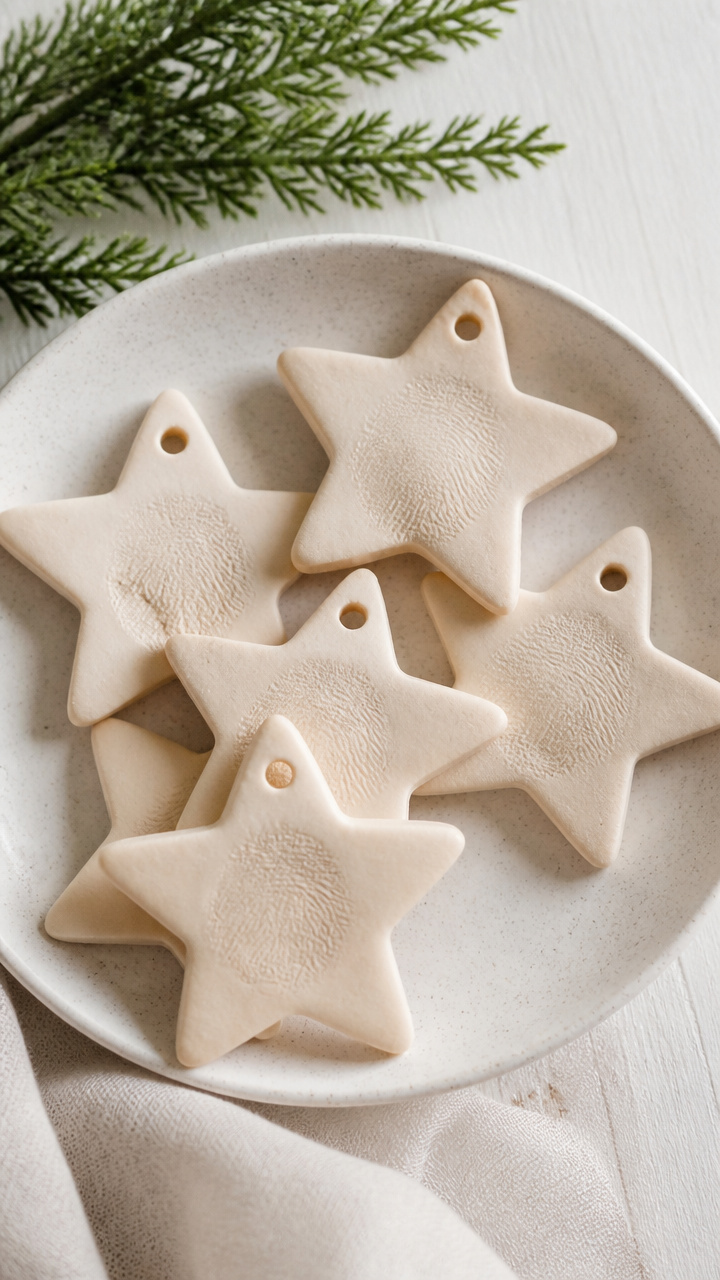
Handmade salt dough stars keep fingerprints and memories for years. Baking them turns soft shapes into lasting keepsakes.
Materials Needed
- All-purpose flour (2 cups)
- Table salt (1 cup)
- Warm water (¾ cup)
- Rolling pin
- Star-shaped cookie cutter (2-inch)
- Straw
- Baking sheet
- Parchment paper
How to Make It
- Mix flour, salt, and warm water in a bowl until a smooth dough forms.
- Roll dough to ¼ inch thickness on a floured surface.
- Cut out shapes with the star cutter and poke a hole near the top with a straw.
- Bake on parchment-lined sheet at 200°F for 3 hours, then cool and thread with ribbon.


13. Peppermint Path Markers
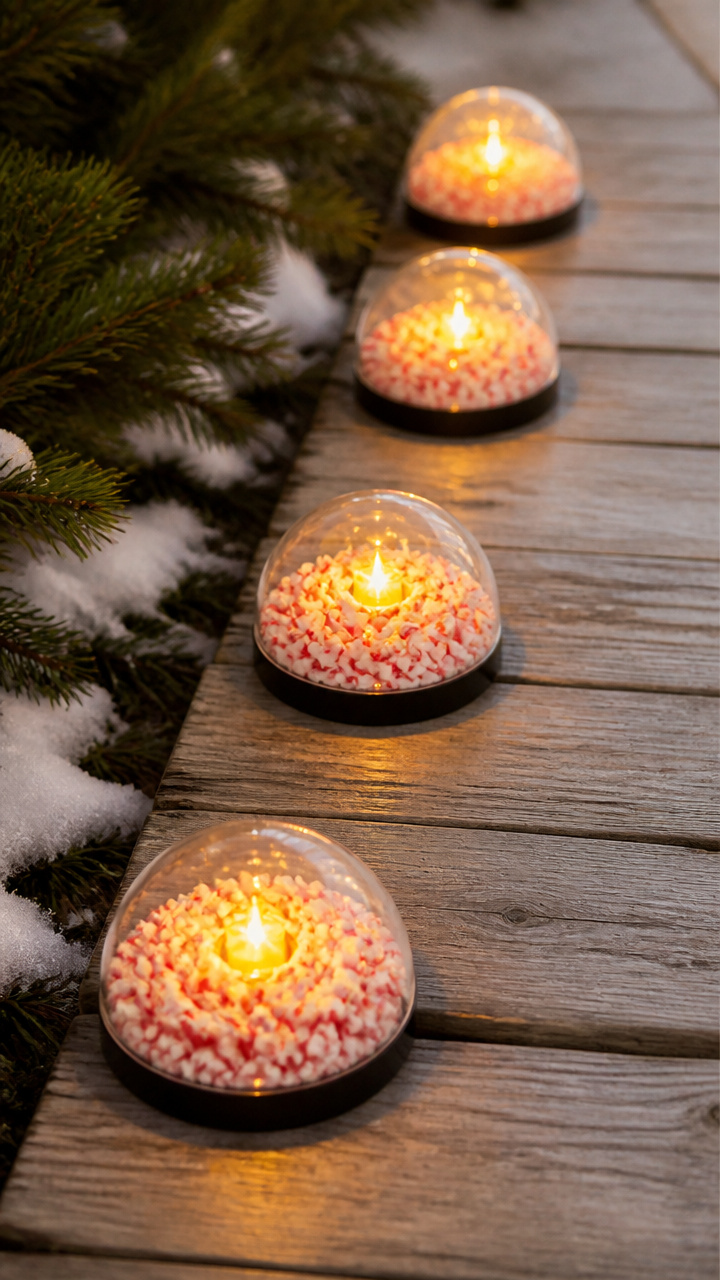
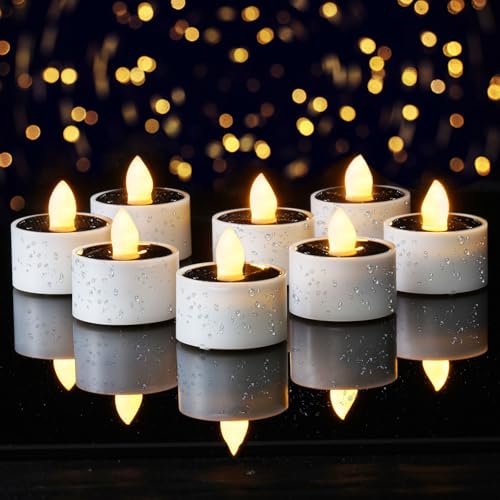
Clear plastic balls filled with red and white candies line walkways with cheerful color. Solar tea lights make them glow at night.
Materials Needed
- Clear plastic ornament halves (6 count)
- Red and white peppermints (crushed, 1 cup)
- Solar-powered tea lights (6 count)
- Hot glue gun
- Glue sticks
How to Make It
- Fill each plastic half with crushed peppermints about ¾ full.
- Place a solar tea light inside each filled half.
- Press two halves together to form a ball and seal with hot glue around the seam.
- Set outdoors where sunlight charges the lights each day.


14. Yarn-Wrapped Gift Tags
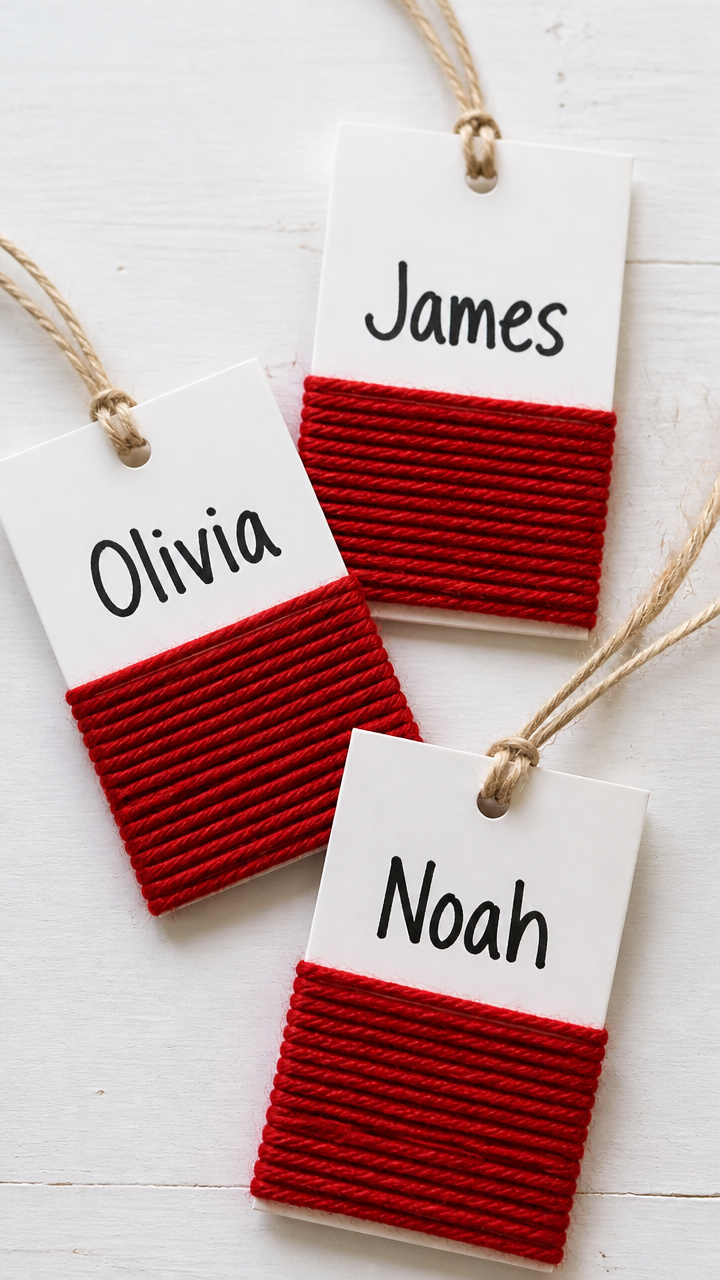
Stiff paper tags wrapped with yarn look handmade and earthy. Write names in bold marker for a personal touch.
Materials Needed
- Cardstock (white, 4×6 inches, 12 count)
- Hole punch
- Red yarn (10 yards)
- Scissors
- Black permanent marker
How to Make It
- Punch a hole in the top corner of each tag.
- Wrap yarn around the tag horizontally, passing through the hole at the start and end.
- Tie a knot at the back to secure after five wraps.
- Write each recipient's name on the front with the marker.


15. Tree Branch Candle Holders
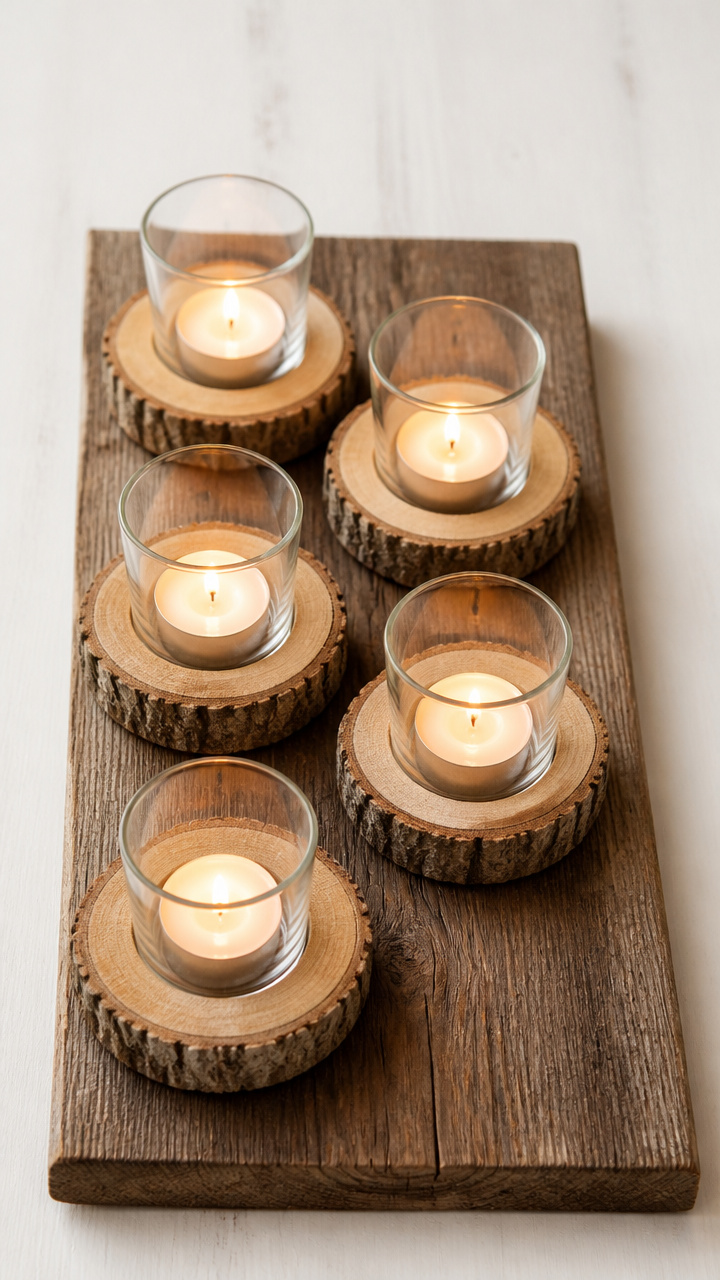
Short slices of real tree branches cradle candles like nature intended. Their rough edges contrast beautifully with smooth glass.
Materials Needed
- Round wood slices (1.5-inch thick, 4-inch diameter, 6 count)
- Drill with 1.5-inch spade bit
- Votive glass holders (6 count)
- Sandpaper (medium grit)
- Tealight candles
How to Make It
- Sand each wood slice to remove splinters and smooth the surface.
- Mark the center of each slice and drill a 1.5-inch deep hole just wide enough for a votive glass.
- Wipe sawdust from each piece with a dry cloth.
- Insert glass holder and place a candle inside.


16. Felt Ball Garlands
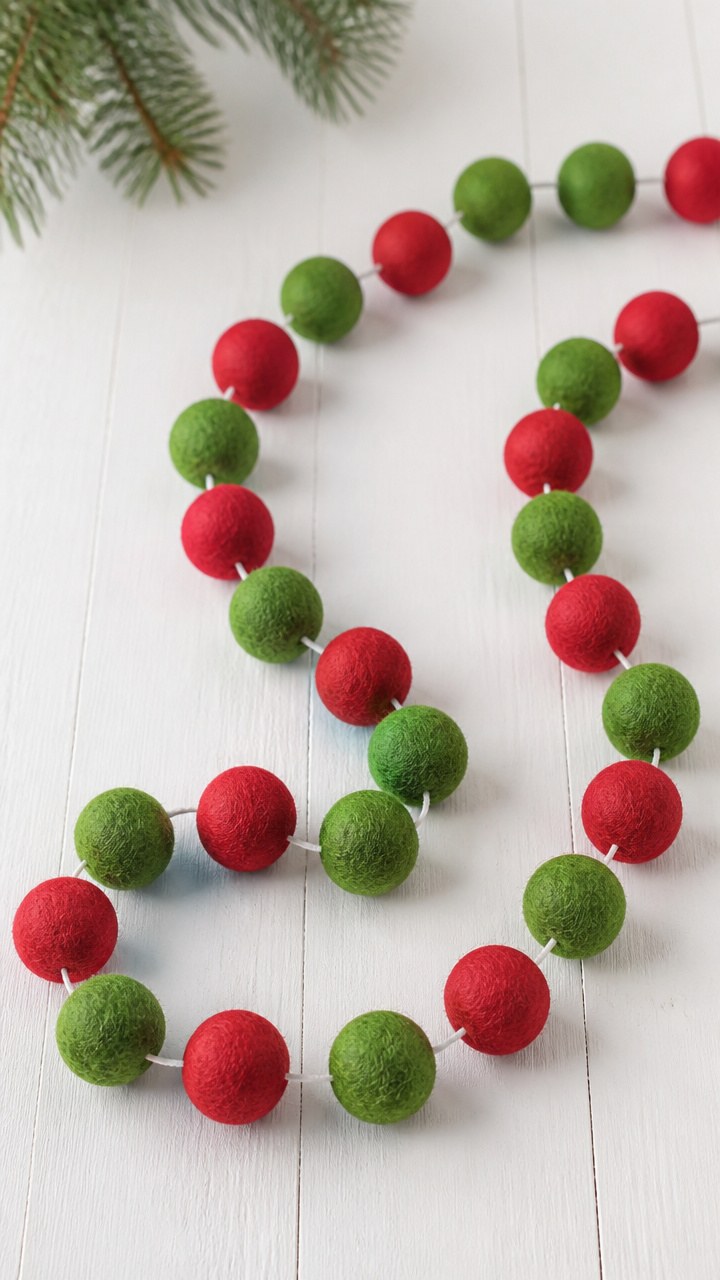
Hand-rolled wool felt balls strung together make soft, bouncy garlands. Hang them where light can catch their texture.
Materials Needed
- Wool blend felt balls (1 inch, red and green, 60 total)
- Embroidery needle
- White embroidery thread (3 yards)
- Scissors
How to Make It
- Thread the needle with 18 inches of thread and knot the end.
- Push the needle through the center of a red felt ball, pulling it to the knot.
- Alternate red and green balls, threading each carefully to avoid splitting.
- Tie off the end after 30 balls and trim excess thread.


17. Magnetic Ornament Hooks
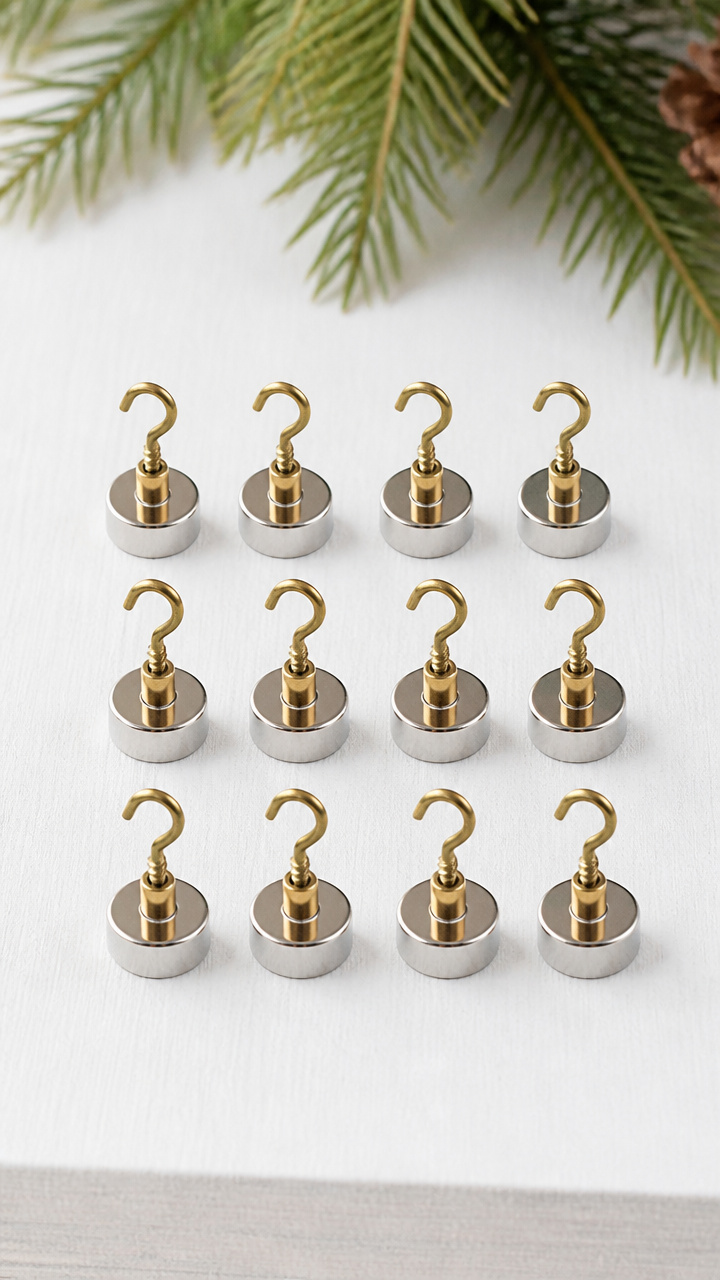
Tiny hooks made from hardware parts lift lightweight ornaments off stands and onto metal surfaces. They’re invisible but essential.
Materials Needed
- Small adhesive magnets (12 count)
- Brass hook screws (12 count)
- Flat-head screwdriver
- Pliers
How to Make It
- Press one adhesive magnet firmly onto the back of each brass hook screw.
- Wait 5 minutes for the bond to set.
- Screw each hook into the bottom of a lightweight ornament.
- Stick the magnet side to any steel surface like a fridge or file cabinet.


You’ve got everything you need now to make the season brighter, one simple craft at a time. Grab your bags and head to the dollar store — your coziest holiday yet is waiting to be made.