17 Cute Christmas Ornaments to Make With Kids During Winter Break
Winter break is the perfect time to slow down and make something special together. These handmade ornaments bring joy to the season and give your tree a personal touch that store-bought ones just can’t match.
Each project uses simple supplies you likely already have or can grab easily. They’re designed for real life with kids, meaning messes are part of the fun and imperfections only add charm.
1. Salt Dough Handprint Reindeer
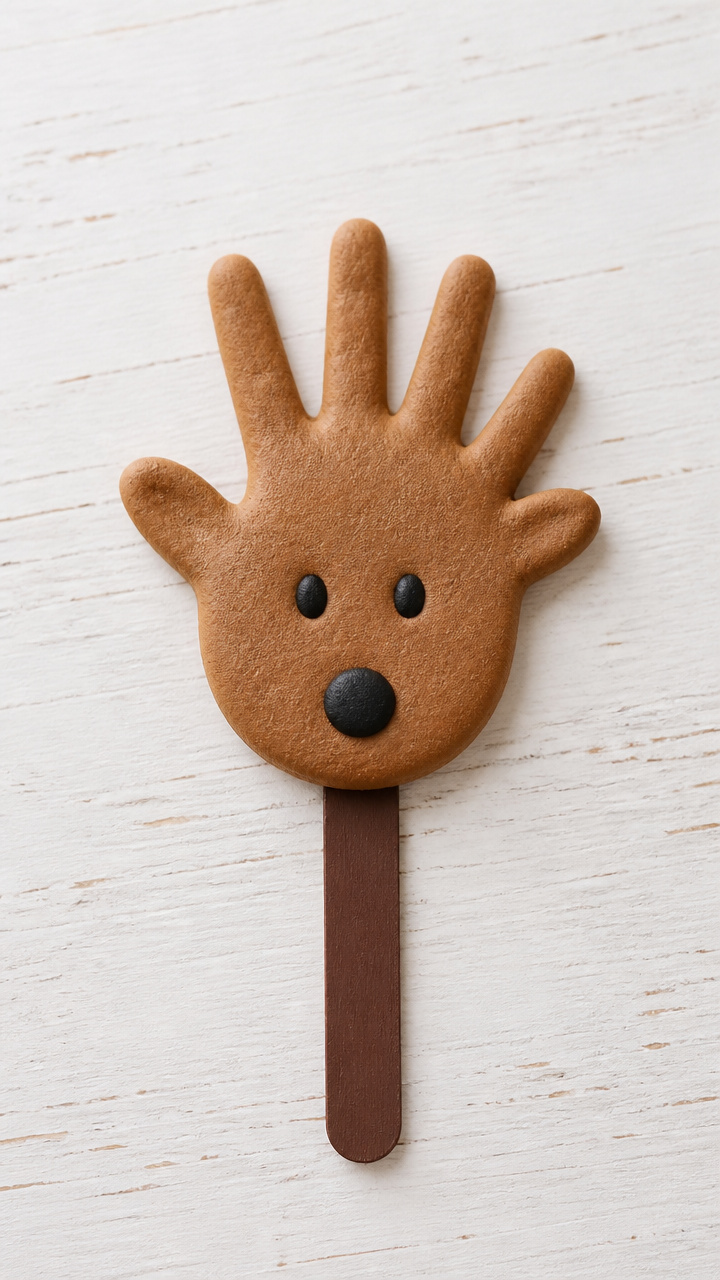
Soft brown salt dough shaped into reindeer holds your child’s handprint on the back. This keepsake grows more precious each year it hangs on the tree.
Materials Needed
- 2 cups all-purpose flour
- 1 cup table salt
- 1 cup warm water
- Popsicle stick
- Brown acrylic paint
- Black craft paint pen
- Red pom-pom, 8mm
- Baking sheet
- Parchment paper
How to Make It
- Mix flour, salt, and warm water in a bowl until a smooth dough forms, adding a little extra flour if sticky.
- Roll out dough to 1/4 inch thick and cut into 3-inch circles using a jar lid.
- Press one small hand firmly into the back of each circle, then use a popsicle stick to carve antler shapes from the top edge.
- Bake on parchment-lined baking sheet at 200°F for 3 hours, turning once halfway through.
- Paint the front brown, add two black eyes with the paint pen, and glue a red pom-pom between the antlers.


2. Cinnamon Apple Ring Ornaments
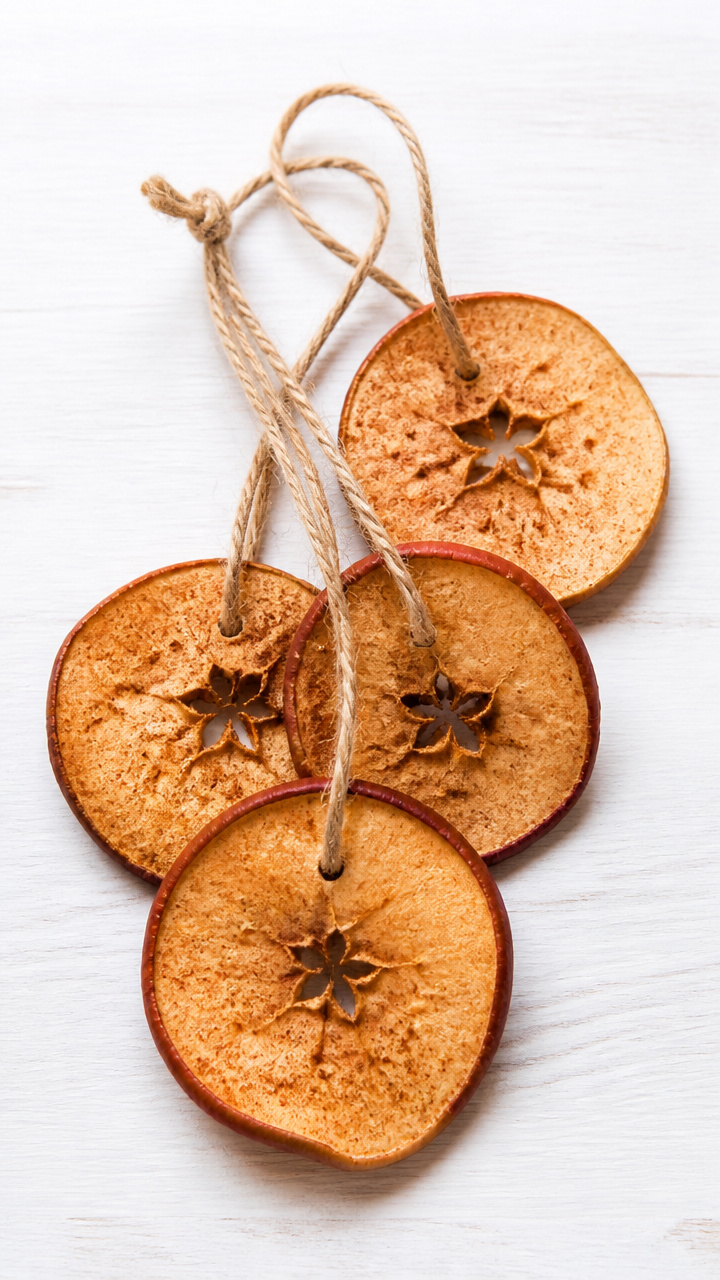
These rustic slices dry into firm rings that smell like apple pie and look like tiny treasures. String them with twine for a cozy kitchen-tree vibe.
Materials Needed
- 2 medium green apples
- 1/4 cup ground cinnamon
- Paper towels
- Dental floss
- Small mixing bowl
- Pencil
How to Make It
- Slice apples crosswise into 1/4-inch-thick rounds using a sharp knife.
- Blot each slice gently with paper towel, then place on a rack in a single layer.
- Mix cinnamon with 2 tablespoons water in a bowl and brush a thin layer over both sides of each slice.
- Push a pencil through the center of each slice to create a hole, then thread dental floss through for hanging.
- Dry at room temperature for 5–7 days, flipping daily, until firm and curled slightly at edges.


3. Pinecone Penguins
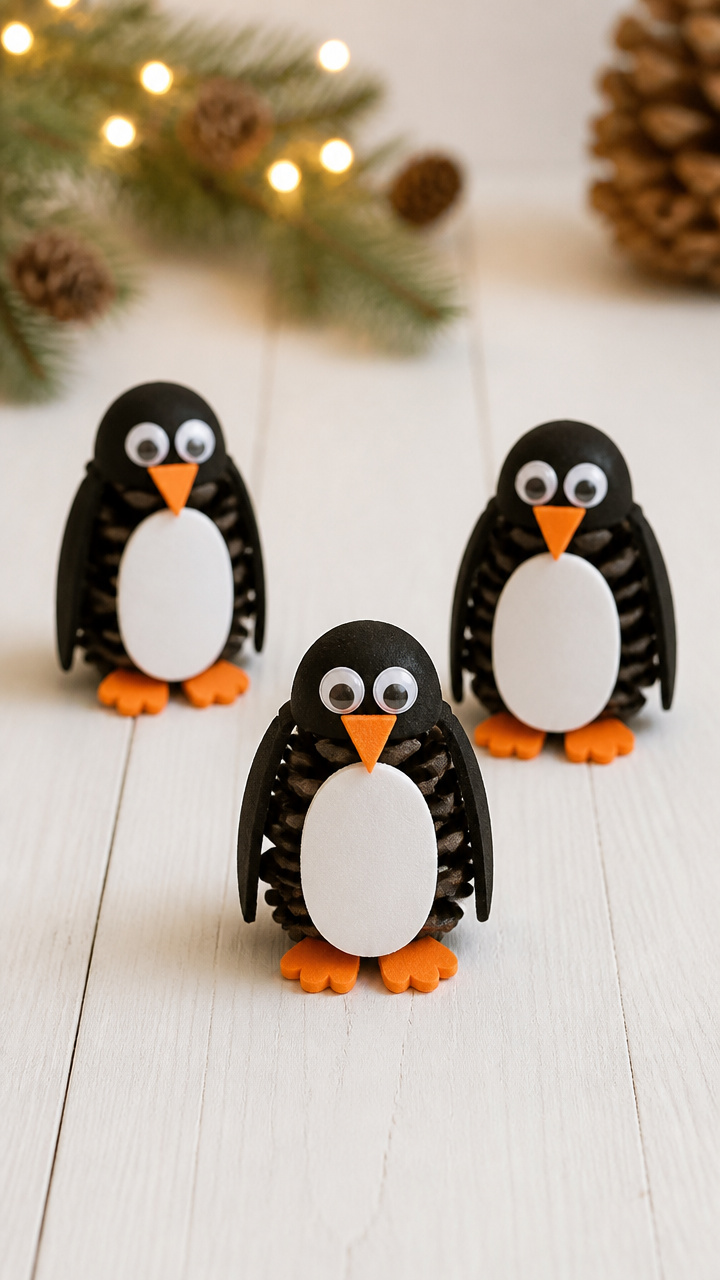
Fluffy pinecones become waddling penguins with just a few bright details. These stand proudly on shelves or hang by a loop.
Materials Needed
- 12 medium pinecones, dry
- Black acrylic paint
- Orange acrylic paint
- White craft foam sheet
- Googly eyes, 10mm, 24 pieces
- Craft glue
- Gold embroidery floss
- Paintbrush
How to Make It
- Paint the bottom third of each pinecone orange and let dry on wax paper for 1 hour.
- Paint the top two-thirds black, covering scales completely, and air-dry overnight.
- Cut 12 small ovals from white foam for bellies and glue centered on the front.
- Glue one googly eye on each side of the top for each penguin.
- Cut 6 short strips of floss, tie into loops, and glue to the back near the top for hanging.


4. Crayon Melt Snowflakes
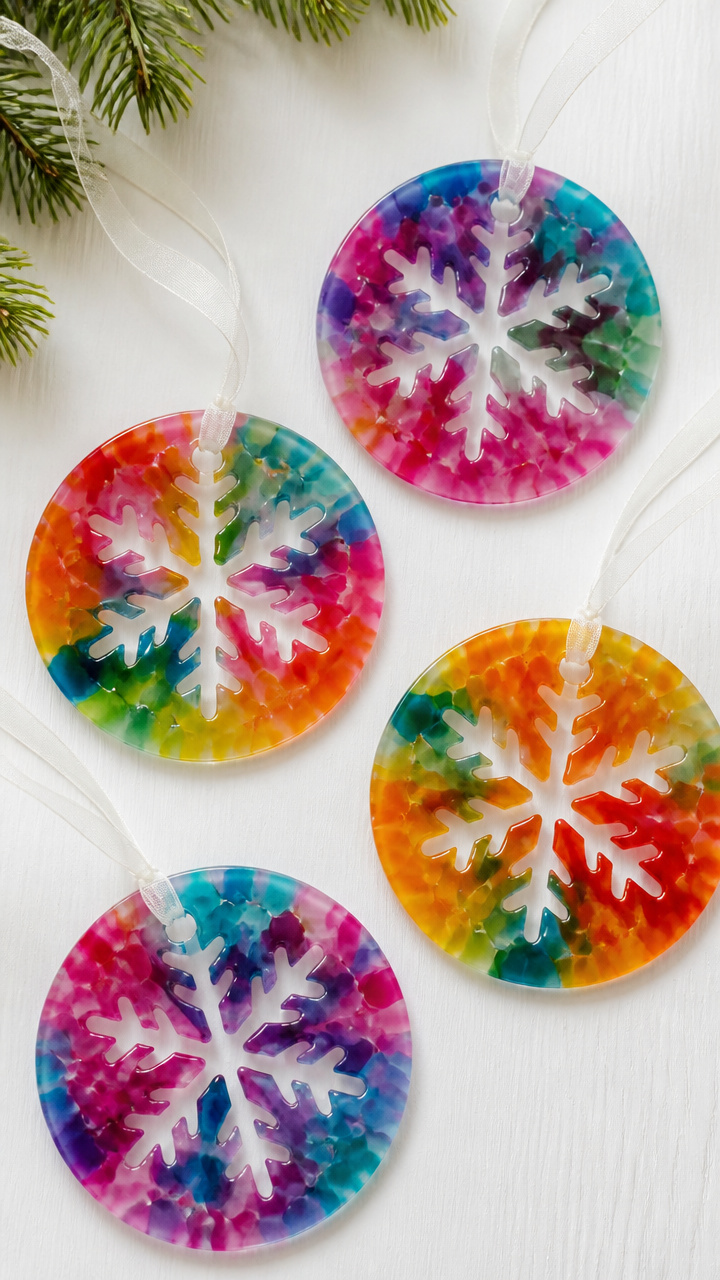
Old crayons melt into shimmering snowflake shapes that catch the light. These translucent discs dangle like tiny stained glass.
Materials Needed
- 24 used crayons, peeled
- Snowflake-shaped silicone mold, 4-inch
- Oven-safe baking sheet
- Parchment paper
- Hole punch
- Ribbon, 1/8-inch wide
How to Make It
- Break crayons into small pieces and sort by color family.
- Fill each cavity of the mold tightly with pieces, mixing similar tones for soft blends.
- Place mold on parchment-lined baking sheet and bake at 275°F for 15 minutes until fully melted.
- Cool completely for 1 hour, then pop out each ornament carefully.
- Punch a hole near the top edge and thread with 6 inches of ribbon for hanging.

5. Clothespin Santa Faces
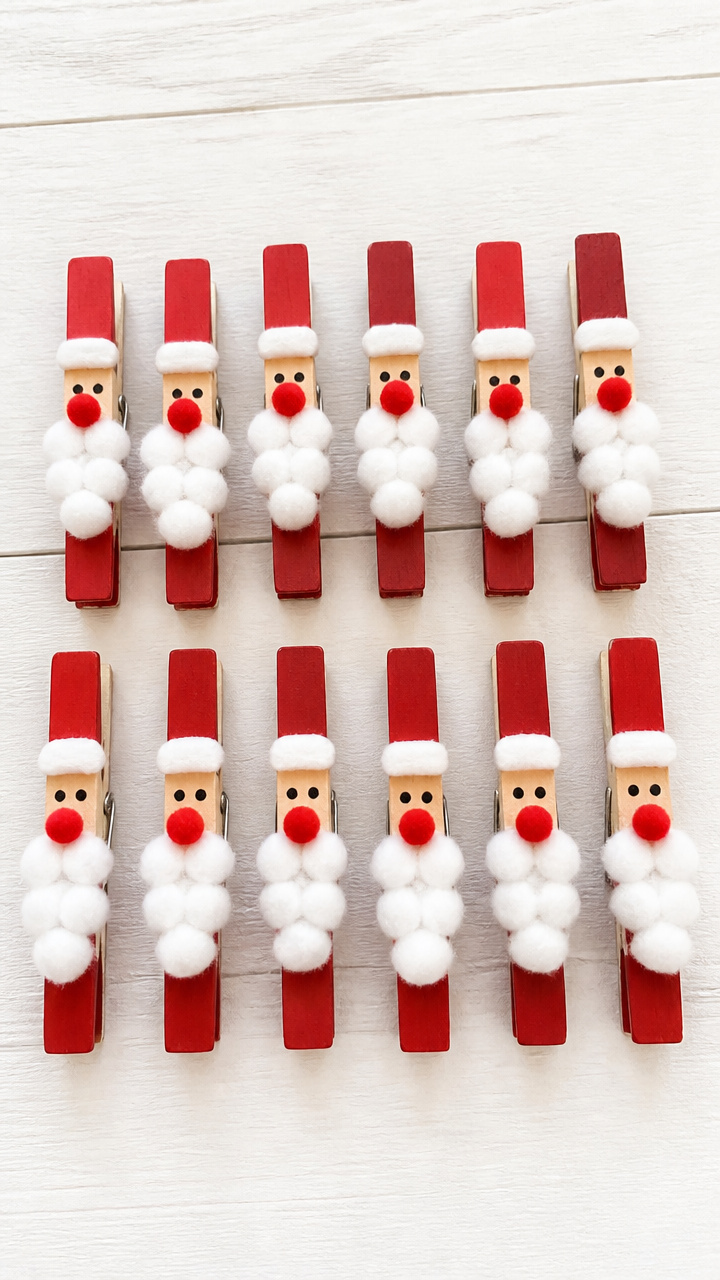
Wooden clothespins turn into cheerful Santas with cotton beards and painted smiles. These sit sweetly on branches or gift tags.
Materials Needed
- 12 wooden clothespins
- Red acrylic paint
- White craft glue
- Cotton balls
- Black craft paint pen
- Small red pom-pom, 6mm
- Paintbrush
How to Make It
- Paint the rounded end of each clothespin red and let dry flat for 30 minutes.
- Glue cotton balls in a curved line under the red end to form a beard, pressing gently to adhere.
- Draw two small eyes and a smile on the wood below the cotton with the black paint pen.
- Glue a red pom-pom at the tip of the red end for a hat puff.
- Let dry completely for 2 hours before placing on tree branches.


6. Felt Stocking Silhouettes
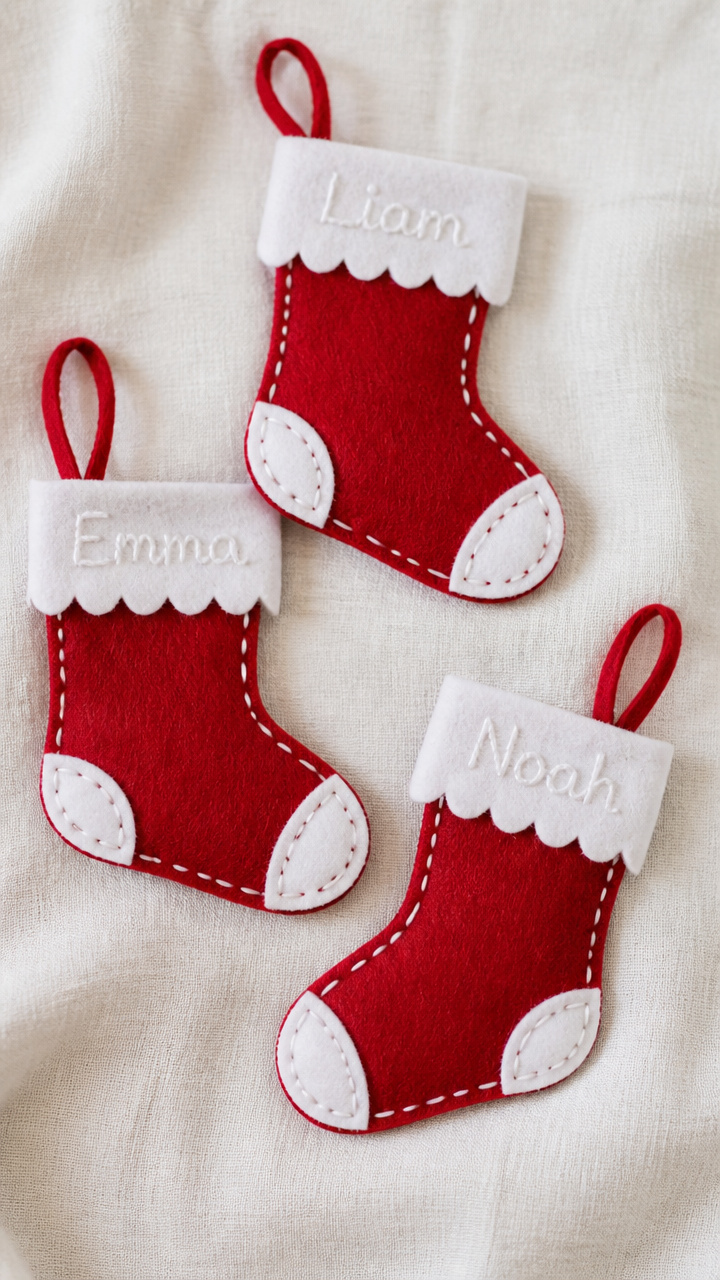
Bright felt cut into classic stocking shapes gets stitched with care. Each one holds a name tag for a personalized tree row.
Materials Needed
- Red felt sheet, 9×12 inches
- White felt sheet, 9×12 inches
- Scissors
- Embroidery needle
- White embroidery floss
- Fabric marker
- Ruler
How to Make It
- Draw a 4-inch stocking shape on red felt using fabric marker and cut two identical pieces.
- Cut a 2×3-inch name tag from white felt and write a name neatly with fabric marker.
- Stack the red pieces and sew around the edge with white floss using a running stitch every 1/4 inch.
- Stop stitching at the top 1 inch to leave an opening.
- Glue the name tag to the front before the final stitch closes the top.


7. Popsicle Stick Ladders
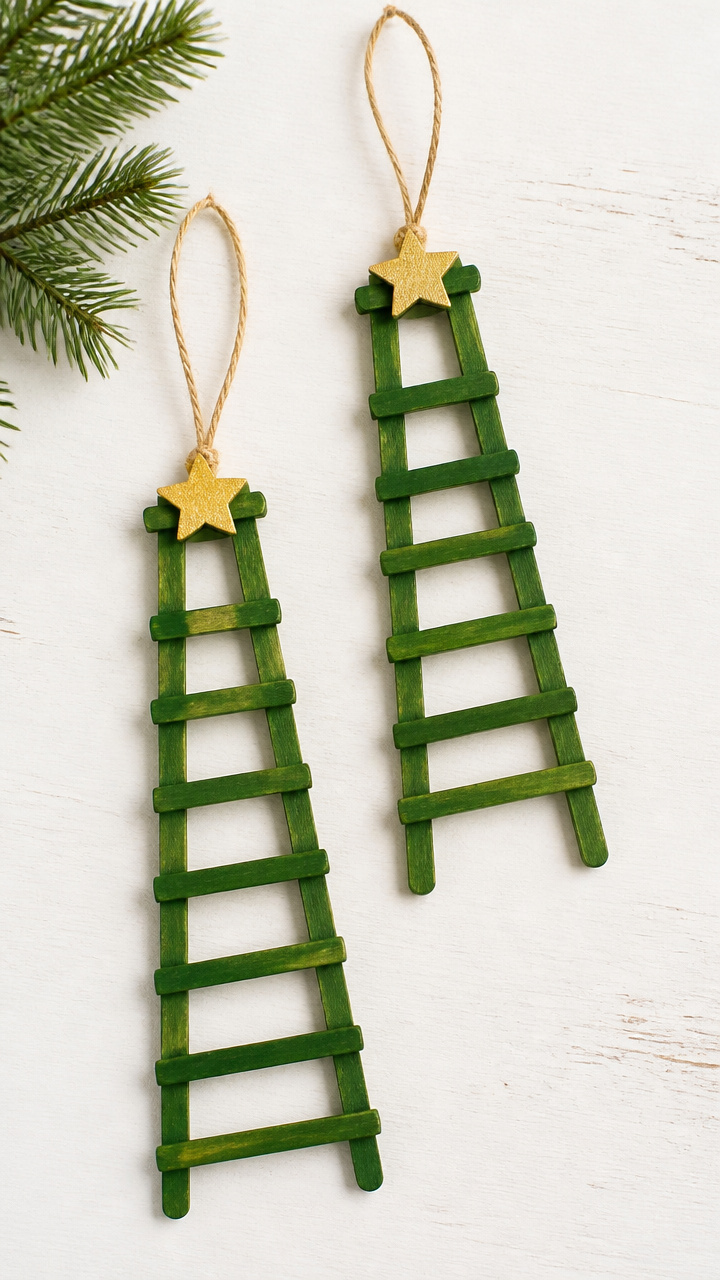
Mini ladders built from colored sticks hold tiny paper stars at the top. These lean against gifts or hang as symbols of faith.
Materials Needed
- 24 jumbo popsicle sticks
- Green acrylic paint
- Gold star stickers, 1/2-inch
- Craft glue
- Paintbrush
- Ruler
How to Make It
- Paint 12 sticks green and let dry on wax paper for 1 hour.
- Lay two painted sticks parallel 4 inches apart on a flat surface.
- Glue six unpainted sticks across them at 1/2-inch intervals to form rungs.
- Let dry for 2 hours, then press flat if needed.
- Stick one gold star at the peak of each ladder before hanging with string.



8. Yarn Ball Angels
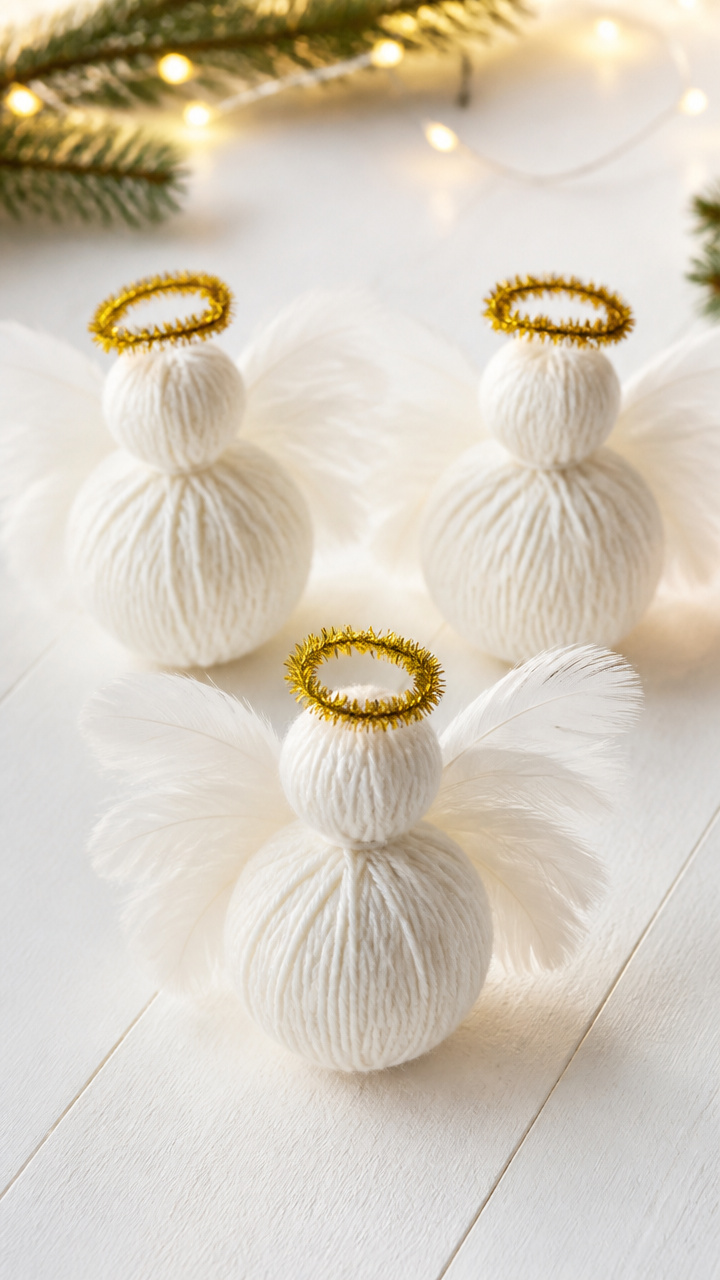
Tiny yarn balls grow golden halos and feather wings. These soft angels glow when placed near warm lights.
Materials Needed
- White yarn
- Cardboard piece, 2×2 inches
- Gold pipe cleaner
- Feather trim, 1-foot length
- Craft glue
- Scissors
How to Make It
- Wrap yarn around the cardboard 100 times, then slide off carefully.
- Tie a 6-inch piece of yarn tightly around the center and knot securely.
- Cut loops on both ends and fluff into a ball.
- Bend a gold pipe cleaner into a halo and glue behind the ball.
- Glue two 2-inch feather pieces behind for wings and let dry 1 hour.


9. Button Snowmen
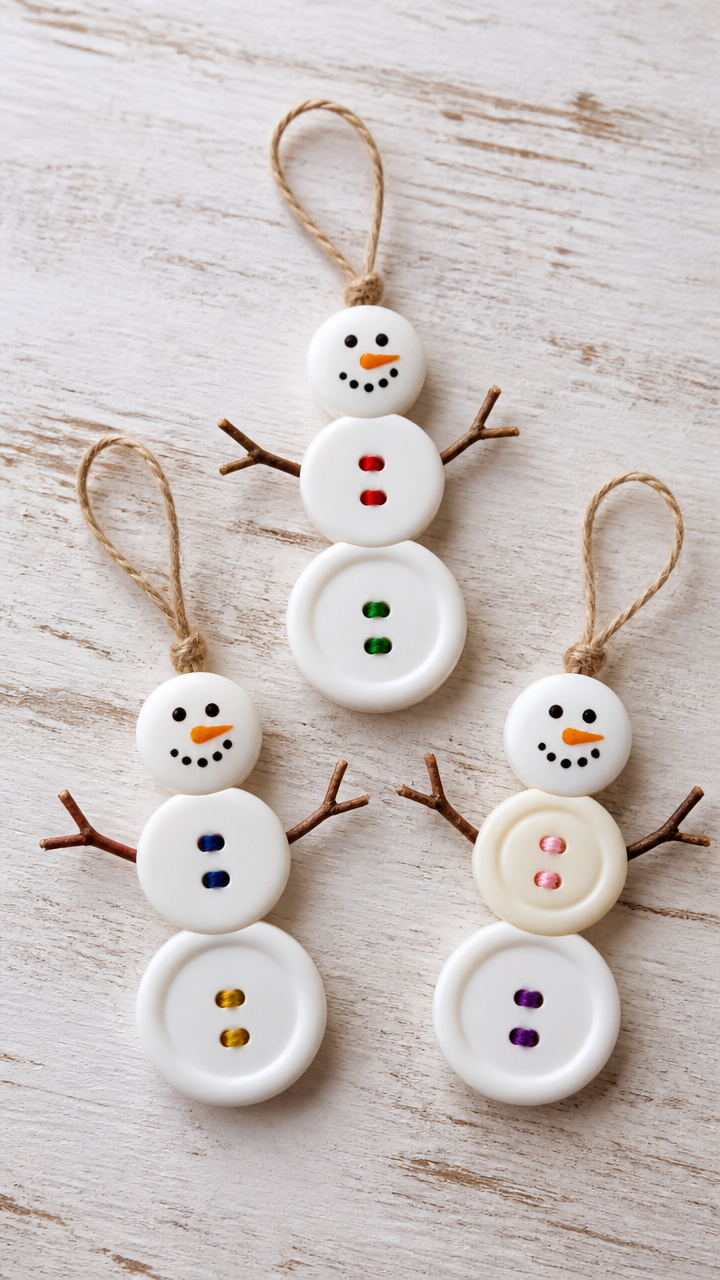
Three mismatched buttons stack into smiling snowmen with twig arms. These are quick to assemble and full of character.
Materials Needed
- 18 large buttons, assorted colors
- 9 medium buttons
- 9 small buttons
- Black craft paint pen
- 2 toothpicks per ornament
- Orange craft glue
- Ribbon scraps
How to Make It
- Stack one large, one medium, and one small button per snowman, gluing centers together with a dot of glue.
- Let dry for 30 minutes on wax paper.
- Draw two eyes and a smile on the top button with the black pen.
- Break toothpicks to 1-inch lengths and push one into each side of the middle button for arms.
- Glue a ribbon loop to the back of the top button for hanging.


10. Pipe Cleaner Peacocks
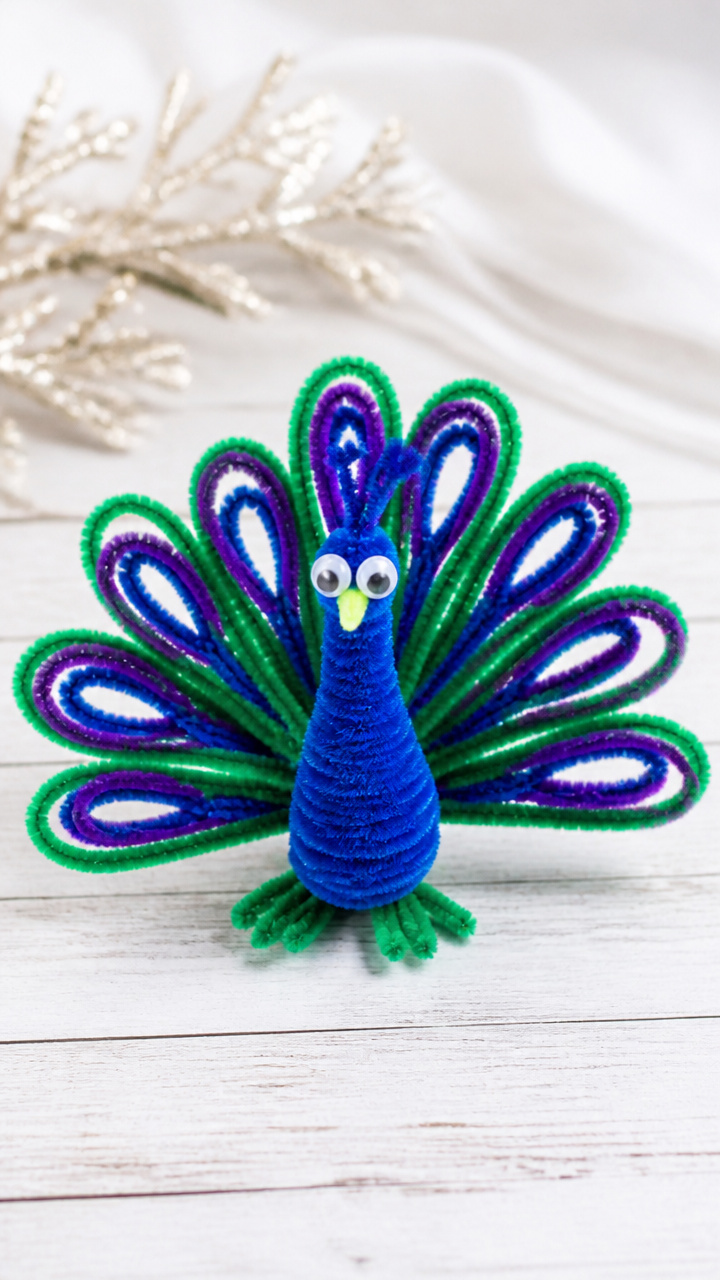
Twisted green and blue pipe cleaners fan into feathered tails. These colorful birds add whimsy to any branch.
Materials Needed
- 12 green pipe cleaners
- 12 blue pipe cleaners
- 12 purple pipe cleaners
- Googly eyes, 6mm
- Craft glue
- Scissors
How to Make It
- Twist one green and one blue pipe cleaner together at the center to form a cross.
- Bend each arm outward into a curve to resemble feathers.
- Take a purple pipe cleaner and coil one end tightly around a pencil to make a head spiral.
- Glue the spiral to one end of the green pipe cleaner stem and attach a googly eye.
- Let dry 30 minutes before hanging by the base.


11. Candy Cane Bead Wreaths
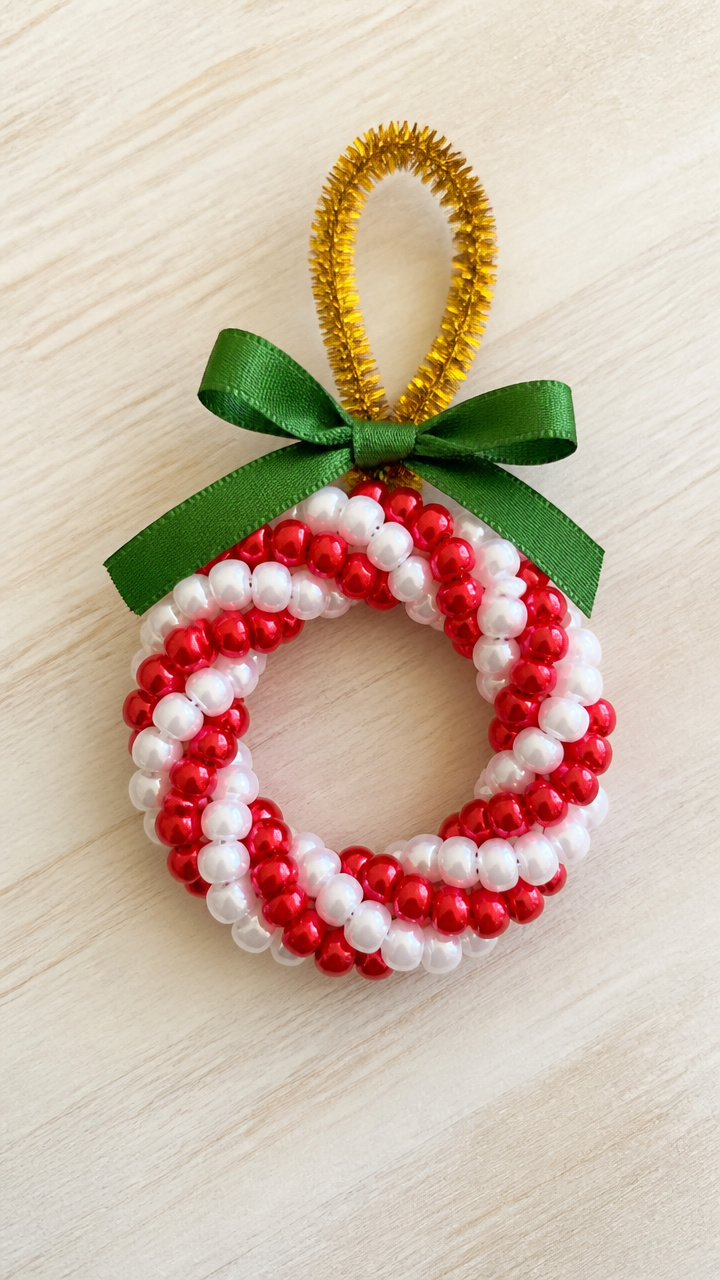
Red and white beads string into mini wreaths with a gold cord hanger. These mimic peppermint swirls in tight, shiny loops.
Materials Needed
- 24 red pony beads
- 24 white pony beads
- Gold chenille stem
- Green ribbon, 1/4-inch wide
- Scissors
How to Make It
- Thread red and white beads onto the chenille stem in alternating pairs until 12 of each are added.
- Shape the stem into a circle and twist the ends together at the back to close.
- Trim twisted ends to 1/2 inch and bend inward to secure.
- Cut a 4-inch piece of green ribbon and tie it to the top back for hanging.
- Gently adjust beads to space evenly around the wreath.


12. Construction Paper Chains
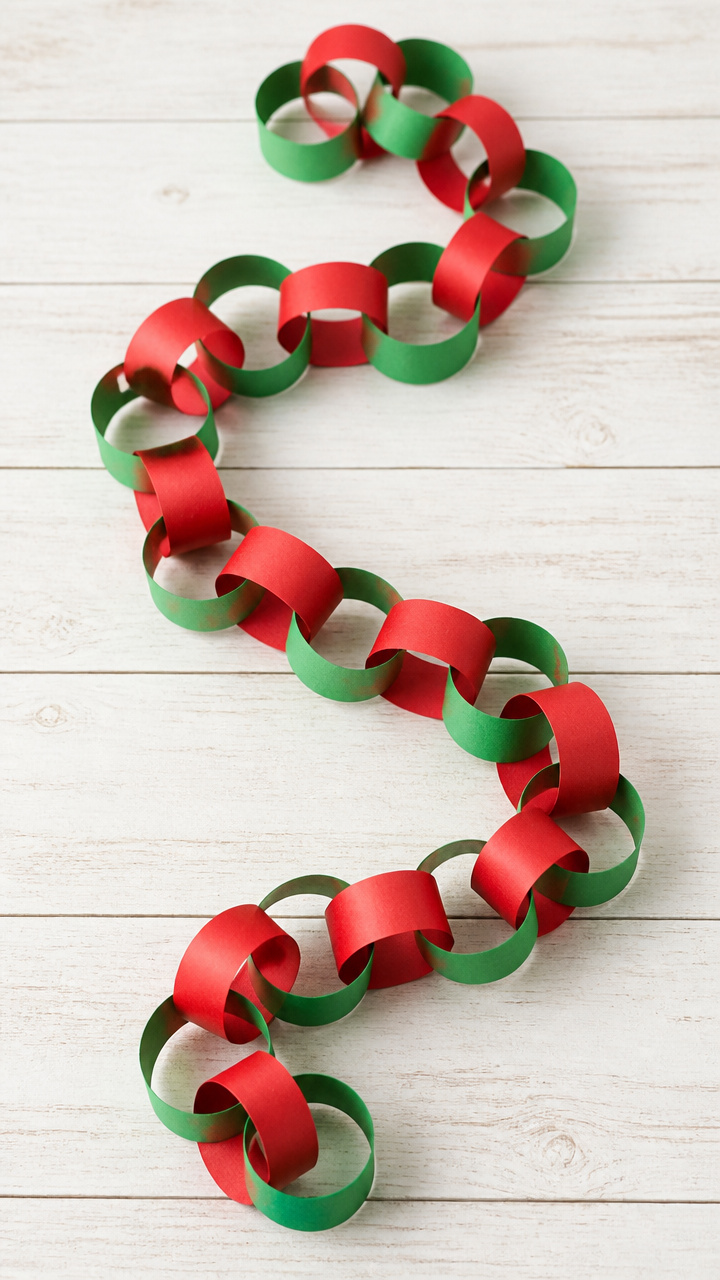
Bright strips of paper link into long chains that spiral around the tree. These take minutes to start and delight as they grow.
Materials Needed
- Red construction paper, 8 sheets
- Green construction paper, 8 sheets
- Scissors
- Glue stick
- Ruler
How to Make It
- Cut each sheet into 1-inch-wide strips, 6 inches long, using scissors and ruler.
- Lay one strip flat and apply glue along one end with the glue stick.
- Overlap the glued end with the open end of another strip to form a loop.
- Repeat, linking same-color strips for 10 links, then switch color.
- Continue until chain reaches desired length, letting glue set 10 minutes between additions.

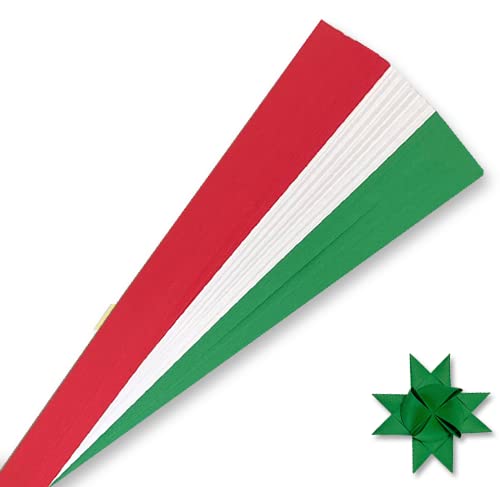
13. Mini Clothesline Ornaments

Tiny socks made from felt hang on a string with clothespins. This playful set mimics laundry day with holiday flair.
Materials Needed
- Red felt sheet
- Green felt sheet
- White embroidery floss
- Clothespins, 12 mm
- Needle
- Scissors
- Ruler
How to Make It
- Cut 12 small sock shapes, 1.5 inches tall, from red and green felt, making six of each color.
- Fold each sock in half and sew a running stitch along the top edge with white floss.
- Knot thread and trim excess.
- String a 10-inch floss line between two clothespins secured to a shelf.
- Clip each sock to the line with mini clothespins.


14. Puffy Paint Stars
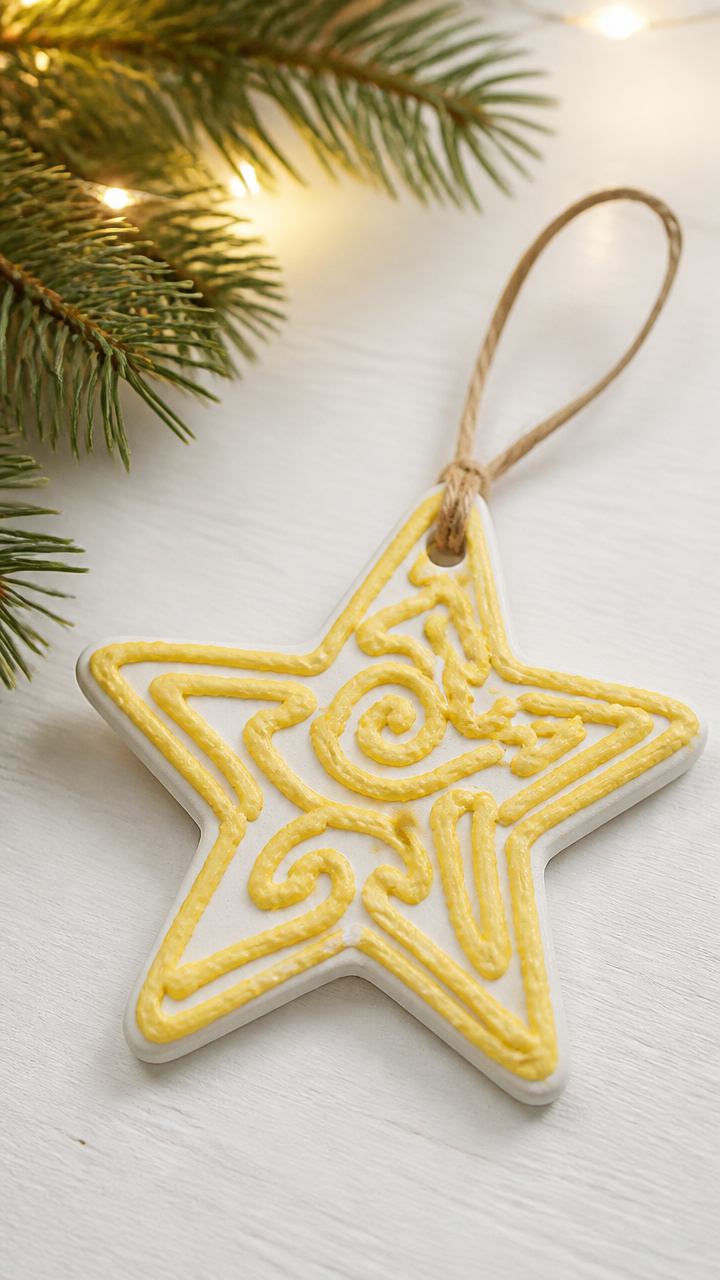
Homemade puffy paint swirled into stars rises slightly when dry. These textured shapes shine under tree lights.
Materials Needed
- 1/2 cup all-purpose flour
- 1/4 cup salt
- 1/2 cup water
- Yellow food coloring
- A4 white cardstock
- Pencil
- Plastic spoon
How to Make It
- Mix flour, salt, and water in a bowl until smooth, then stir in 6 drops yellow food coloring.
- Draw five-point stars, 2 inches wide, on cardstock with pencil.
- Spoon puffy paint mixture into a resealable bag and snip one corner.
- Pipe outline and fill each star, keeping lines even.
- Dry flat for 12 hours, then cut out and punch a hole for hanging.


15. Cork Reindeer Heads
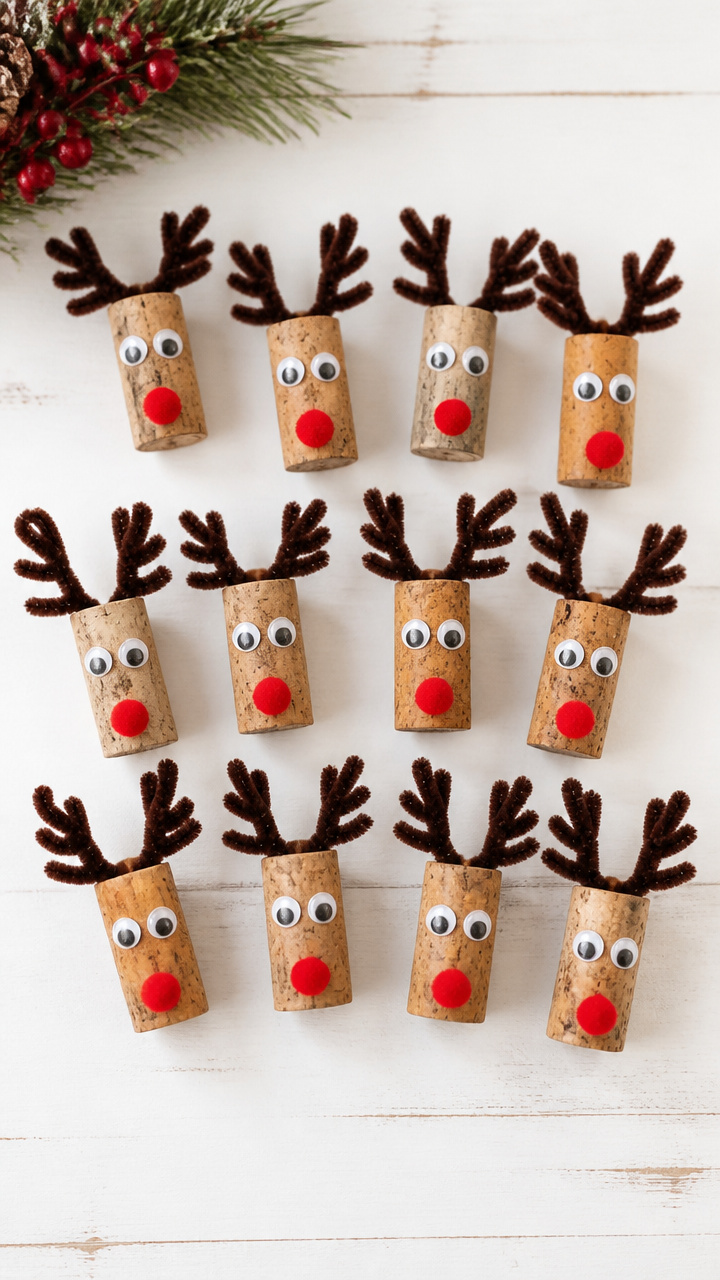
Wine corks sprout antlers and red noses to become merry faces. These perch on mantels or hang from boughs.
Materials Needed
- 12 wine corks
- Brown pipe cleaners
- Red pom-poms, 6mm
- Googly eyes, 8mm
- Craft glue
- Scissors
How to Make It
- Cut brown pipe cleaners into 2-inch pieces and bend one end of each into a small hook.
- Push two hooked pieces into the top of each cork to form antlers.
- Glue two googly eyes near the front of each cork.
- Glue a red pom-pom just below the eyes for a nose.
- Let dry for 2 hours before placing or hanging with a cord loop.


16. Glitter Jars
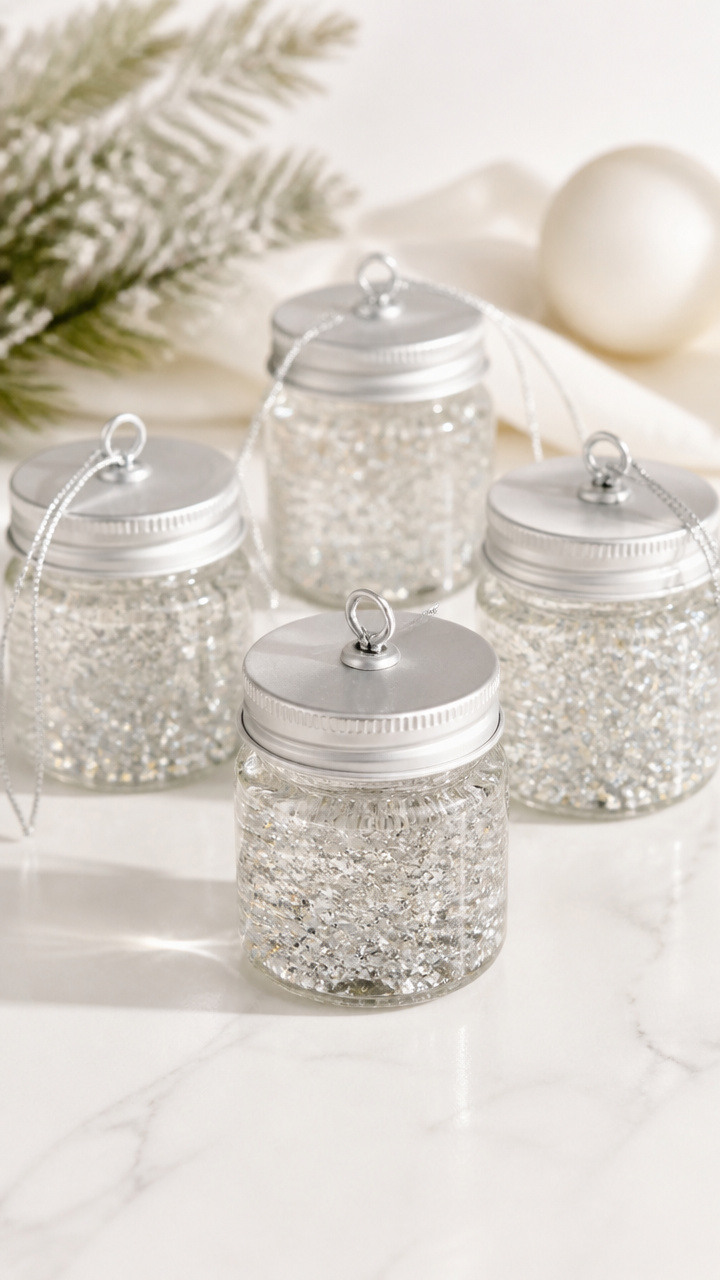
Tiny jars filled with colored glitter swirl like snowstorms. These calming shakers double as quiet-time toys.
Materials Needed
- 12 small glass jars with lids, 2-ounce
- Clear craft glue
- Fine silver glitter
- Distilled water
- Funnel
- Glitter glue pen
How to Make It
- Fill each jar one-third full with clear craft glue using a funnel.
- Add silver glitter to fill halfway and shake gently to mix.
- Top with distilled water, leaving 1/2 inch at the top.
- Screw lid on tightly and seal edge with glitter glue pen.
- Turn upside down and watch glitter swirl slowly when shaken.


17. Pine Needle Stars
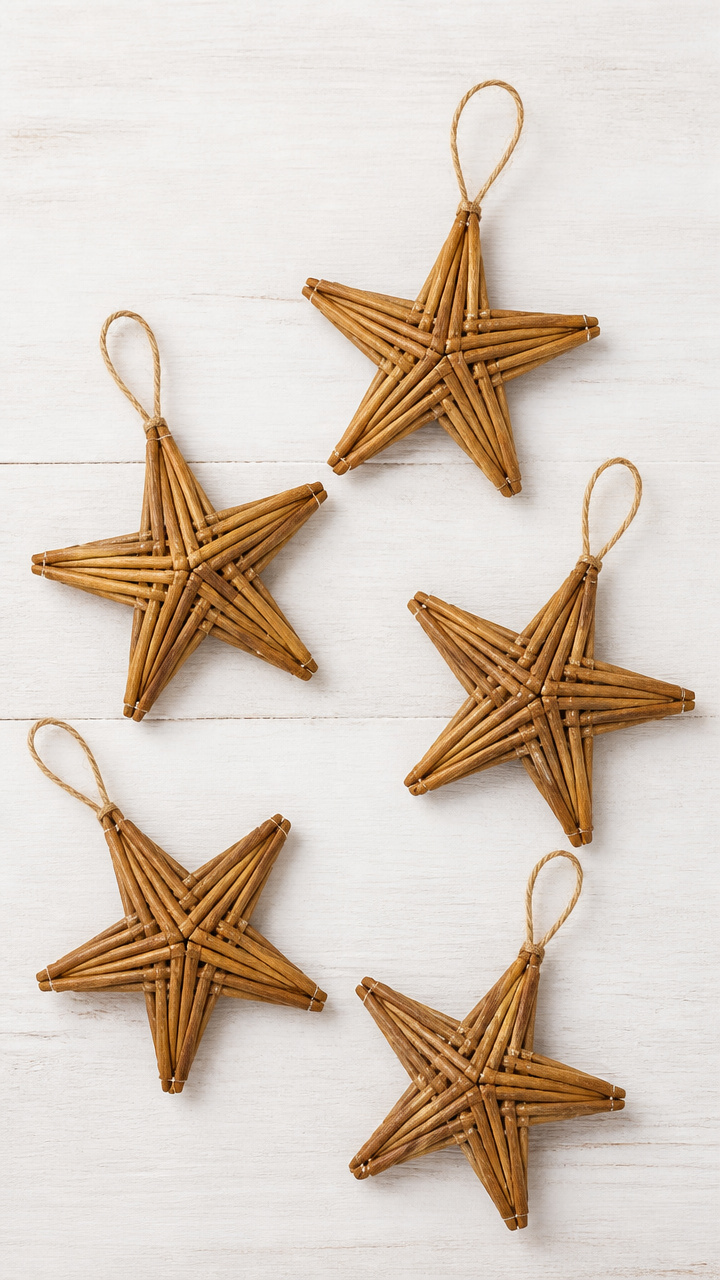
Fresh pine needles bundle into five-point stars and stiffen with glue. These forest-scented shapes last for years.
Materials Needed
- Pine needles, 3 cups packed
- White school glue
- Star-shaped cookie cutter, 3-inch
- Wax paper
- String
How to Make It
- Dip pine needles in white glue, coating one-third of each.
- Arrange coated ends into a star shape inside the cutter, overlapping tips at points.
- Press gently to bond and let dry 24 hours on wax paper.
- Remove cutter carefully once firm.
- Tie a 5-inch string to one point for hanging.


You don’t need fancy supplies or hours of free time to make memories. Grab a few basics and let the laughter and glue stains begin.