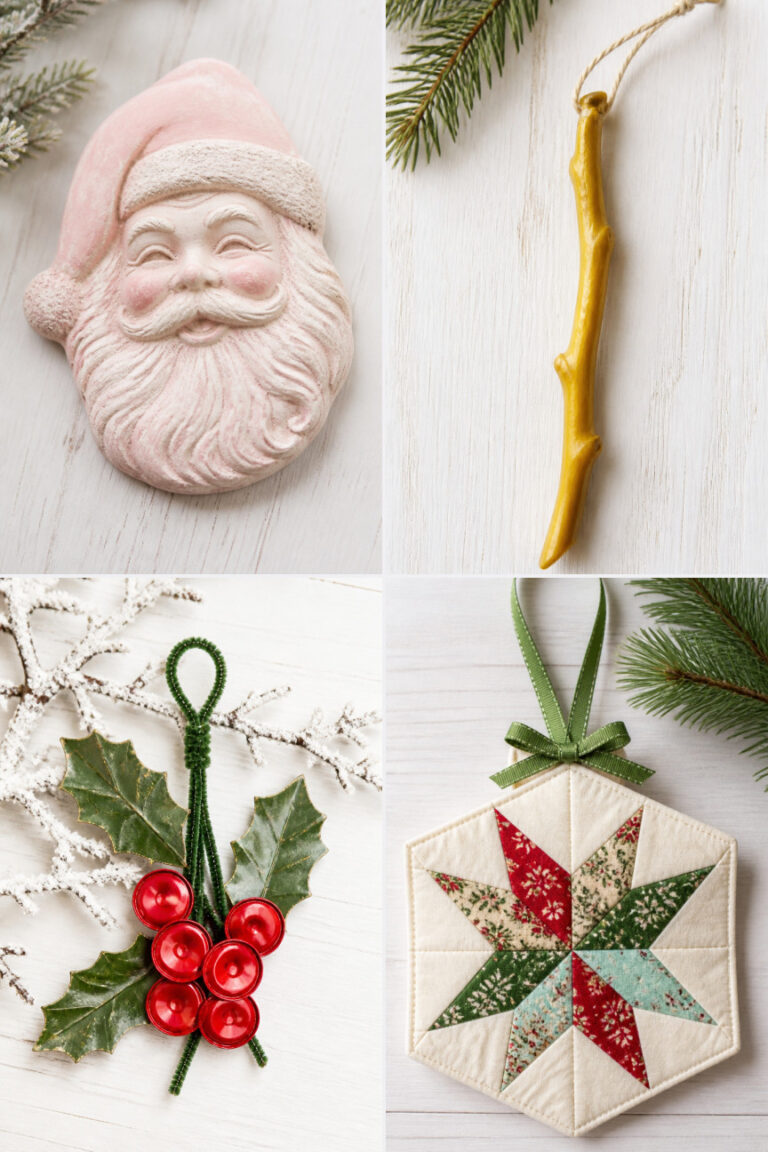
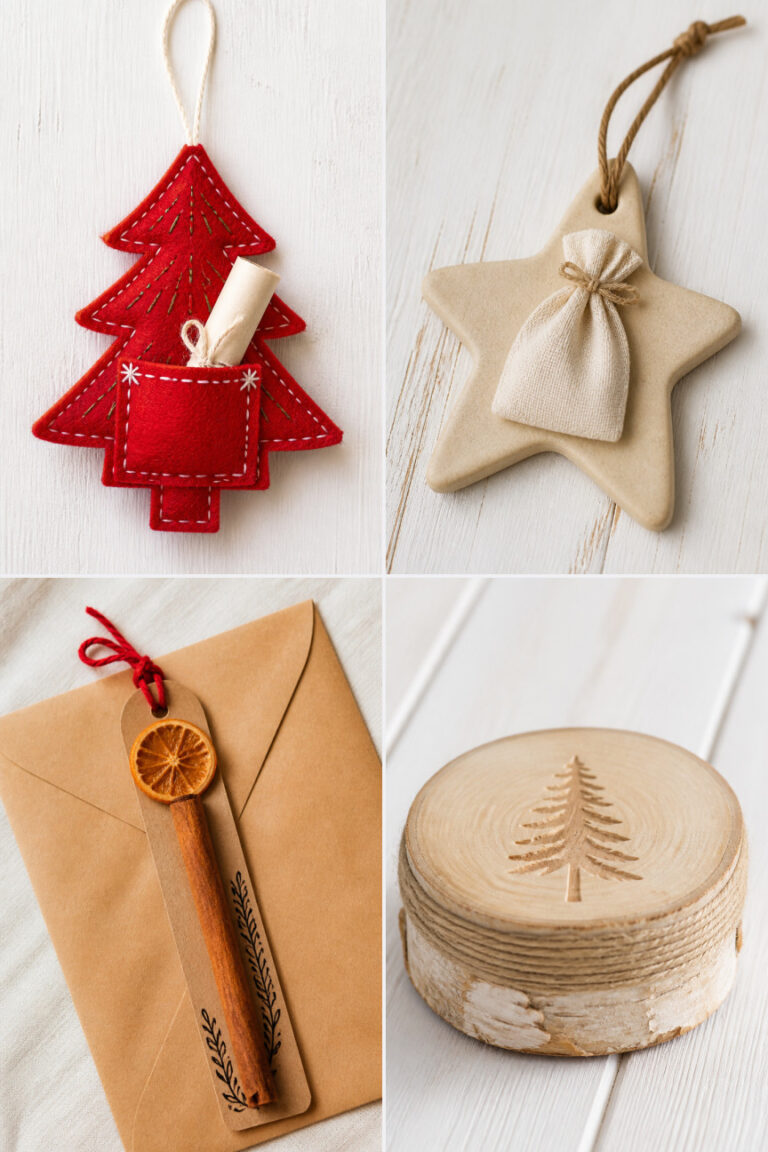
17 Personalized Christmas Ornament Crafts for Family and Friends
The holidays shine brighter when you add handmade touches to your tree and gifts. Personalized ornaments carry memories, love, and a little sparkle that lasts beyond the season.
Each of these crafts is designed to be doable, meaningful, and full of charm. You’ll find ideas that suit every skill level and style, all made with care and ready to share.
1. Hand-Stamped Initial Baubles
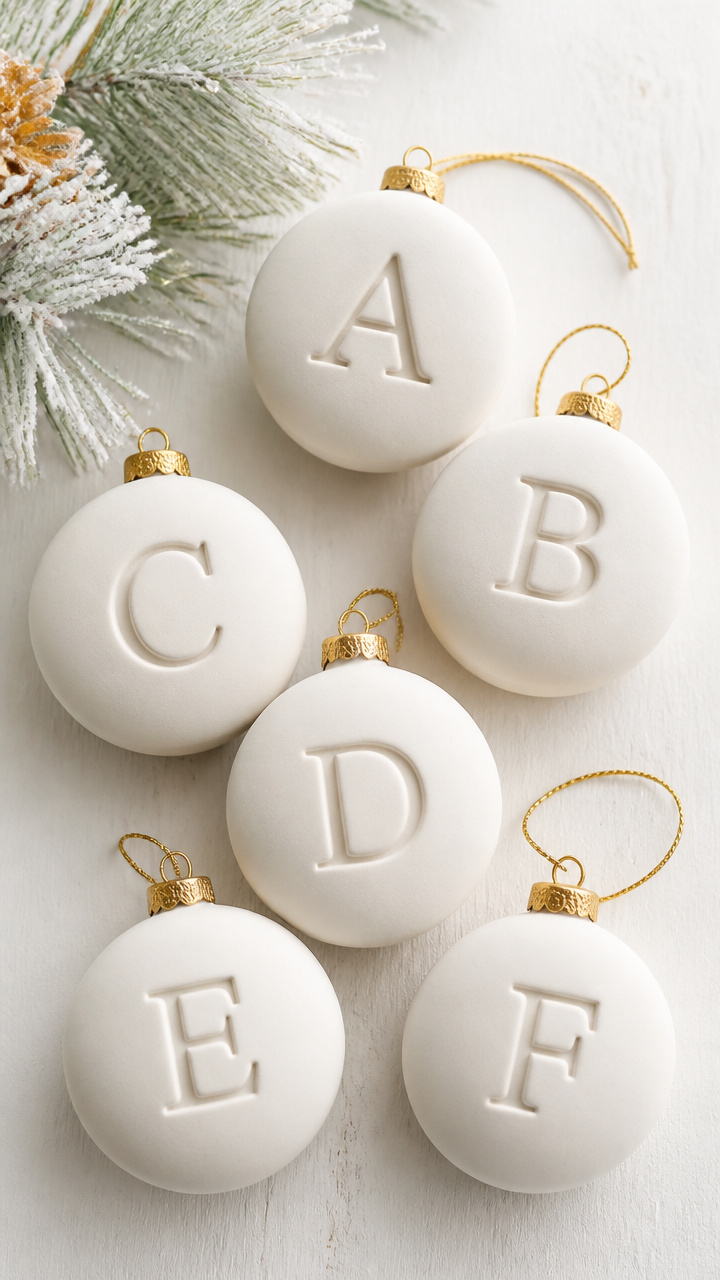
Crisp metal letter stamps press cleanly into soft polymer clay, creating elegant monogrammed balls perfect for gifting or labeling stockings. These keep their shape and color year after year.
Materials Needed
- 6 ounces white polymer clay
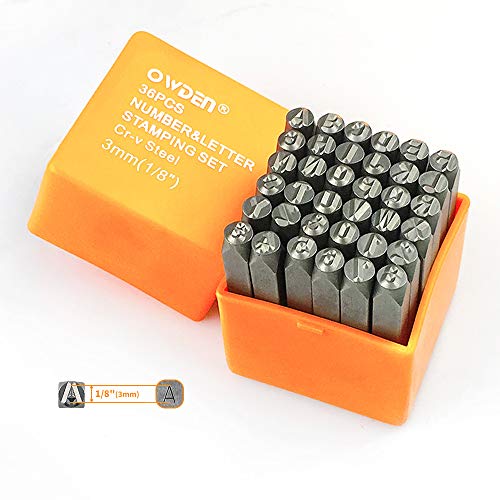
- Alphabet metal stamp set
- Round 2.5-inch cookie cutter
- Rolling pin
- Baking sheet
- Parchment paper
- Clear acrylic sealer spray
- 24-gauge gold wire, 6 inches per ornament
- Wire cutters
How to Make It
- Preheat oven to 275°F and line a baking sheet with parchment paper.
- Roll the clay to 1/8-inch thickness using the rolling pin, then cut six 2.5-inch circles with the cookie cutter.
- Press one uppercase letter firmly into the center of each circle using the metal stamp and hammer lightly with the back of a spoon.
- Punch a small hole at the top edge of each disc with a toothpick, then bake for 15 minutes and let cool completely.
- Spray both sides lightly with acrylic sealer and let dry for 20 minutes.
- Thread a 6-inch piece of gold wire through each hole and twist the ends to form a loop for hanging.


2. Mini Photo Frame Ornaments
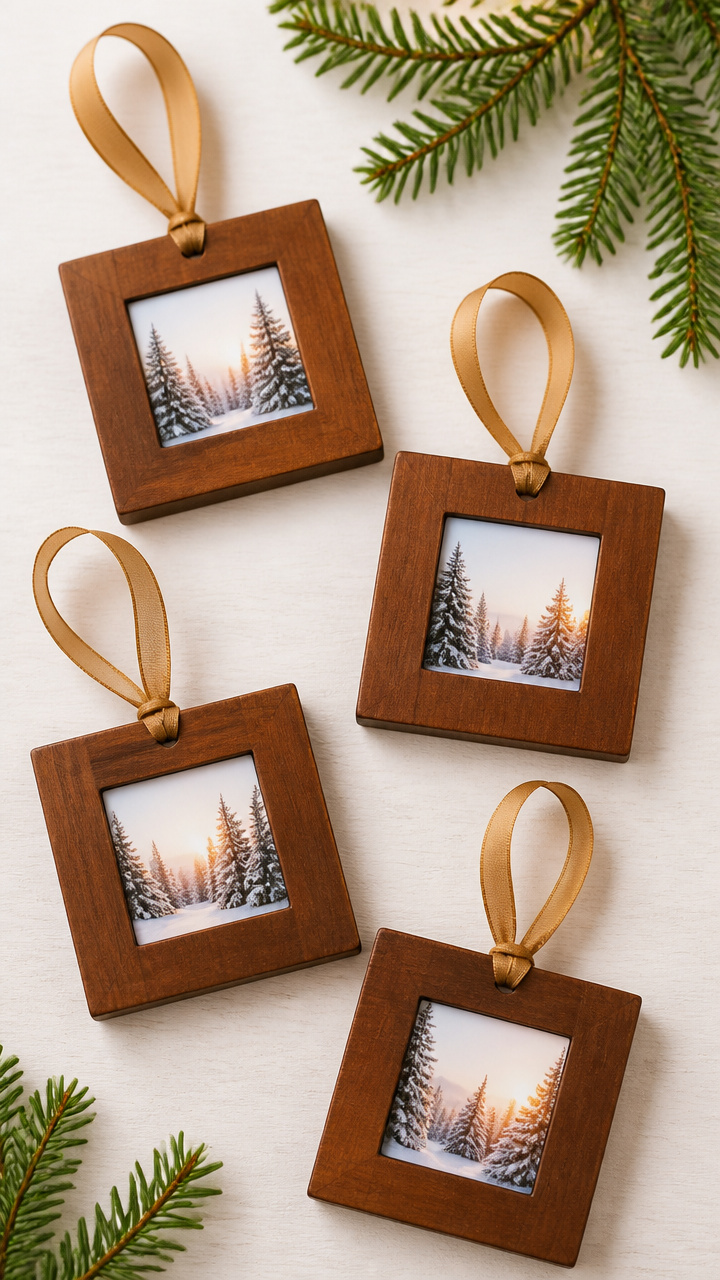
Tiny wooden frames hold cherished snapshots and hang with delicate ribbon. These are ideal for grandparents or long-distance loved ones.
Materials Needed
- 6 unfinished mini wood frames, 1.75 x 1.75 inches
- Scissors
- Double-sided tape
- 6 printed photos, trimmed to 1.5 x 1.5 inches
- Brown craft paint
- Small foam brush
- Red satin ribbon, 12 inches per ornament
- Hot glue gun and glue sticks
How to Make It
- Paint the front and sides of each frame with brown craft paint using the foam brush, let dry for 30 minutes, then apply a second coat.
- Slide one photo into each frame from the back compartment.
- Secure the photo in place with a small piece of double-sided tape on each corner.
- Cut a 12-inch length of red satin ribbon, fold it in half, and tie the looped end around the top knob of the frame.
- Add a dot of hot glue where the ribbon meets the wood to keep it from slipping.


3. Salt Dough Handprint Stars
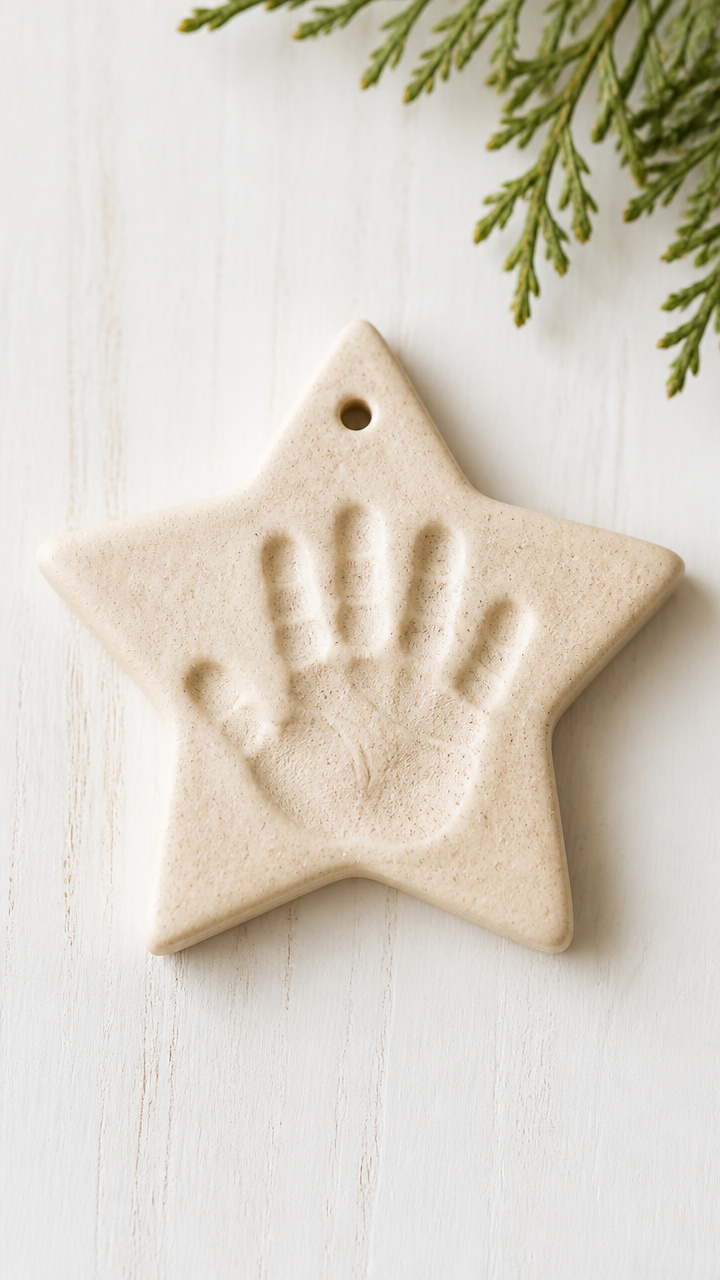
A child’s handprint pressed into star-shaped dough becomes a sentimental keepsake. These rustic ornaments smell faintly of salt and warmth when baked.
Materials Needed
- 2 cups all-purpose flour
- 1 cup table salt
- 3/4 cup warm water
- Star-shaped cookie cutter, 3 inches wide
- Pencil
- Straw
- Baking sheet
- Parchment paper
- White acrylic paint
- Paintbrush
- Green embroidery floss, 10 inches per ornament
How to Make It
- Mix flour, salt, and warm water in a bowl until a smooth dough forms, kneading by hand for 2 minutes.
- Roll dough to 1/4-inch thickness and cut out six stars using the cookie cutter.
- Press one fingertip gently into the center of each star to leave a small impression.
- Use a pencil to draw five short lines from the center dot outward, then use a straw to poke a hanging hole near the top point.
- Place on a parchment-lined baking sheet and bake at 200°F for 3 hours, turning once halfway through.
- Let cool, then paint each star white and let dry for 1 hour.
- Thread green embroidery floss through the hole and knot the ends together for a hanger.


4. Felt Animal Tree Friends
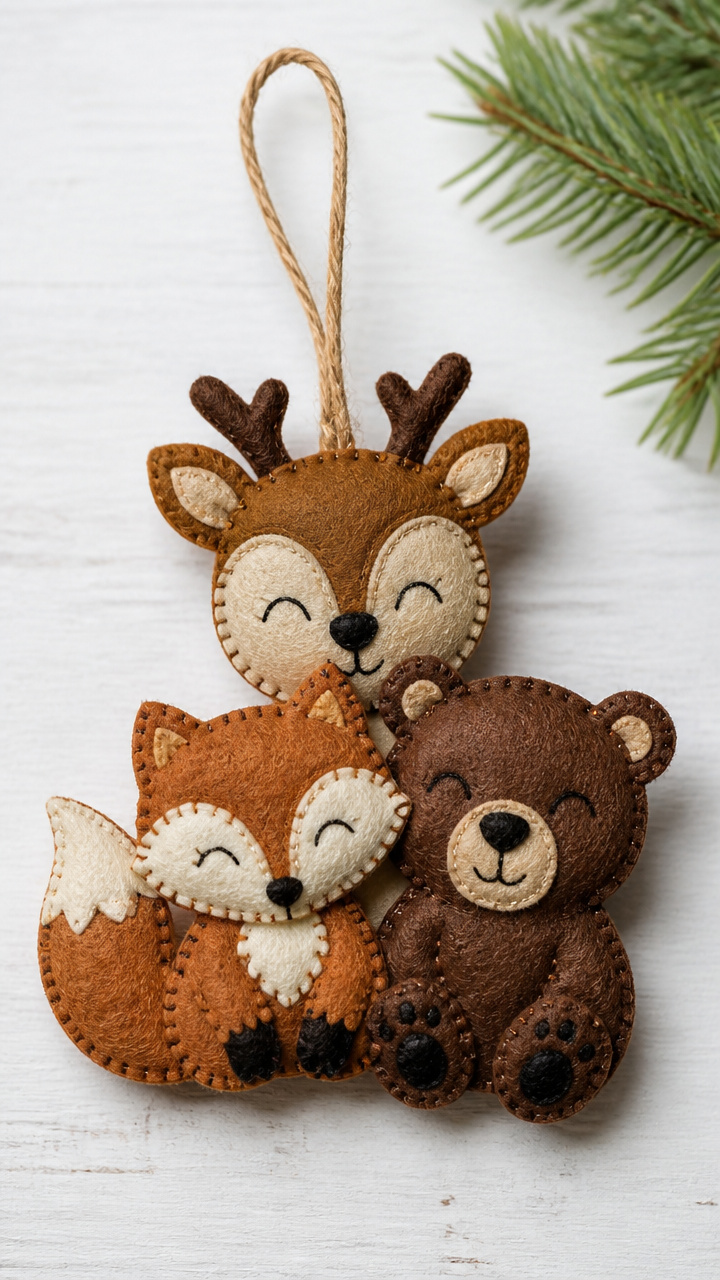
Soft wool-blend felt shapes stitched by hand become woodland creatures with embroidered faces. These plush pals add whimsy without breaking fragile branches.
Materials Needed
- Brown wool-blend felt sheet
- Tan wool-blend felt sheet
- Black embroidery thread
- Embroidery needle
- Scissors
- Pencil
- Sewing pins
- Polyester stuffing
- Red ric rac trim, 4 inches per ornament
- Fabric glue
How to Make It
- Draw a 3-inch fox shape on paper, cut it out, and trace six copies onto brown felt with a pencil, then cut them out.
- Cut six smaller ear shapes from tan felt and pin them to the top of each fox face piece.
- Backstitch a small triangle nose and two curved eyes on each face using black embroidery thread.
- Place two fox shapes together, right sides facing, and running stitch around the edge leaving a 1-inch gap at the bottom.
- Turn right side out, stuff lightly with polyester filling, then slip-stitch the opening closed.
- Glue a 4-inch piece of red ric rac under the neck as a scarf and let dry for 30 minutes.


5. Custom Recipe Ornament Tags
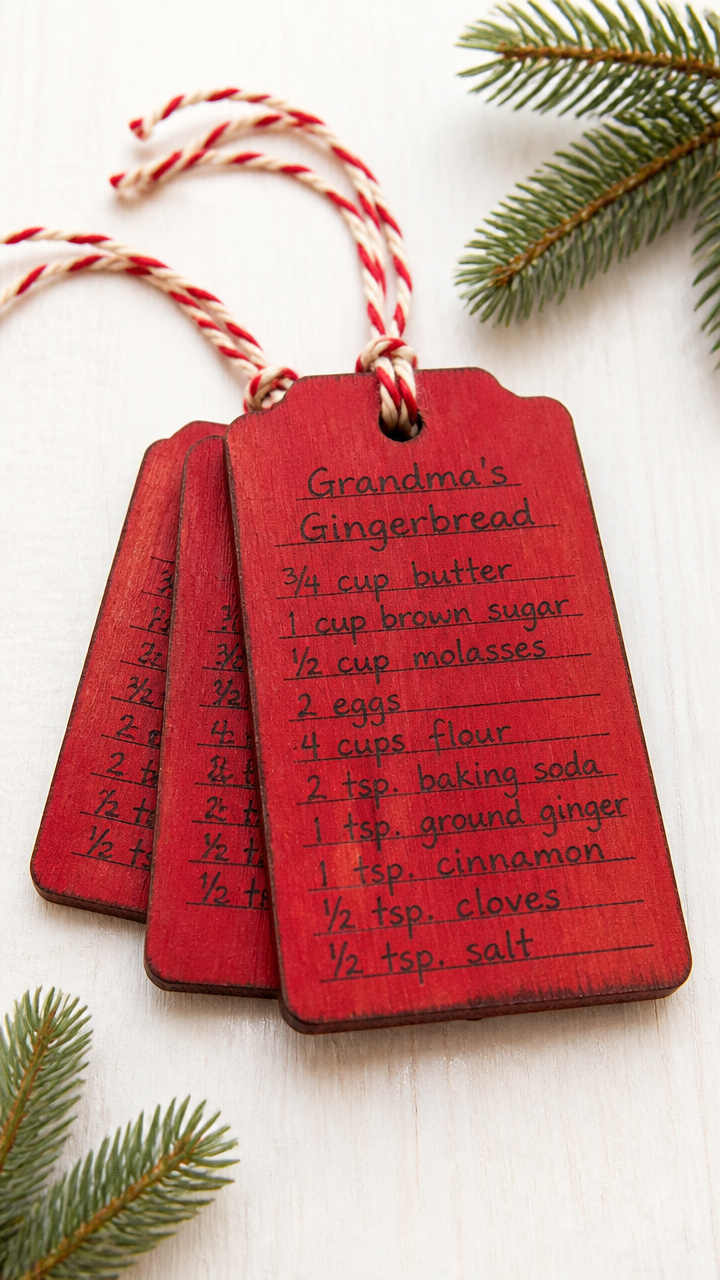
A beloved family cookie recipe fits neatly on a painted tag tied with baker’s twine. This gift honors tradition and tastes like home.
Materials Needed
- 6 unpainted wood tags, 2 x 3 inches
- Red acrylic paint
- Small flat brush
- Fine-tip black pen
- Pencil
- Eraser
- Natural baker’s twine, 8 inches per tag
- Clear packing tape
How to Make It
- Paint the front and top edge of each tag with red acrylic paint, let dry for 20 minutes, then apply a second coat.
- Once fully dry, lightly sketch the recipe title, ingredients, and steps in pencil on each tag.
- Trace over the writing with the fine-tip black pen and let ink dry for 5 minutes.
- Erase any visible pencil marks carefully.
- Cover the entire front with a piece of clear packing tape cut to size to protect the writing.
- Tie an 8-inch piece of baker’s twine through the hole at the top for hanging.


6. Pinecone Cardinal Decor
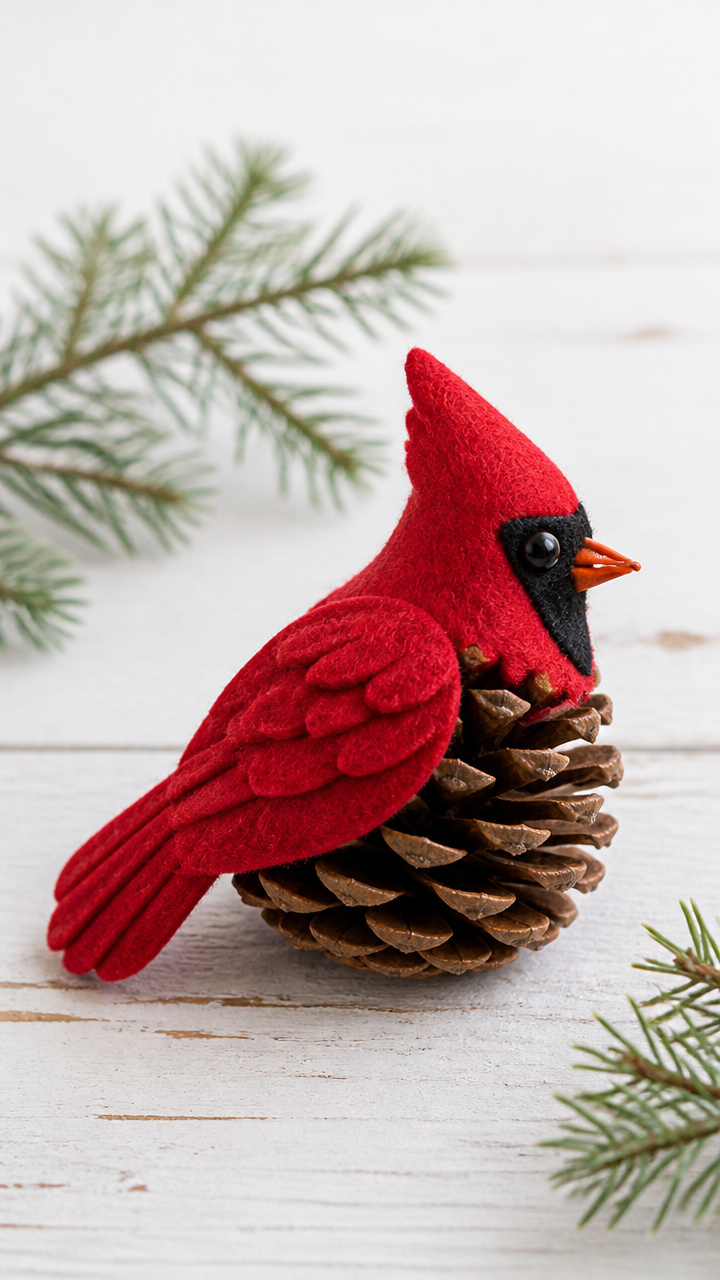
Real pinecones host bright red cardinals made from felt and wire. These lifelike birds perch proudly among the branches.
Materials Needed
- 6 medium dried pinecones
- Red wool-blend felt
- Orange craft wire, 4 inches per bird
- Black seed beads, 2 per bird
- Hot glue gun and glue sticks
- Scissors
- Black embroidery thread
- Needle
How to Make It
- Cut six small teardrop shapes from red felt, about 1.5 inches long, for the bird bodies.
- Wrap one end of each orange wire piece tightly around the base of a pinecone to form legs, trimming excess.
- Glue a red felt body vertically onto the front of each pinecone just above the wire legs.
- Thread a needle with black embroidery thread and sew one bead onto each side of the top front for eyes.
- Twist the top ends of the wire into small loops and press them into the felt to form feet.
- Let glue dry for 15 minutes before hanging.


7. Calligraphy Name Bulbs
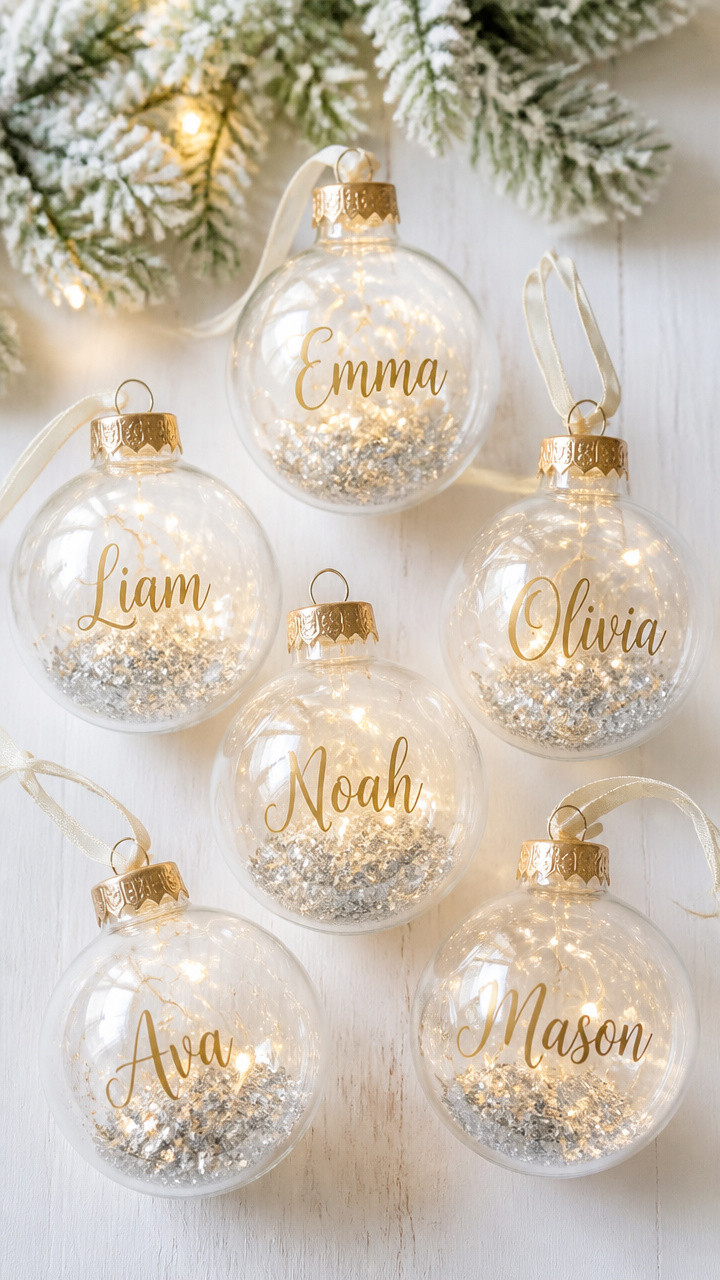
Clear glass bulbs become glowing name tags with precise brush pen strokes. The names shimmer slightly when light hits the curves.
Materials Needed
- 6 clear glass ball ornaments with caps
- Gold metallic brush pen
- Ruler
- Pencil
- Small funnel
- Loose silver glitter
- Tray
- Cap sticker remover tool
How to Make It
- Use the cap sticker remover to open each bulb and set caps aside.
- Pour a teaspoon of silver glitter into each bulb using the funnel, then replace the cap securely.
- Wipe the outside of each bulb with a dry cloth to remove fingerprints.
- Measure and lightly mark the center vertical line on each bulb with pencil.
- Using the gold brush pen, write one name in flowing script centered on each bulb, applying even pressure for consistent lines.
- Let ink dry for 10 minutes, then display or wrap carefully.


8. Linen Stitched Monograms
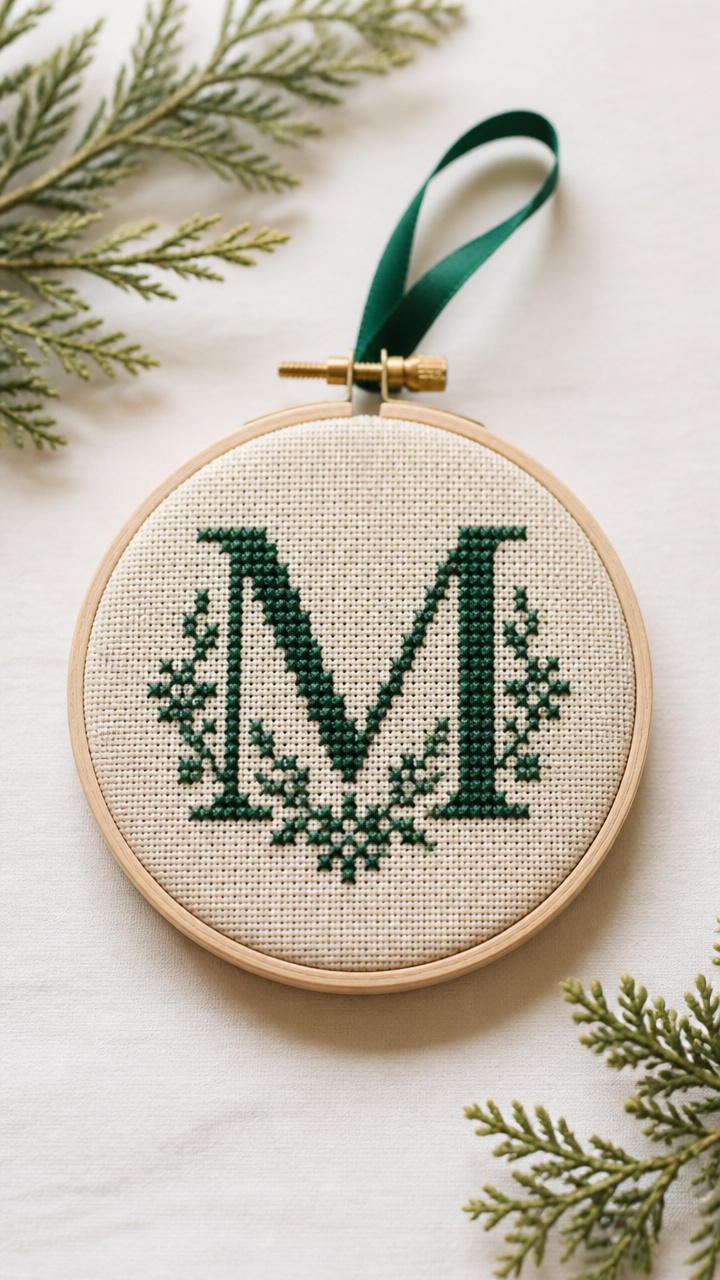
Ivory linen squares display cross-stitched initials in deep evergreen thread. Each tiny hoop feels heirloom-ready.
Materials Needed
- 6 pieces 4×4 inch ivory linen fabric
- 6-inch wooden embroidery hoops
- Green embroidery floss, 18 inches per letter
- Embroidery needle
- Scissors
- Water-soluble fabric marker
How to Make It
- Place one linen square in a hoop and tighten the screw to stretch the fabric taut.
- Use the water-soluble marker to write a large capital letter in the center, sized to fit within 2 inches.
- Separate the green floss into 2 strands and thread the needle, knotting one end.
- Stitch each letter using cross-stitch technique, working row by row from bottom to top.
- After finishing, snip the thread and secure the end on the back with a small knot.
- Remove the hoop, mist the marker lines lightly with water, and let dry for 15 minutes.


9. Clay Imprint Snowflakes
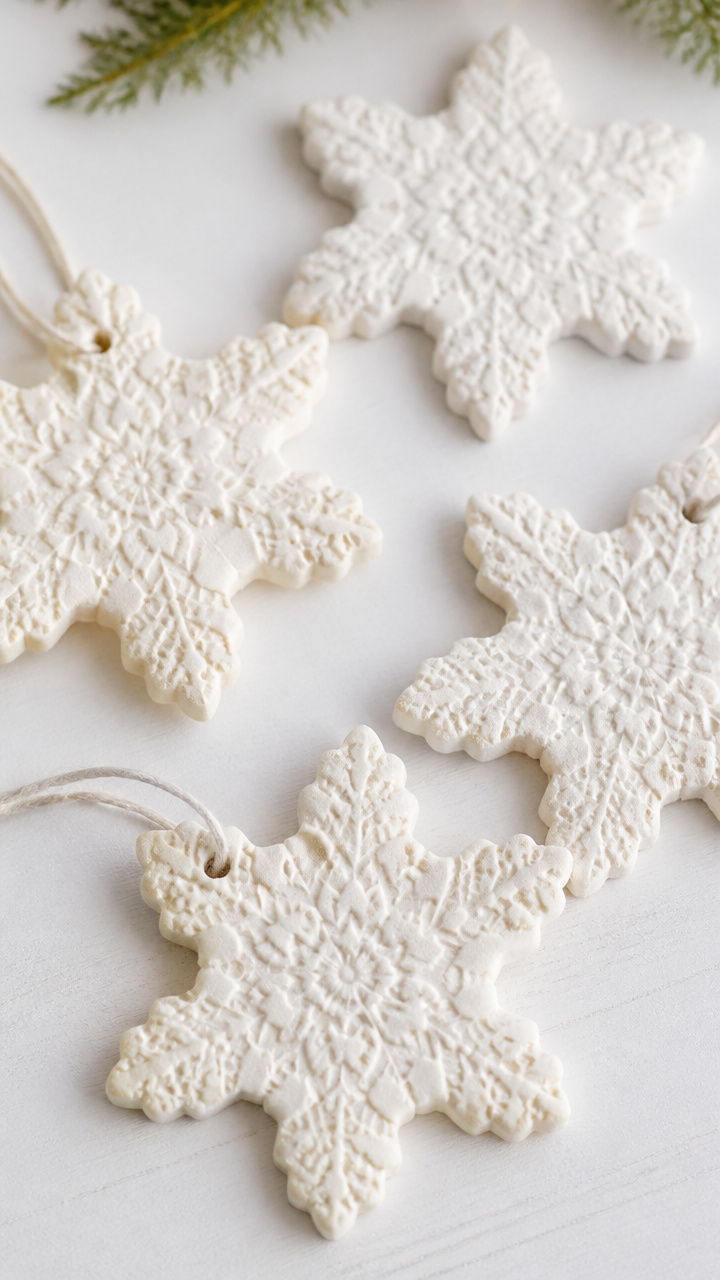
Delicate snowflake designs press into air-dry clay using real lace. The result is a textured white ornament with vintage grace.
Materials Needed
- 6 ounces white air-dry clay
- Antique lace doily, 4 inches wide
- Rolling pin
- Circle cookie cutter, 2.75 inches
- Toothpick
- Acrylic paintbrush
- Clear matte varnish
- Silver cord, 7 inches per ornament
How to Make It
- Roll clay to 1/6-inch thickness and cut six circles using the cookie cutter.
- Gently press a section of lace into each circle, covering most of the surface.
- Carefully lift the lace straight up to reveal the imprint.
- Poke a hole at the top edge with a toothpick for hanging.
- Let clay dry completely on a flat surface for 24 hours.
- Brush both sides with clear matte varnish and let cure for 2 hours.
- Thread silver cord through the hole and tie the ends together.


10. Map Piece Ball Ornaments
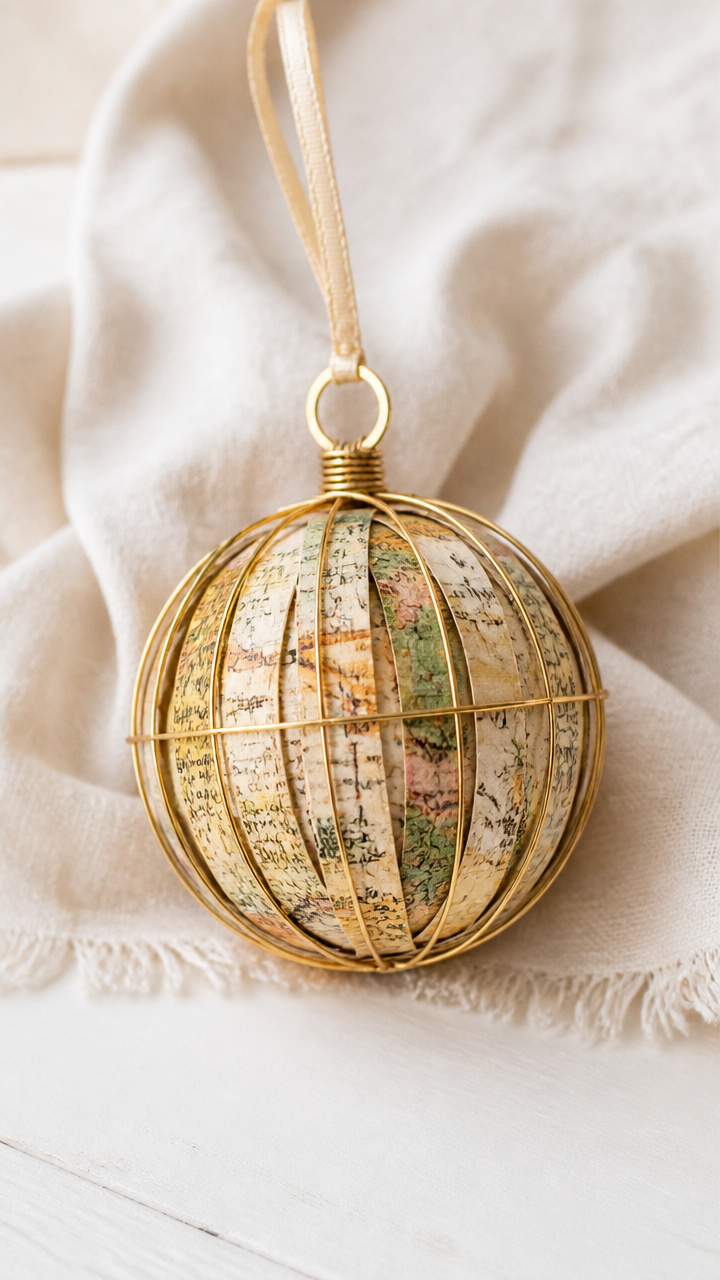
Fragments of old road maps roll into tight paper beads and form shimmering spheres. These honor favorite travel destinations.
Materials Needed
- Old road map, cut into 6 strips 1 x 6 inches
- Chopstick
- White glue
- Paintbrush
- Clear drying craft glue
- Gold wire, 5 inches per ornament
- Wire cutters
- Plastic straw
How to Make It
- Brush a thin layer of white glue along one long edge of a paper strip.
- Starting at one corner, roll the strip tightly around the chopstick, keeping edges aligned.
- Slide the coil off the stick and squeeze the tip with fingers to seal, then let dry for 1 hour.
- Repeat to make 12 beads per ornament.
- String beads onto a plastic straw to test fit, then glue them together in a spherical pattern using clear drying craft glue.
- Let the ball dry for 3 hours, then remove the straw.
- Cut a 5-inch piece of gold wire, thread it through the top bead, and twist to form a hanger.


11. Wood Slice Initials
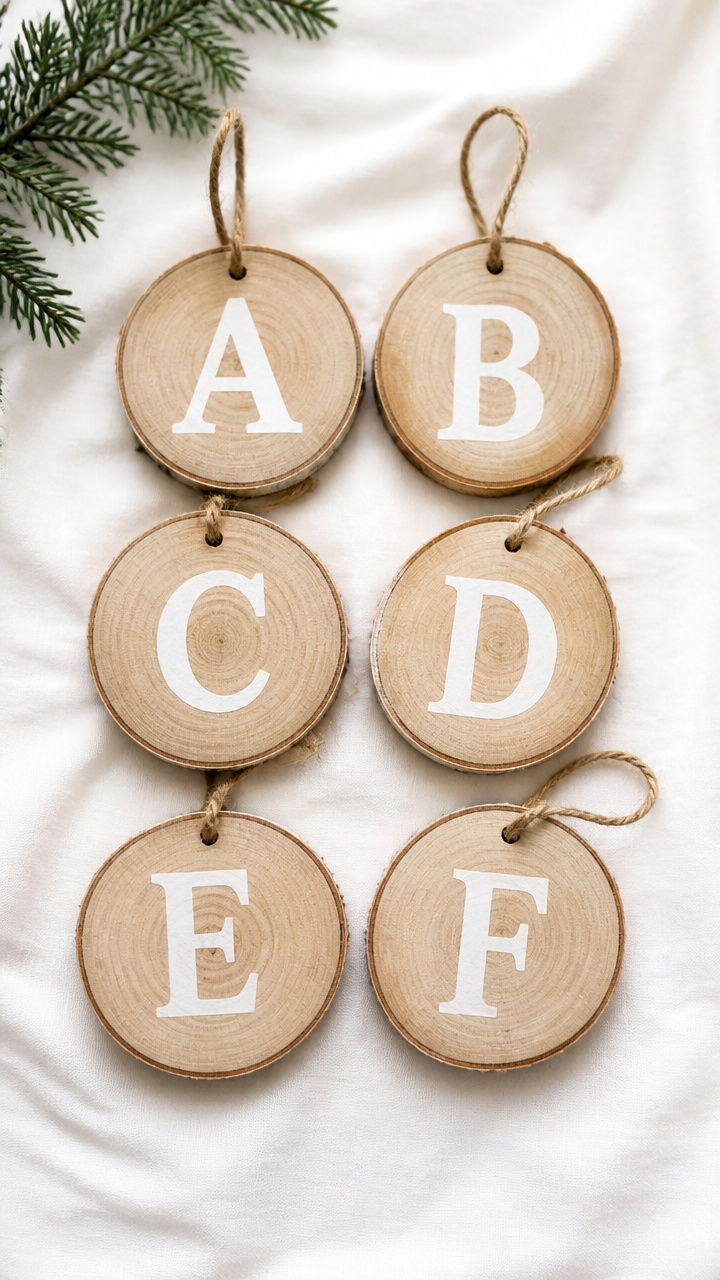
Natural birch slices take bold stenciled letters in crisp white paint. The grain peeks through for a clean, organic look.
Materials Needed
- 6 birch wood slices, 2.5 inches diameter
- Sandpaper (220 grit)
- White stencil paint
- Stencil brush
- Capital letter stencils
- Painter’s tape
- Clear wood sealant spray
- Jute twine, 9 inches per ornament
How to Make It
- Lightly sand the top surface of each wood slice to smooth any rough spots.
- Place a letter stencil on the center of one slice and secure the corners with small pieces of painter’s tape.
- Dip the stencil brush in white paint, tap off excess, and dab evenly over the stencil opening.
- Lift the stencil straight up immediately and let paint dry for 25 minutes.
- Spray both sides lightly with wood sealant and let dry for 1 hour.
- Tie jute twine through the pre-drilled hole or around the edge and knot.


12. Baby’s First Ornament
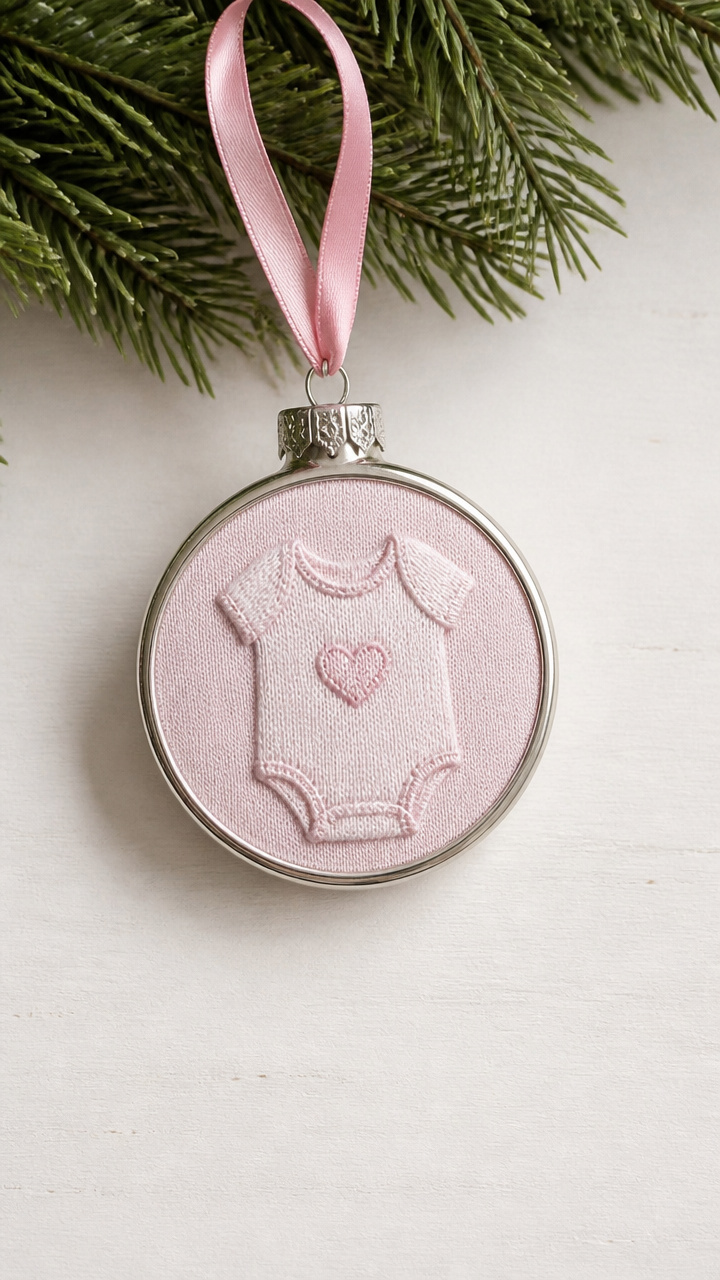
A soft cotton onesie fits inside a round locket-style frame. This sweet tribute captures a milestone in miniature.
Materials Needed
- 6 locket picture frames, 3 inches wide
- White cotton baby onesie scraps
- Fabric scissors
- Craft glue
- Blue or pink ribbon, 10 inches per ornament
- Hole punch
How to Make It
- Cut six 2.5-inch squares from the onesie fabric, choosing areas without seams.
- Apply a thin layer of craft glue to the backing of one frame.
- Press one fabric square smoothly onto the glued side and let dry for 30 minutes.
- Insert the padded side into the locket and snap closed.
- Punch a hole at the top of the metal rim with the hole punch.
- Thread a 10-inch ribbon through and tie the ends to create a hanger.



13. Pressed Flower Capsules
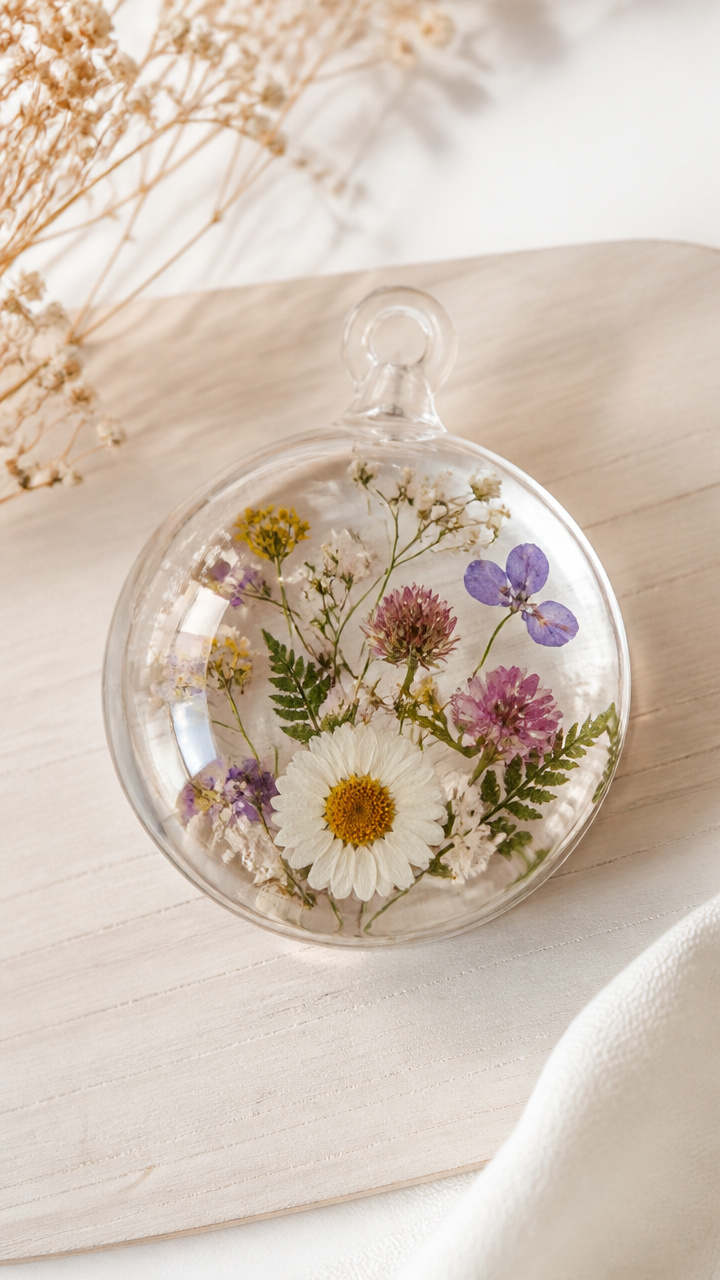
Tiny wildflowers sealed in round resin domes dangle like captured moments. These preserve summer blooms in crystal clarity.
Materials Needed
- 6 silicone resin mold cups, 1.5 inches wide
- Epoxy resin kit (5-minute type)
- Small pressed flowers
- Toothpicks
- Disposable mixing cups
- Stir sticks
- Clear fishing line, 8 inches per ornament
- Jump rings, 1 per ornament
How to Make It
- Arrange one small flower face-up in each mold cup using toothpicks.
- Mix resin according to package directions in a disposable cup and stir for 1 minute.
- Pour a small amount of resin into each mold, just enough to cover the flower.
- Let cure undisturbed for 5 hours until hard and glossy.
- Pop each dome out of the mold gently.
- Open a jump ring with pliers, slide on the fishing line and resin piece, then close the ring.
- Tie the ends of the fishing line together to hang.


14. Knit Mini Stockings
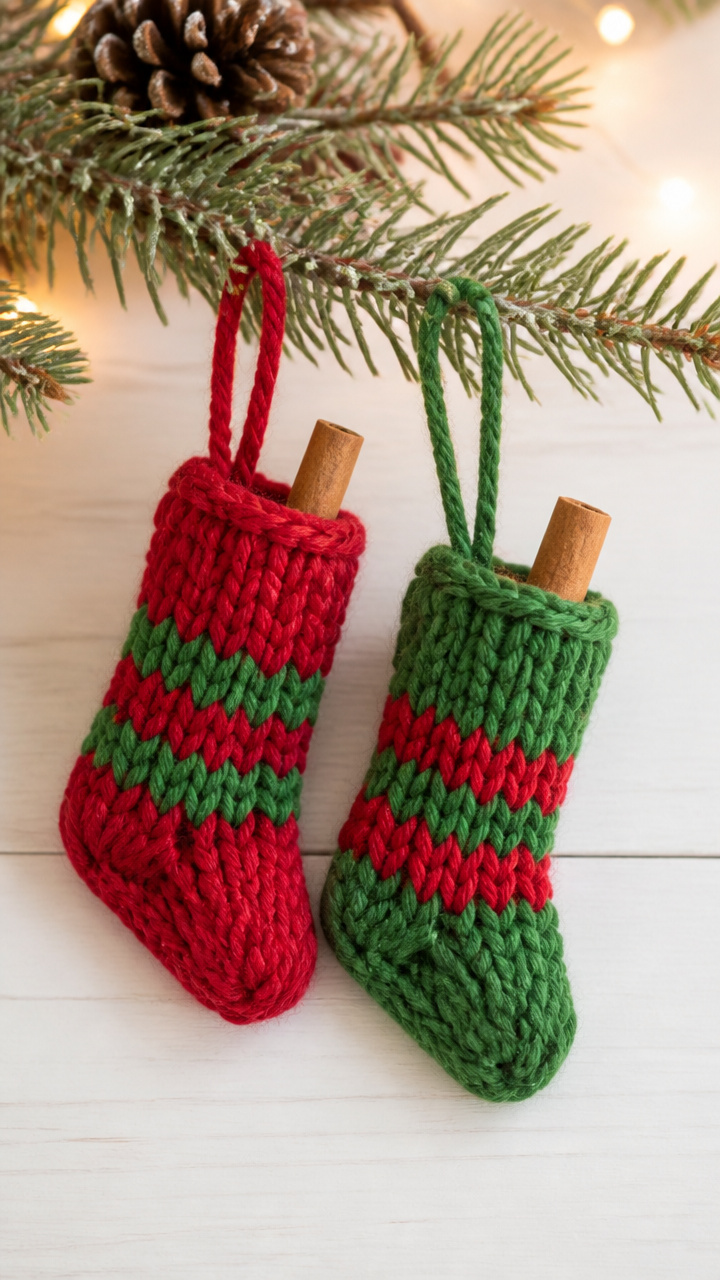
Finger-knit stockings in holiday colors hold a single cinnamon stick. These cozy decor pieces scent the room softly.
Materials Needed
- Red bulky yarn, 10 yards
- Green bulky yarn, 10 yards
- Cardboard, 3×5 inches
- Scissors
- Tapestry needle
- Cinnamon sticks, 1 per stocking
- White puff paint
How to Make It
- Cut cardboard into a stocking shape and wrap red yarn around it 12 times.
- Cut yarn along the bottom edge and tie a green yarn piece tightly around the middle to form the cuff.
- Slide the loops off the cardboard and knot the cut ends together at the bottom.
- Use the tapestry needle to weave in loose ends.
- Sew a cinnamon stick inside the stocking with green thread.
- Squeeze a zigzag of white puff paint across the cuff and let dry for 2 hours.


15. Vintage Book Page Angels
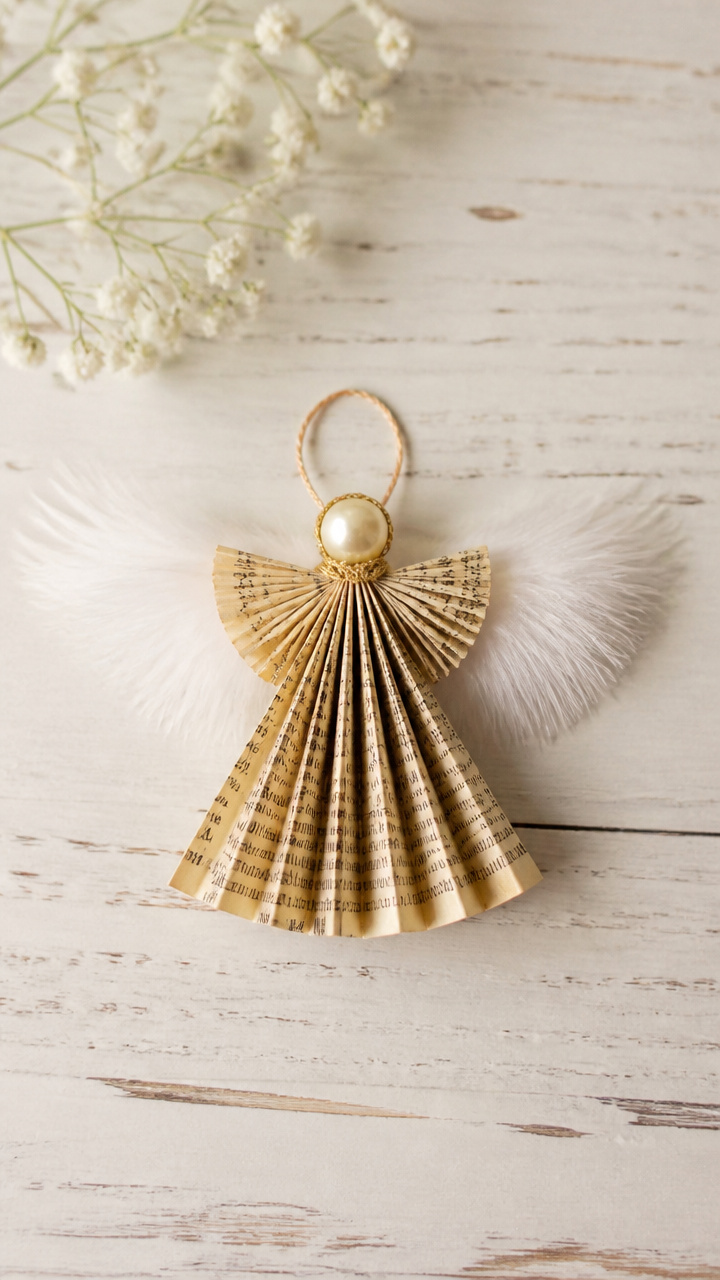
Pages from old novels fold into origami angels with feather wings. These literary spirits bring quiet magic to quiet branches.
Materials Needed
- 6 pages from a vintage book, 6×6 inches
- Pencil
- Ruler
- Scissors
- White craft glue
- Feather trim, 3 inches per angel
- Gold thread, 6 inches per ornament
How to Make It
- Fold one page diagonally to form a triangle, then crease sharply with your fingernail.
- Follow standard origami angel folding sequence: valley fold base, shape head, pleat wings.
- Use a drop of white craft glue to secure the final fold at the base.
- Cut a 3-inch piece of feather trim and glue it vertically behind the wings.
- Glue a 6-inch gold thread to the top for hanging and let dry for 20 minutes.


![Amazing Origami Kit: Traditional Japanese Folding Papers and Projects [144 Origami Papers with Book, 17 Projects]](https://m.media-amazon.com/images/I/51uEuHVJ-PL._SL500_.jpg)
16. Personalized Bead Names
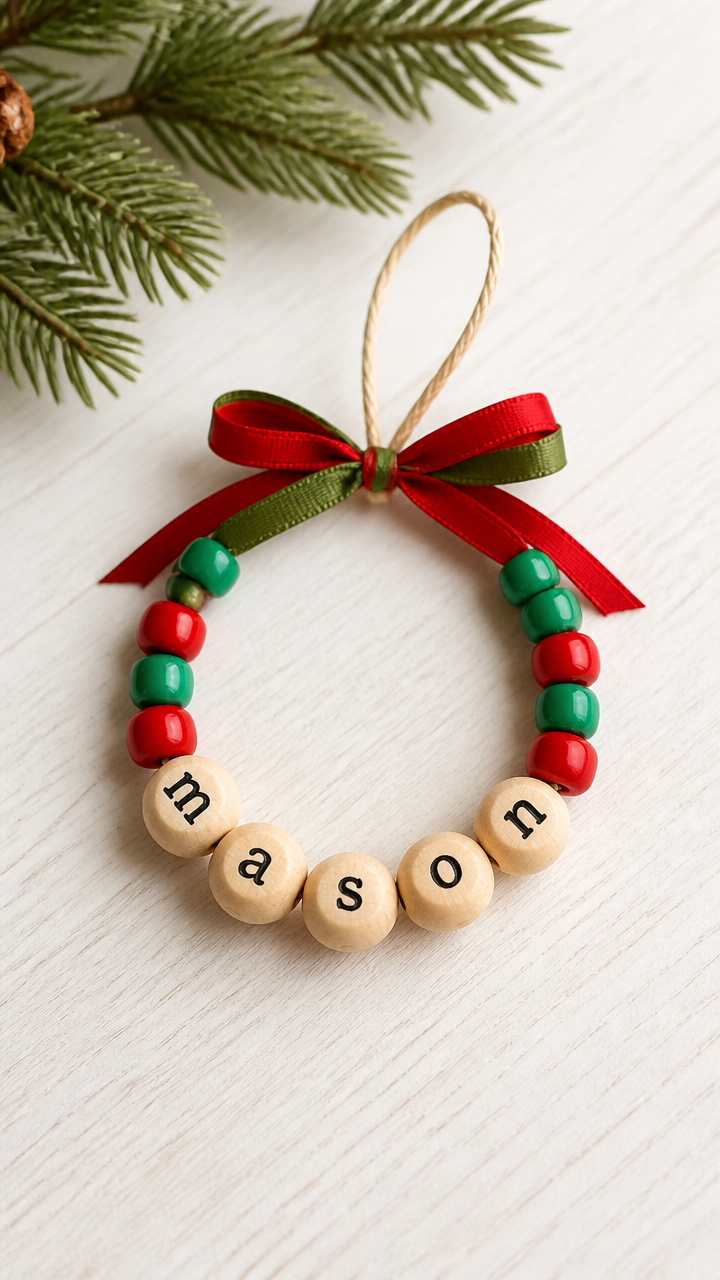
Wooden alphabet beads spell names alongside red and green spacers. These chunky garlands feel festive strung solo or together.
Materials Needed
- Lowercase wooden alphabet beads, one set per name
- Red pony beads, 3 per ornament
- Green pony beads, 3 per ornament
- Stretchy cord, 10 inches per ornament
- Scissors
- Ruler
How to Make It
- Measure and cut a 10-inch piece of stretchy cord for each name.
- Thread one green bead, then spell the name using alphabet beads.
- Add one red, one green, one red bead after the last letter.
- Tie the ends together with a surgeon’s knot for security.
- Trim excess cord within 1/4 inch of the knot.


17. Cookie Cutter Wreaths
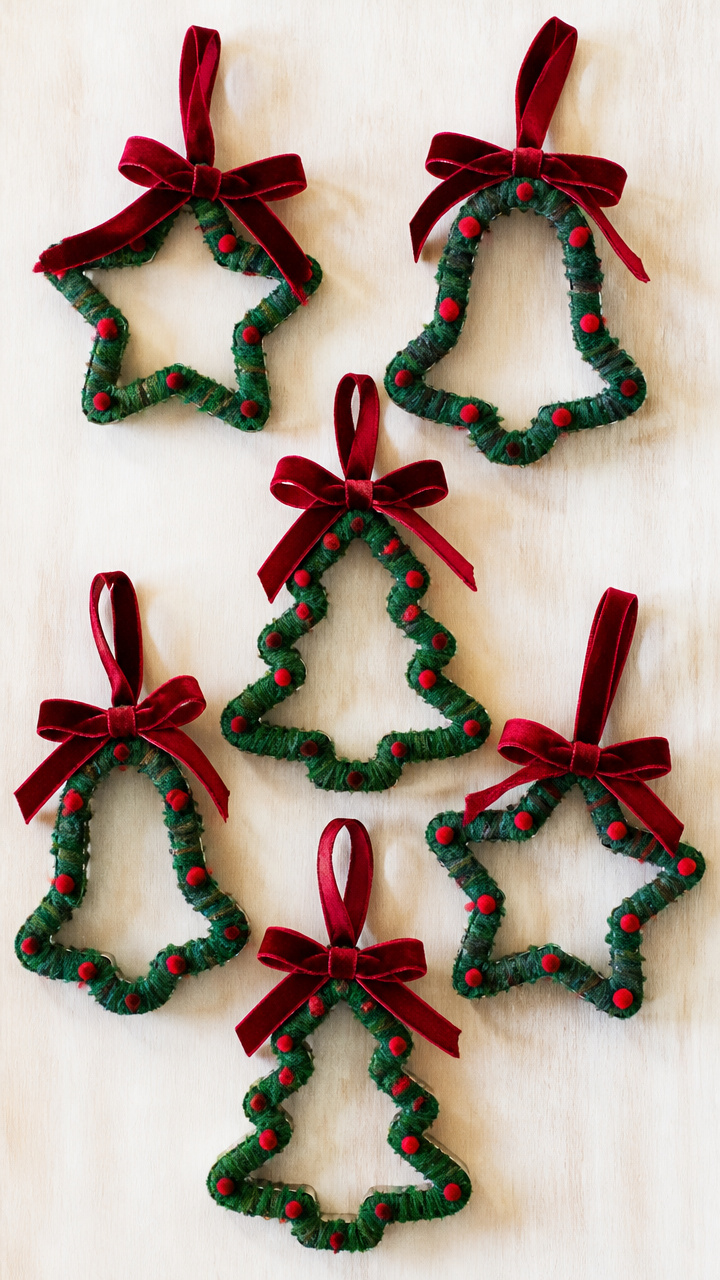
Used holiday cookie cutters reshape into jingle-free wreaths with faux berries and ribbon. These repurpose kitchen tools with flair.
Materials Needed
- 6 used metal cookie cutters (star, bell, tree)
- Green pipe cleaners, 2 per ornament
- Red pom-poms, 8 per ornament
- Hot glue gun and glue sticks
- Wide velvet ribbon, 12 inches per ornament
- Wire cutters
How to Make It
- Bend one pipe cleaner into a circle and twist the ends to secure, then wrap the second around it for thickness.
- Glue the pipe cleaner coil to the back of a cookie cutter, aligning edges.
- Glue eight red pom-poms evenly around the front outer edge of the cutter.
- Cut a 12-inch ribbon and hot glue each end to the back top of the cutter to form a loop hanger.
- Let glue set for 15 minutes before hanging.


Each of these ornaments carries your time, thought, and care. Pick one that speaks to you and start gathering what you need today.