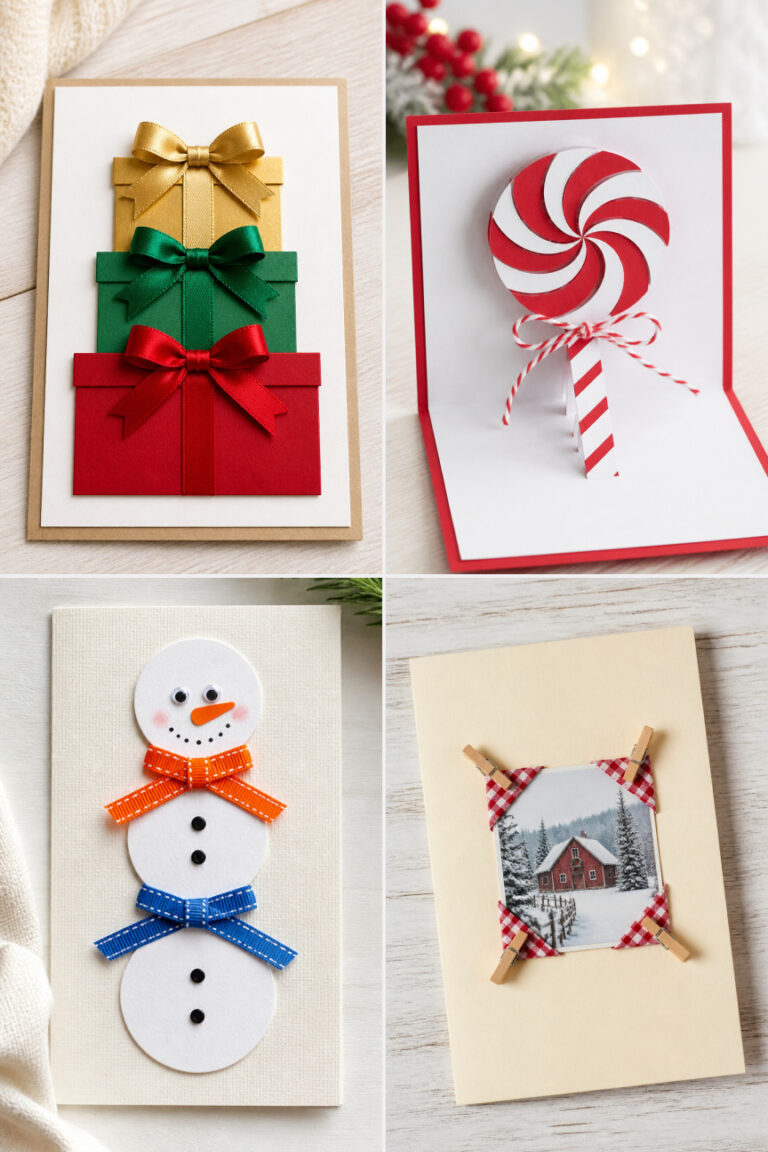
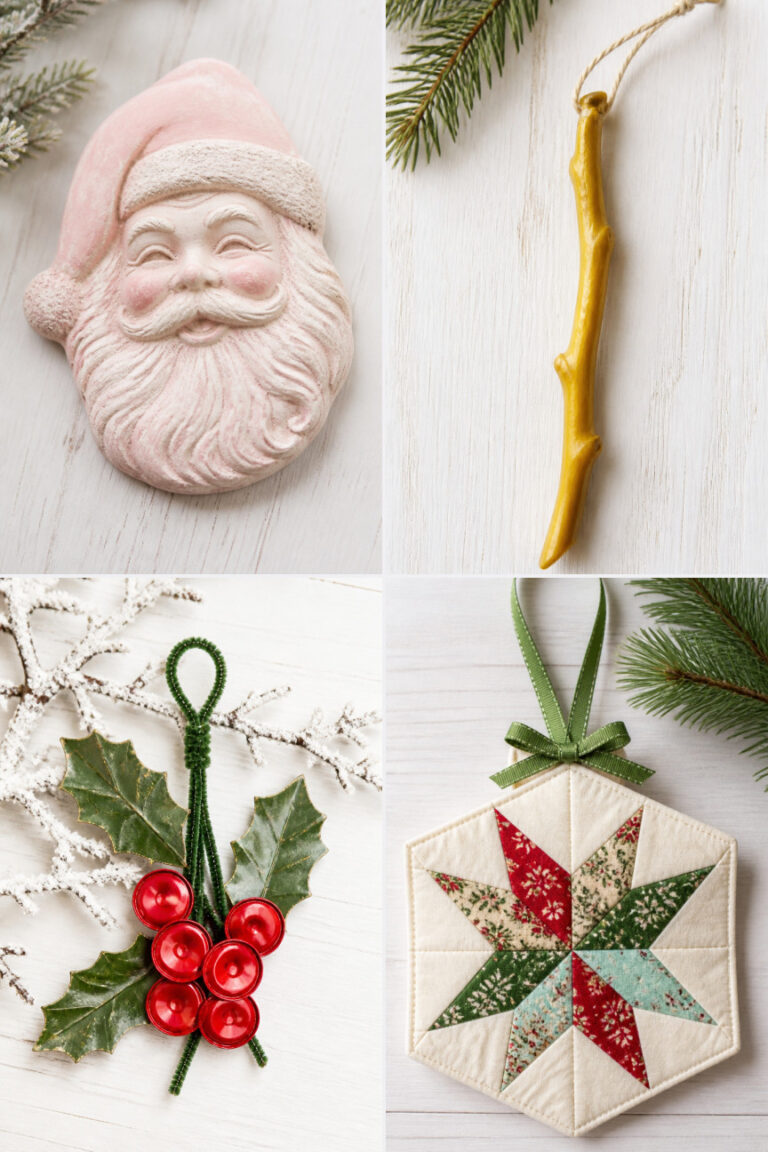
15 Handmade Christmas Card Ideas for Kids to Make
Nothing captures holiday magic quite like a card crafted by a child. From the charming smudges and lopsided shapes to the bright bursts of color, every handmade piece carries a warmth that no store-bought card could ever replicate.
These card ideas are selected with real life in mind. Each project relies on simple materials you likely already have at home or can pick up with ease.
Best of all, every step is clear and manageable for young crafters to follow, whether they are creating on their own or making holiday memories with a little help from you.
1. Pinecone Reindeer Cards
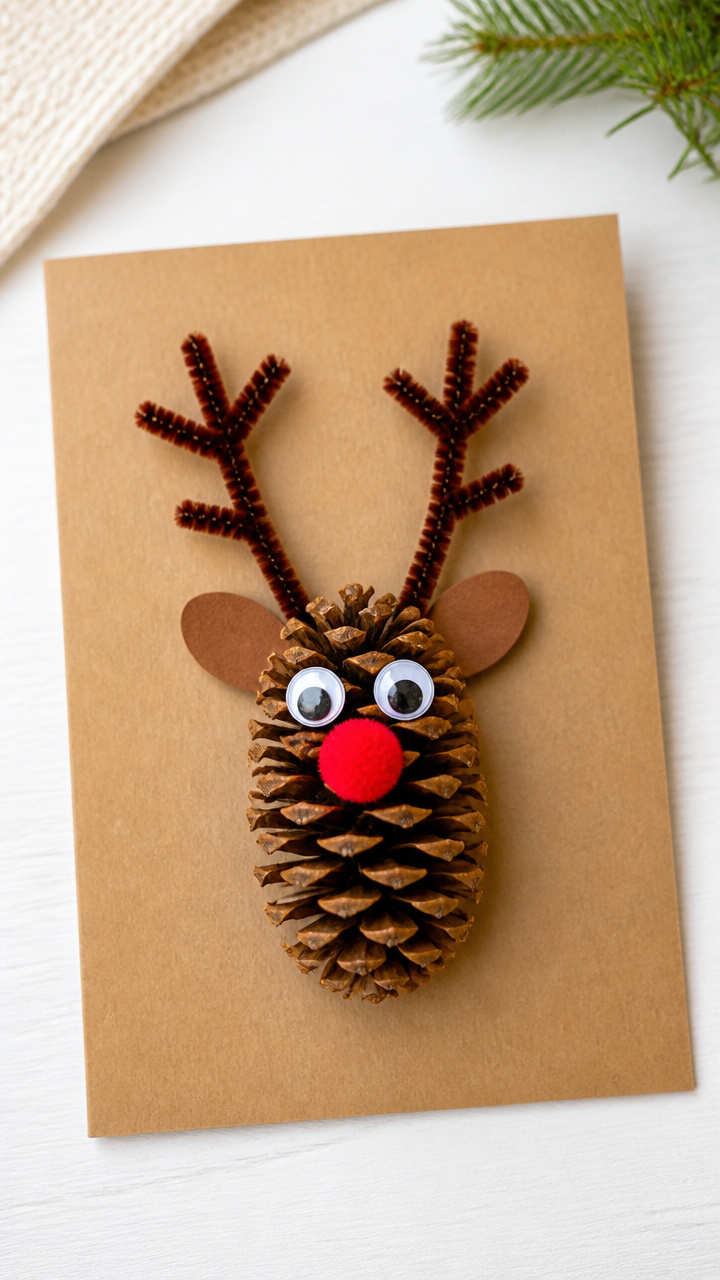
A pinecone base becomes a sweet reindeer face with twig antlers and a red pom-pom nose. This rustic little character stands out on any mantel.
Materials Needed
- Small pinecones, 1 per card
- Brown pipe cleaners, 6 inches long, 2 per card
- Red pom-poms, 0.5 inch diameter, 1 per card
- Googly eyes, 0.25 inch, 2 per card
- Hot glue gun and glue sticks
- Brown construction paper, 4×6 inches per card
- White cardstock, A6 size, 1 per card
- Scissors
How to Make It
- Cut the brown construction paper into a 4×6 inch rectangle and glue it to the front of the cardstock to create a woodland background.
- Glue the pinecone near the top center of the card so the pointed end faces down.
- Bend one pipe cleaner in half to form a V shape and glue each end to the top of the pinecone for antlers.
- Glue two googly eyes just below the middle of the pinecone and attach the red pom-pom beneath them for the nose.


2. Candy Cane Ornament Cards
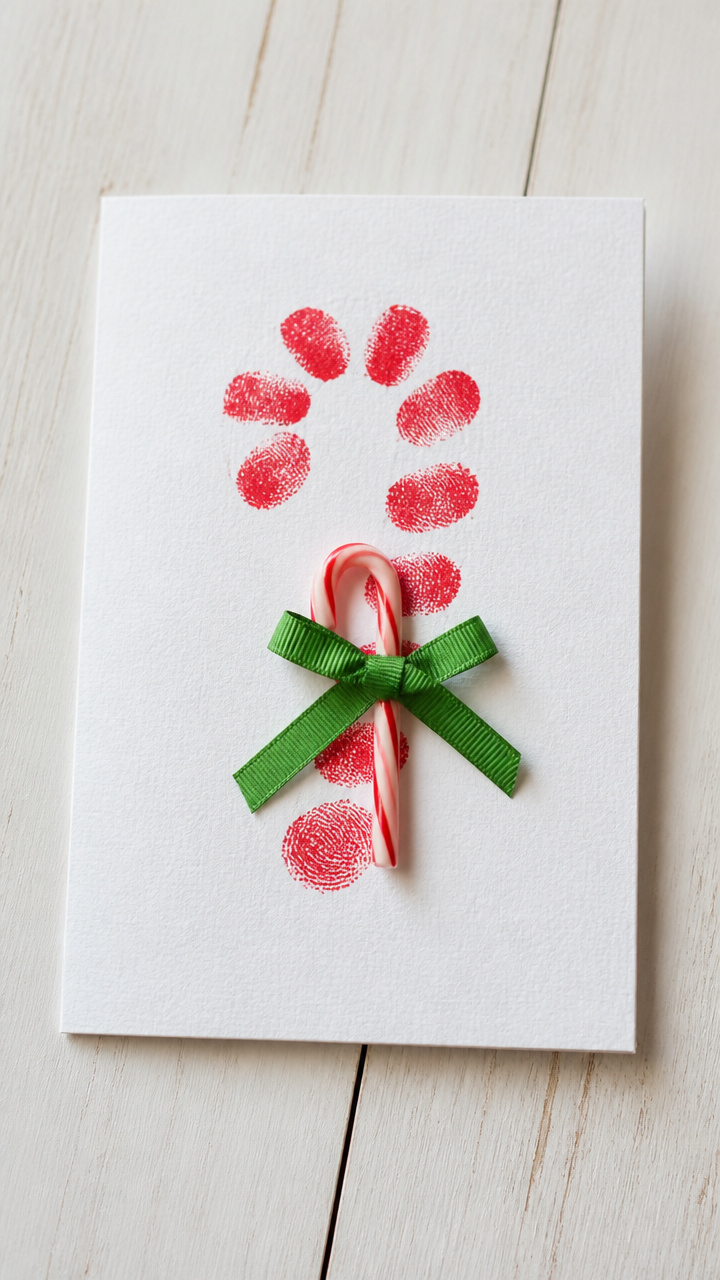
A folded card holds a mini candy cane that doubles as decoration. The peppermint stripe is made with painted fingerprints.
Materials Needed
- White cardstock, A6 size, 1 per card
- Red acrylic paint
- Round foam brush, 0.5 inch
- Mini candy canes, 1 per card
- Tape runner or double-sided tape
- Green ribbon, 12 inches long per card
- Hole punch
How to Make It
- Fold the cardstock in half to form a card and lay it flat with the fold on the left.
- Dip the foam brush in red paint and press it vertically along the right side of the front to make a curved stripe.
- Let the paint dry completely, then use the hole punch to make a hole in the top right corner.
- Thread the green ribbon through the hole and tie it in a loop, then tape the candy cane behind the loop so it hangs freely.


3. Crayon Melts Snow Scenes
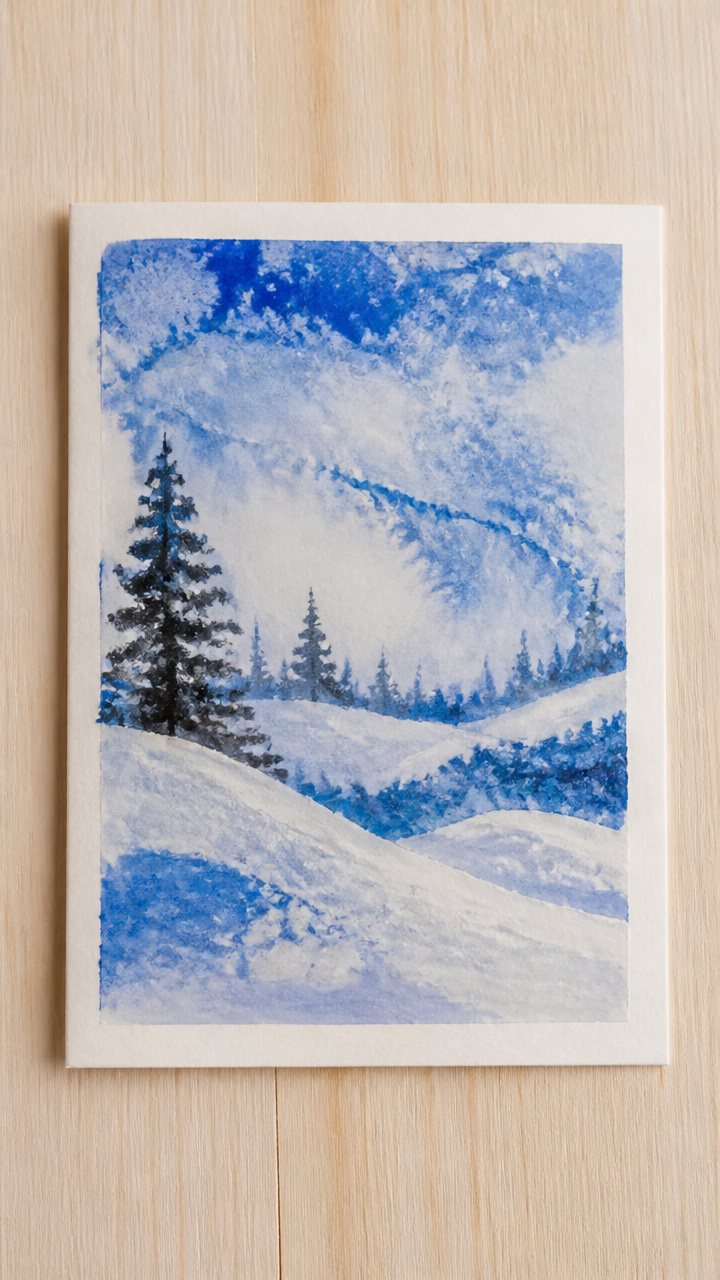
Kids draw snowy hills and trees with crayons, then melt them slightly with a hairdryer for a dreamy winter effect.
Materials Needed
- White cardstock, A6 size, 1 per card
- Blue, white, and black crayons
- Hairdryer
- Pencil
- Ruler
- Scissors
How to Make It
- Draw wavy horizontal lines across the bottom third of the card using the blue and white crayons to suggest snow drifts.
- Add simple triangular evergreen trees in black crayon above the snow lines.
- Set the hairdryer to low heat and hold it 6 inches from the card, moving slowly until the crayon wax softens and blurs slightly.
- Let the card cool flat for 2 minutes before writing a message inside.


4. Pop-Up Tree Cards
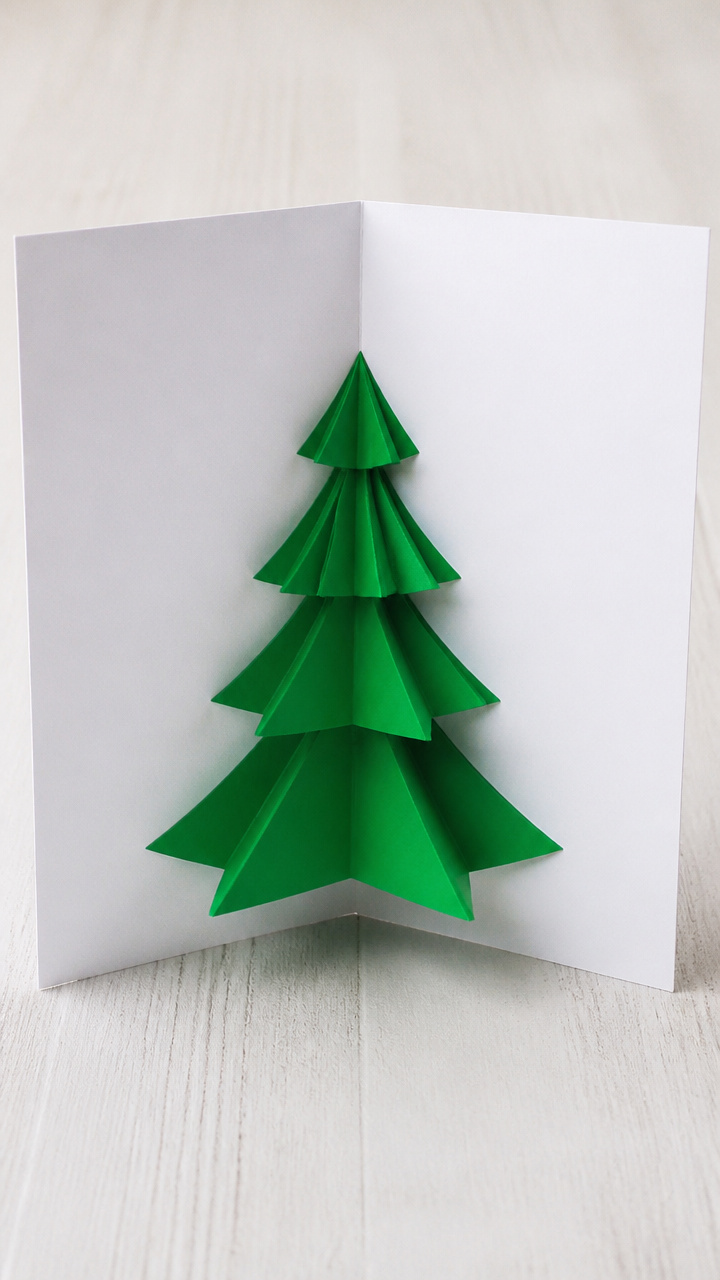
A simple slit-and-fold technique creates a bright evergreen that jumps out when the card opens.
Materials Needed
- Green construction paper, 8.5×11 inches
- White cardstock, A6 size, 1 per card
- Scissors
- Pencil
- Ruler
- Glue stick
How to Make It
- Cut a 3×5 inch triangle from green paper for the tree and a 0.5×1 inch rectangle for the trunk.
- Fold the cardstock in half, then use the ruler and pencil to mark a dot 1 inch up from the fold at the center.
- Cut a 1 inch vertical slit at the dot using scissors.
- Slide the bottom of the triangle into the slit so it stands upright, then glue the trunk piece over the base to hide the cut.


5. Fingerprint Gingerbread Men
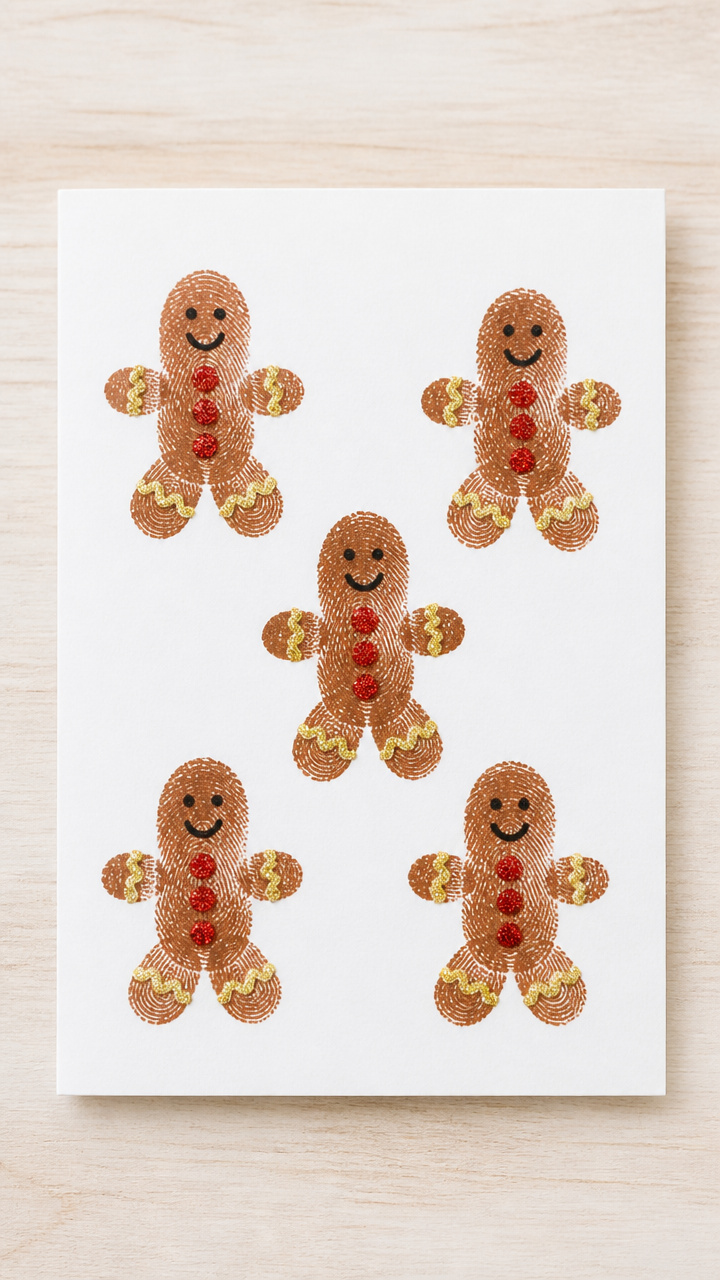
Tiny brown fingerprints become cookie bodies, then dressed with markers and glitter for jolly little characters.
Materials Needed
- White cardstock, A6 size, 1 per card
- Brown washable ink pad
- Black fine-tip marker
- Red glitter glue
- Yellow craft glue
- Glitter shaker bottle
How to Make It
- Press one fingertip into the brown ink pad and stamp twice on the front of the card to make two gingerbread men.
- Use the black marker to draw arms, legs, buttons, and smiles on each figure.
- Squeeze red glitter glue around the neck to make scarves and let dry for 10 minutes.
- Paint small dots of yellow glue on the chest area, sprinkle with glitter, and shake off excess after 30 seconds.


6. Jingle Bell Windows
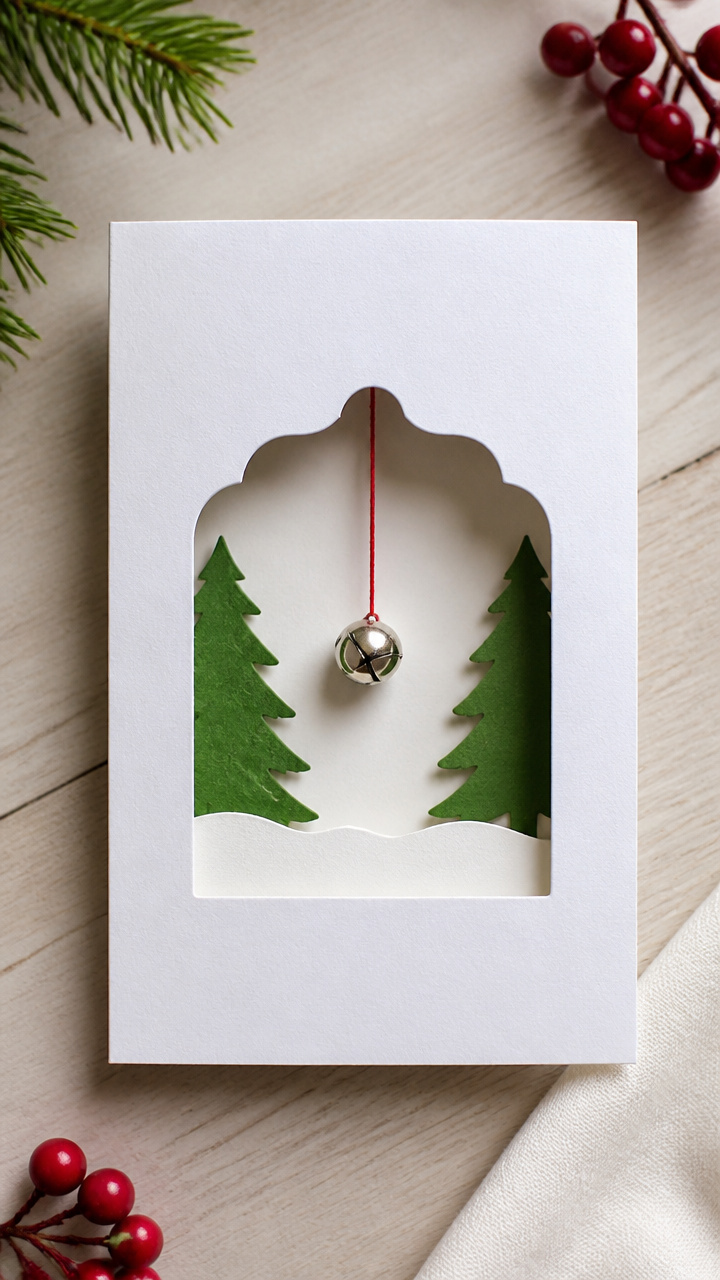
A cut-out window reveals a tiny bell that dangles inside the card and chimes softly when tilted.
Materials Needed
- White cardstock, A6 size, 1 per card
- Craft knife
- Cutting mat
- Small silver jingle bells, 0.5 inch, 1 per card
- Thin red string, 6 inches per card
- Glue stick
- Scissors
How to Make It
- Fold the cardstock in half and use the craft knife on the cutting mat to cut a 2×2 inch square window from the front panel.
- Cut a 6 inch piece of red string and tie each end to the metal hook of the jingle bell.
- Lay the string flat across the back of the window opening and glue the ends securely to the inside of the card.
- Let the glue dry fully before opening and closing the card to hear the bell move.


7. Cotton Ball Snowmen
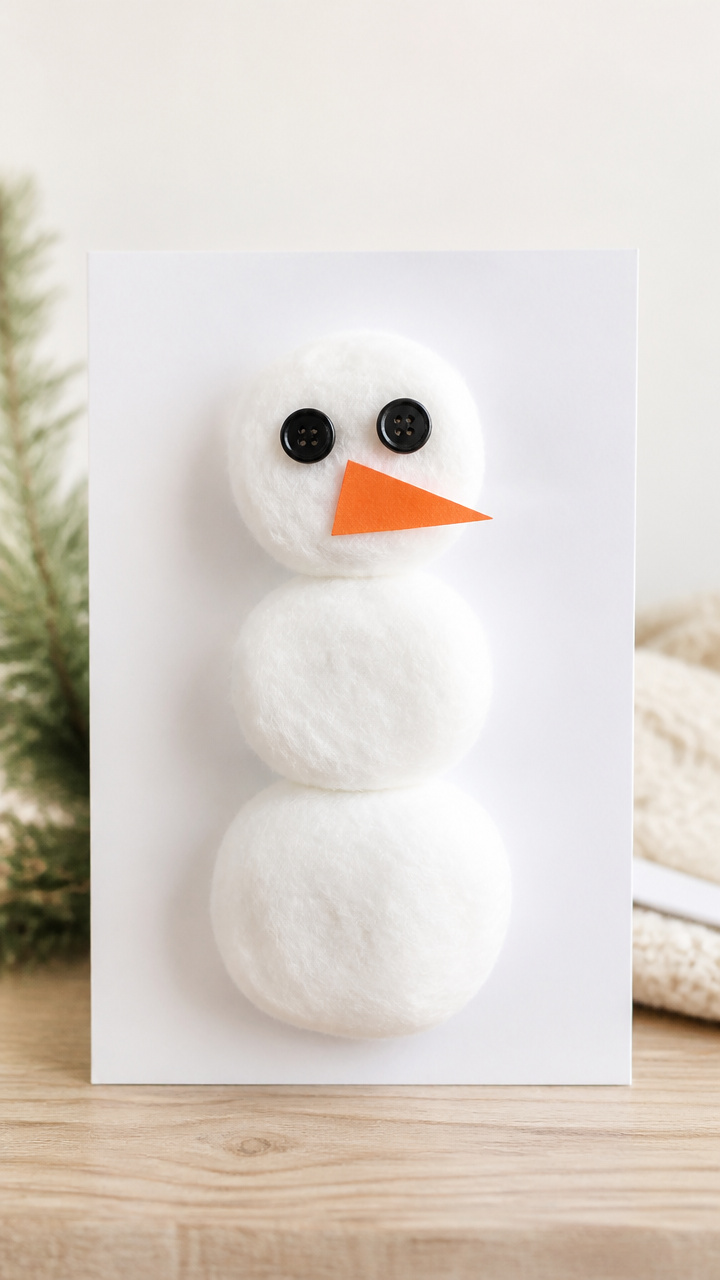
Layered cotton balls stack into plump snowmen faces with button eyes and carrot noses.
Materials Needed
- White cardstock, A6 size, 1 per card
- Large cotton balls, 3 per snowman
- Orange construction paper
- Black buttons, 0.25 inch, 2 per card
- Glue stick
- Scissors
- Black pipe cleaner, 6 inches
How to Make It
- Flatten three cotton balls slightly and glue them in a vertical stack on the front of the card.
- Cut tiny triangles from orange paper for noses and glue one on the middle ball.
- Glue two black buttons above the nose for eyes.
- Snip a 2 inch piece of pipe cleaner and twist it into a zigzag mouth just below the nose.



8. Sticker Light Strings
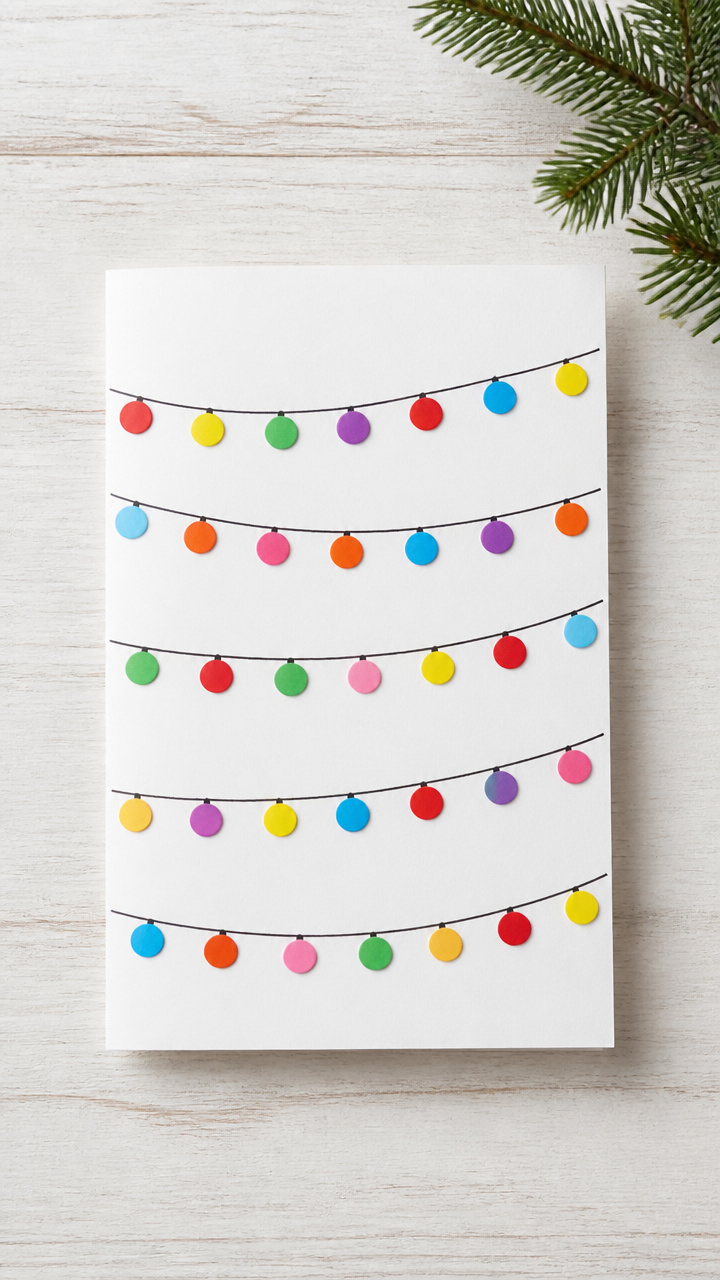
Colorful stickers line up like Christmas lights across the card, connected with a marker-drawn wire.
Materials Needed
- White cardstock, A6 size, 1 per card
- Round colorful stickers, assorted colors, 10 per card
- Black fine-tip marker
- Ruler
How to Make It
- Open the card and lay it flat with the fold on the left.
- Place ten stickers in a gently curving line across the front, spacing them evenly.
- Use the ruler and black marker to draw a straight line from the far left sticker to the far right.
- Draw small lines connecting each sticker to the main wire so they look plugged in.


9. Handprint Poinsettias
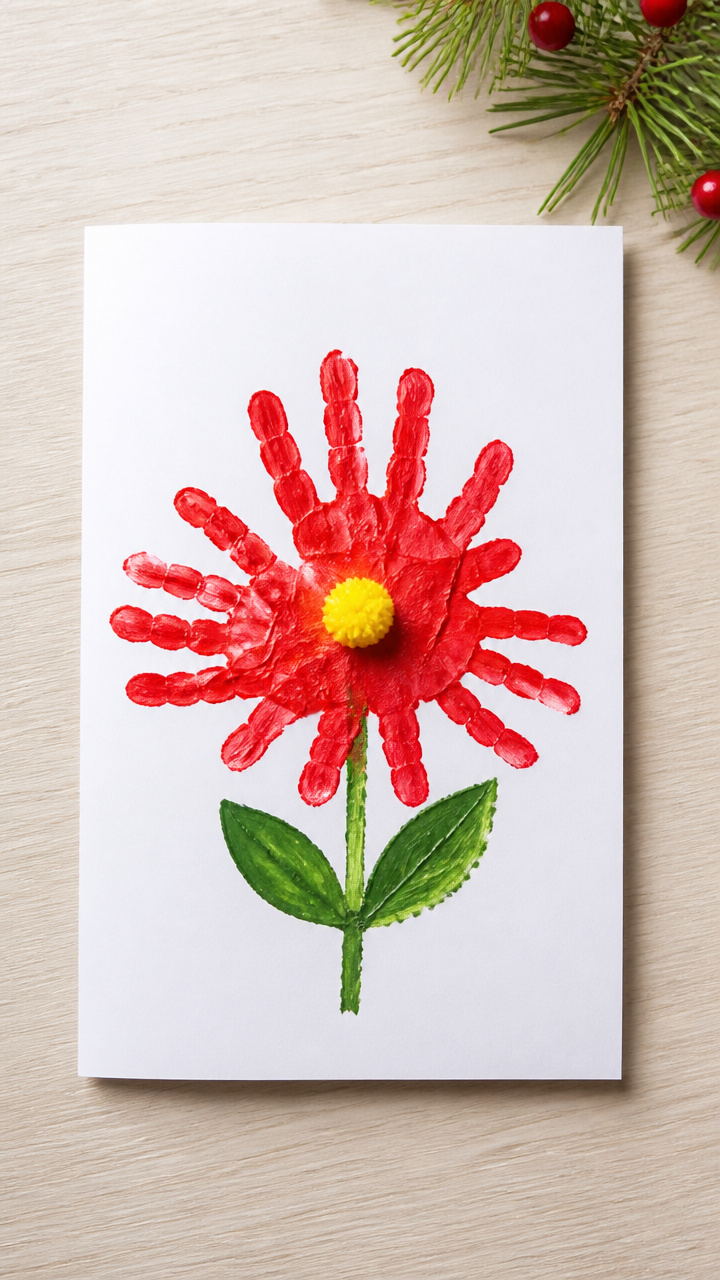
A single handprint in red paint blooms into a festive flower with a yellow center.
Materials Needed
- White cardstock, A6 size, 1 per card
- Red tempera paint
- Shallow paper plate
- Yellow pom-pom, 0.5 inch
- Glue stick
- Baby wipe
How to Make It
- Pour a dime-sized amount of red paint onto the paper plate.
- Press your child’s palm flat into the paint, then spread fingers wide and press onto the front of the card.
- Wipe their hand clean immediately with the baby wipe.
- Glue the yellow pom-pom in the center where the palm landed to complete the poinsettia.


10. Q-Tip Snowflake Cards
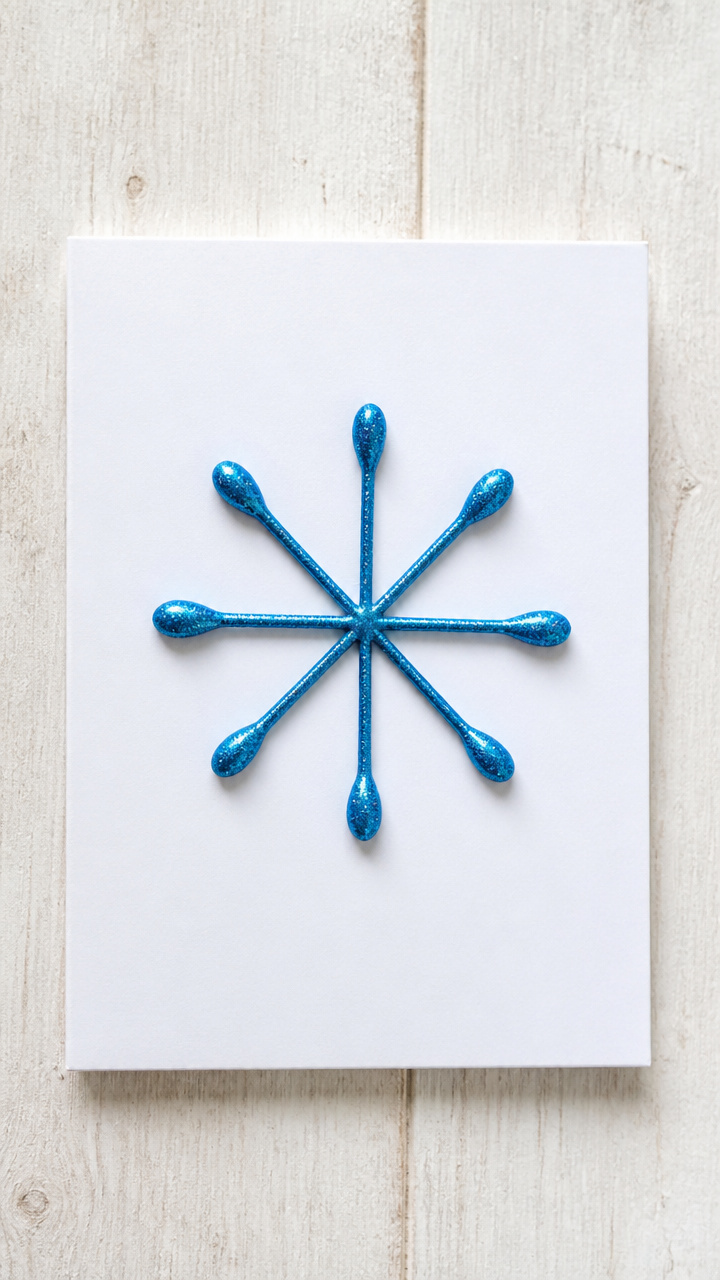
Seven Q-tips arranged in a starburst pattern make a crisp snowflake that sparkles with glue.
Materials Needed
- White cardstock, A6 size, 1 per card
- Q-tips, 7 per card
- Glue stick
- Glitter shaker bottle
- Blue glitter glue
How to Make It
- Lay one Q-tip vertically in the center of the card and glue it down.
- Arrange three Q-tips in a fan shape pointing up from the top half and three pointing down from the bottom half.
- Glue each Q-tip firmly in place and let dry for 5 minutes.
- Trace over the tips with blue glitter glue and sprinkle white glitter over the wet glue, shaking off excess after 30 seconds.


11. Puffy Paint Stockings
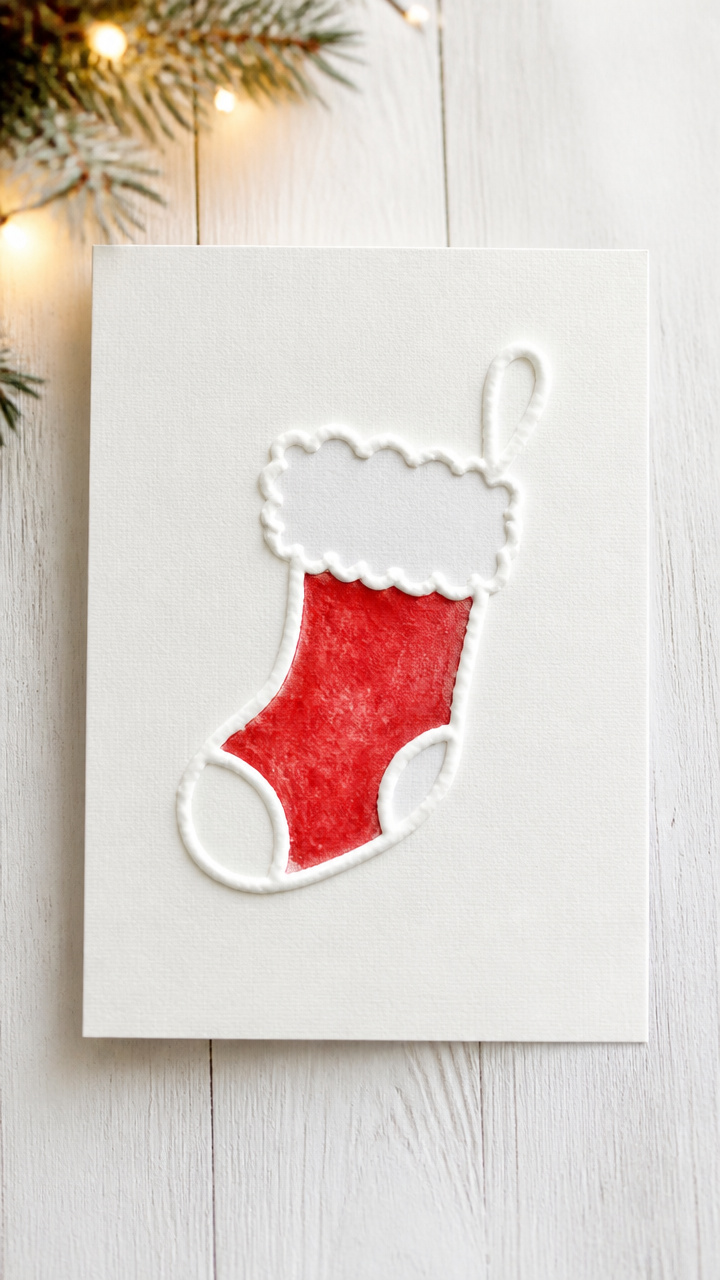
A mix of glue and shaving cream creates thick, puffy outlines kids can fill with color.
Materials Needed
- White cardstock, A6 size, 1 per card
- White school glue
- Canned shaving cream, 1/2 cup
- Red food coloring
- Plastic spoon
- Disposable piping bag or zip-top bag with corner snipped
How to Make It
- Mix 1/2 cup glue with 1/2 cup shaving cream in a bowl and stir in 3 drops of red food coloring.
- Spoon the mixture into the piping bag and snip a small hole in one corner.
- Pipe a stocking shape onto the front of the card, outlining the toe, heel, and cuff.
- Let the paint dry flat overnight until it rises slightly and feels firm to the touch.


12. Cinnamon Ornament Smellables
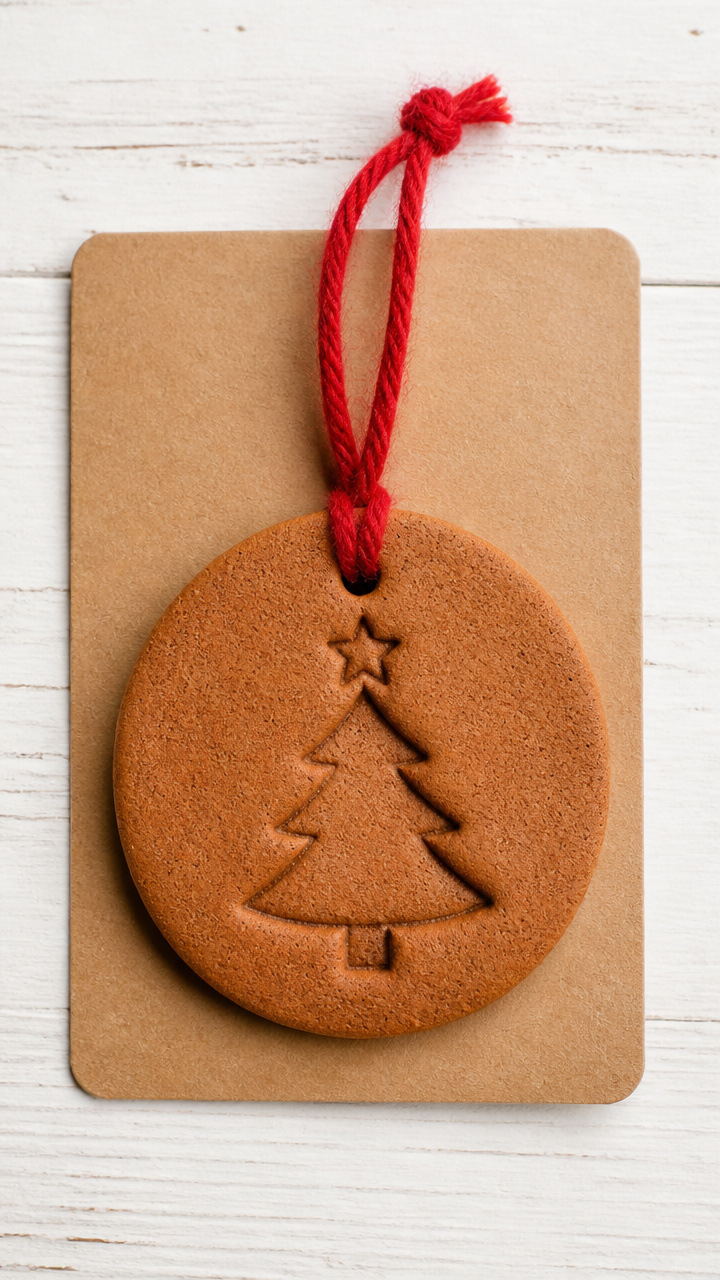
A spiced dough disc stamped with holiday shapes adds visual charm and a warm kitchen scent.
Materials Needed
- Cinnamon-scented dough ornaments, homemade or store-bought, 1 per card
- Hole punch
- Red yarn, 8 inches
- Glue dot
- Cardboard backing sheet, 4×6 inches
How to Make It
- Roll dough to 1/4 inch thickness and cut into circles using a jar lid.
- Use holiday-shaped straws to stamp designs into each disc before baking according to recipe.
- Once cooled, punch a hole at the top and thread red yarn through to make a hanger.
- Attach a glue dot to the back of the ornament and press it onto a cardboard backing before slipping into an envelope.


13. Glitter Glue Peppermints
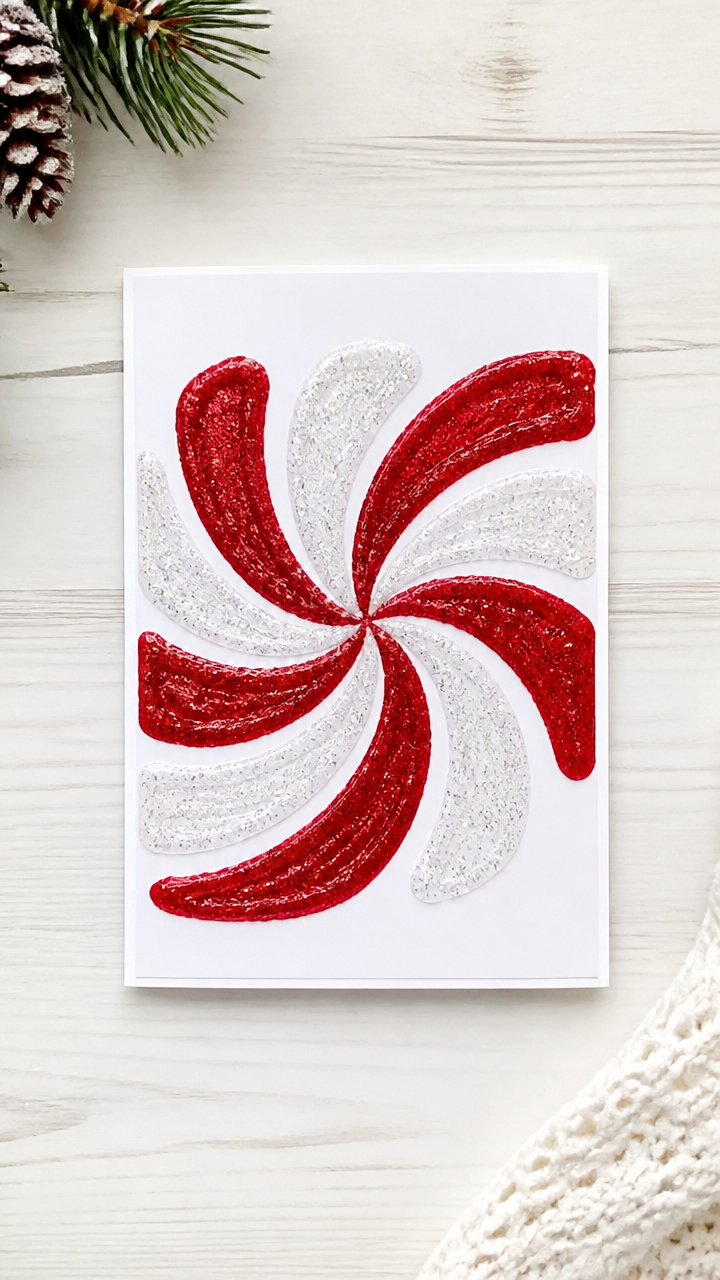
Swirled red and white glitter glue forms a bold candy design that catches the light.
Materials Needed
- White cardstock, A6 size, 1 per card
- Red glitter glue
- Clear glitter glue
- Pencil
- Compass or round template
How to Make It
- Use the compass or a small cup to trace a 2 inch circle on the front of the card.
- Fill half the circle with red glitter glue and half with clear glue to represent white candy.
- While wet, use a toothpick to drag thin lines from the red into the white, creating swirls.
- Let dry completely for at least 2 hours on a level surface.


14. Tissue Paper Windows
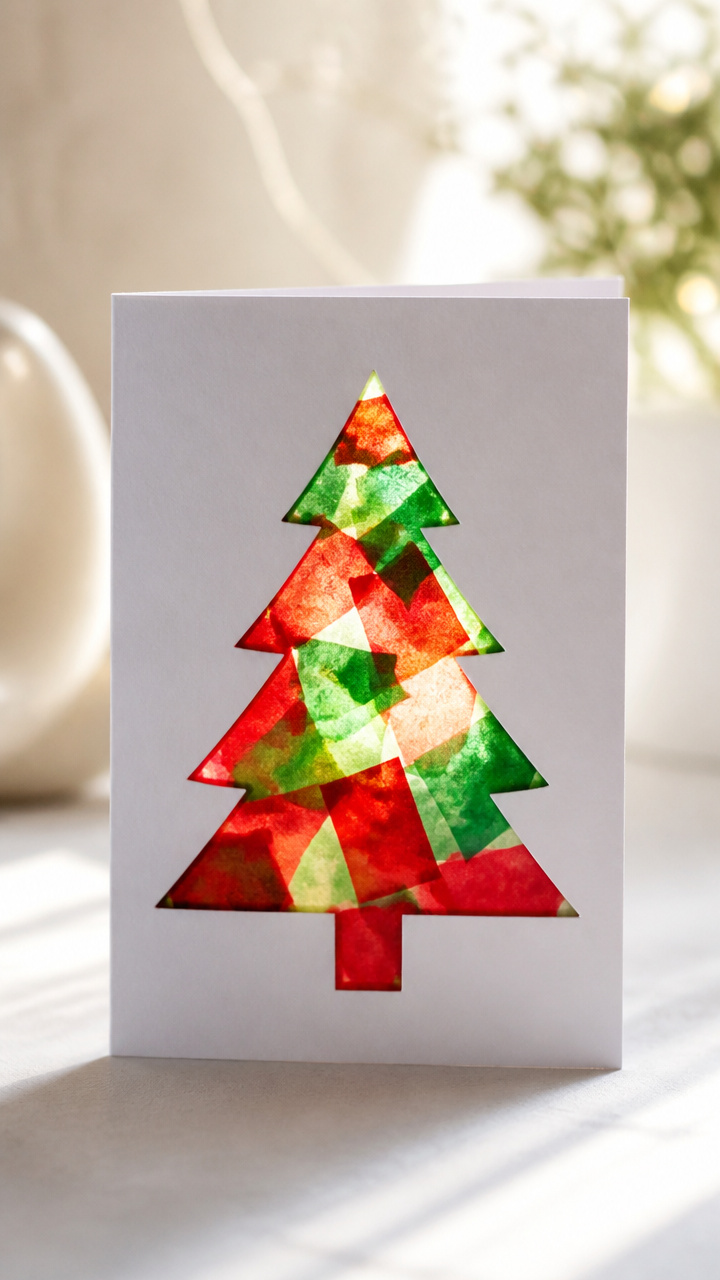
Bright tissue paper glued behind a cut-out window glows like stained glass when held to the light.
Materials Needed
- White cardstock, A6 size, 1 per card
- Red and green tissue paper sheets
- Scissors
- Glue stick
- Craft knife
- Cutting mat
How to Make It
- Fold the card in half and use the craft knife on the cutting mat to cut a 1.5 inch square from the front panel.
- Cut a 2×2 inch square of red tissue and a 2×2 inch square of green tissue.
- Overlapping the corners, layer the tissue pieces and glue them to the back of the window so colors blend.
- Smooth with fingers to remove wrinkles and let dry for 5 minutes.


15. Pasta Star Ornaments
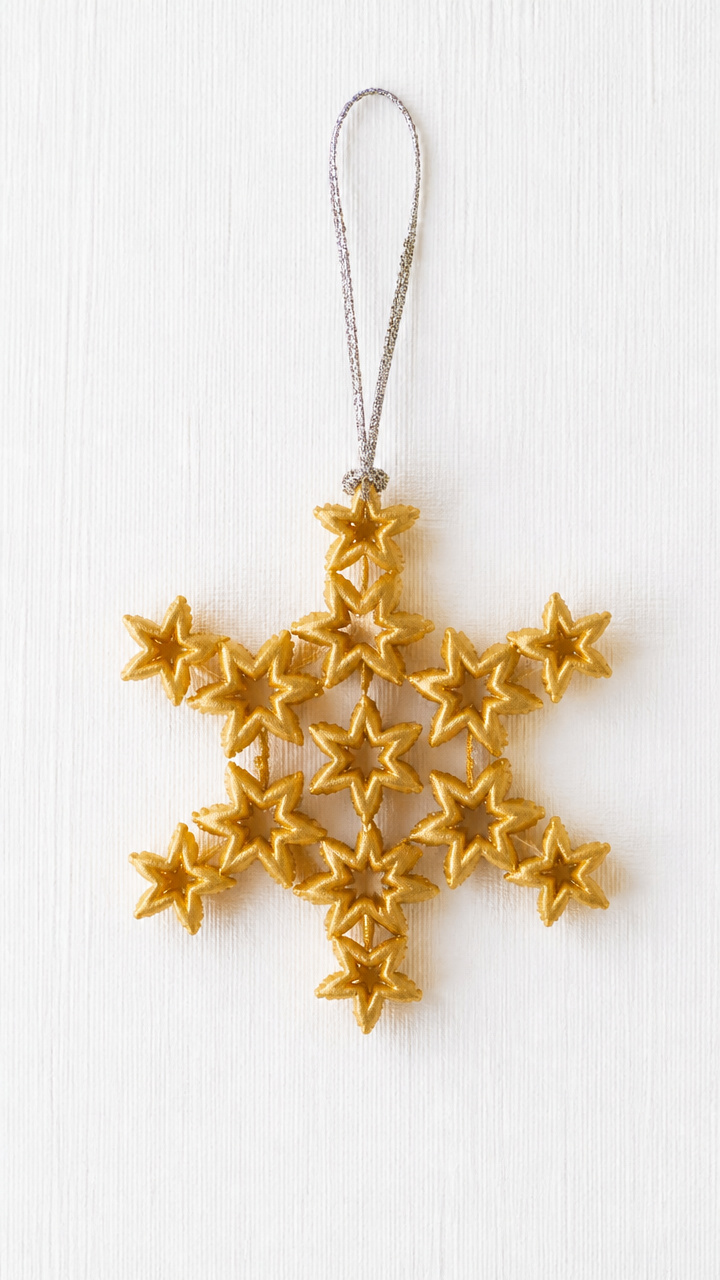
A painted star-shaped pasta piece hangs from a glittered thread, turning the card into a keepsake.
Materials Needed
- Star-shaped pasta, 1 per card
- Gold acrylic paint
- Paintbrush, 0.25 inch
- White cardstock, A6 size, 1 per card
- Silver embroidery floss, 8 inches
- Glue stick
- Hole punch
How to Make It
- Paint the star pasta with gold acrylic and let dry on wax paper for 20 minutes.
- Punch a hole in the top center of the card front.
- Cut an 8 inch length of silver floss and thread it through the pasta hole, tying a knot below to secure.
- Thread the other end through the card’s hole from back to front and glue the end flat inside the card.


Each of these cards carries more than just color and shape, it holds a moment of connection. Pick one idea, gather what you have, and let the mess and magic begin.